For manufacturers and sourcing managers, the quality of a custom belt buckle can determine whether a product line succeeds or fails. A single weak link — such as a buckle that breaks under a 45 N–53 N release force or corrodes after a 96‑hour salt‑spray test — can undermine the reliability of an entire collection. As the functional core of the belt, the buckle’s engineering strength, material composition, and finish define both product lifespan and brand reputation.
This guide breaks down every critical stage of custom belt buckle production — from material selection (zinc alloy, brass, or stainless steel) and mold making using H13 or P20 tooling steel, to advanced finishing techniques like PVD and electroplating. You’ll discover key specifications, durability metrics, and cost drivers — including how mold investments can range from $100 for prototypes to $20,000+ for hardened steel production molds — helping you make informed, cost‑efficient sourcing decisions in the custom hardware supply chain.
Why is the Buckle the “Soul” of the Belt?
The buckle is called the soul of the belt because it provides the primary fastening and adjustment mechanism. Its material strength, release force, and design determine comfort, durability, and reliability, making it the functional core even when straps are replaceable.
Functional Core: How the Buckle Defines the Belt
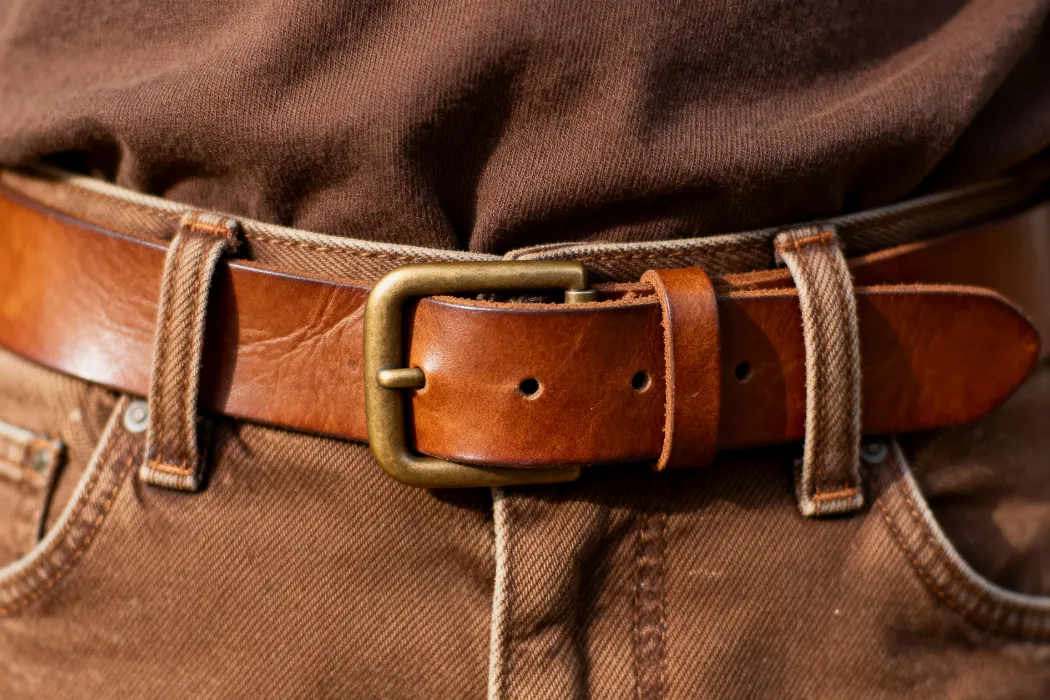
The buckle serves as the defining component of any belt’s functionality and identity. Its design, shape, and performance dictate both the utility and the personality of the belt itself. Whether through a prong, ratchet, or clip, the buckle is what maintains tension and closure, integrating mechanical precision with design aesthetics.
- Acts as the main fastening mechanism securing belt ends through pressure, prongs, ratchets, or clips.
- Failure of the buckle compromises the belt entirely, while the strap can often be replaced.
- Design style, size, and finish of the buckle set the overall aesthetic and identity of the belt.
- Common lengths around 10 cm and widths of 20–40 mm ensure compatibility and comfort.
Engineering Strength and Material Significance
Material composition and structural precision define the buckle’s reliability under physical stress. Engineering choices, from alloy grade to release force, determine performance under daily wear and heavier loading conditions such as backpacks or tactical use.
- Materials such as zinc alloy, stainless steel, brass, or A380 aluminum provide strength under tension.
- Hip belt buckles require release forces between 45–53 N, ensuring secure yet user-friendly performance.
- Frame-style or self-locking serrated designs prevent slipping and belt strain during use.
- Precision sizing supports belt lengths from 90–150 cm to maintain proper waist fit under load.
Research Insights: Material Science and Performance Data
Engineering data across industrial and consumer segments points to how closely the buckle’s physical parameters align with its perceived quality and mechanical success. Below are key data points extracted from design and materials research:
- Zinc alloy: Primary material for durable belt buckles, strong and suitable for manufacturing.
- Stainless steel, brass: Common high-strength metals, with solid brass providing long-term durability and aging resistance.
- Standard dimensions: 10 cm buckle length; widths from 20–40 mm; belt lengths from 90 cm to 150 cm.
- Release forces: Typical hip-belt design requires between 45–53 N for controlled yet reliable disengagement.
- Structural details: Buckle holes (4 + 2 bridges) optimize stability; tactical variations use reinforced metals or polymers.
- A380 aluminum alloy: Employed in some buckles for lightweight strength and high corrosion resistance.
The research confirms that performance depends more on the buckle than on the strap material. This small yet vital component maintains the belt’s structural integrity, ensuring that load tension is distributed without slippage or deformation. Its mechanical resilience, achieved through metal alloys or self-locking geometries, justifies calling it the “soul” of the belt—because when the buckle fails, function fails with it.
Zinc Alloy vs. Brass vs. Stainless Steel?
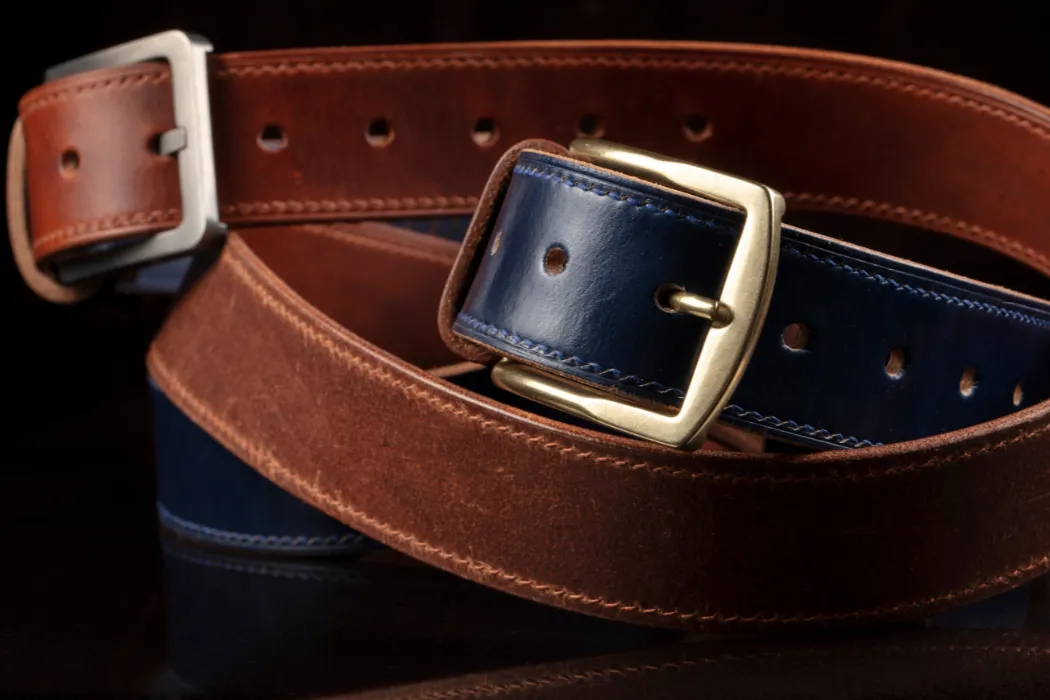
Zinc alloys offer cost efficiency and mold precision, brass provides classic appeal and good machinability, while stainless steel delivers superior strength and corrosion resistance—each suited to different design and performance priorities.
| Material | Key Properties | Common Belt Buckle Use |
|---|---|---|
| Zinc Alloy (e.g., Zamak) | Low melting point, precise die-casting, cost-efficient; moderate corrosion resistance | Mass production logo buckles; prototypes or short-run hardware |
| Brass (Cu-Zn Alloy) | Warm visual tone, excellent machinability, decorative; may tarnish in salty air | Mid-range decorative buckles and artisanal designs |
| Stainless Steel (304/316) | High tensile strength, corrosion-resistant, compatible with PVD coatings | Premium and marine-grade buckles needing high durability |
Material Characteristics and Design Implications
Each metal offers distinct design implications that affect the manufacturing process, finish quality, and final look of a custom belt buckle. Below is an outline of their aesthetic and engineering roles in buckle production.
- Zinc alloys (e.g., Zamak) offer low melting points and precise die-casting—ideal for high-volume, detailed logo buckles.
- Brass, with 60–70% copper and 30–40% zinc, offers warm tones and excellent machinability but is susceptible to dezincification in salty air.
- Stainless steel (304 or 316 grades) provides exceptional durability and corrosion resistance due to its chromium oxide layer, best suited for high-end or marine buckles.
Mechanical Properties and Application Performance
Comparing mechanical properties helps determine the right choice for intended buckle performance, from wear resistance to mechanical strength and corrosion behavior.
- Tensile Strength: Brass 340–470 MPa vs. Stainless steel 500–1100 MPa—stainless leads for load-bearing applications.
- Hardness: Brass 55–73 BHN vs. Stainless 146–595 BHN—highlighting stainless rigidity for enhanced wear resistance.
- Density: Brass 8.5 g/cm³; Stainless 8.0 g/cm³—both heavier than zinc alloys, influencing buckle weight and feel.
- Corrosion: Stainless resists rust and chlorides best (<0.03%); brass fares well when lacquered, whereas zinc self-heals via oxide layers but is less aesthetic.
- Processing Cost: Zinc is lowest (low casting temperature); Brass mid-range (suited for decorative finishes); Stainless highest (ideal for PVD coatings and export-grade hardware).
For production planning, zinc suits high-volume budget casting, brass combines elegance with machinability, and stainless delivers maximum durability for professional-grade or marine buckle designs.
How Does the Custom Mold Process Work?
The custom mold process transforms a finalized buckle or hardware design into a high-precision steel or aluminum mold through CAD/CAM design, CNC and EDM machining, assembly, cooling integration, and test runs until the tool is qualified for large-scale production cycles.
| Material / Standard | Typical Values | Application Context |
|---|---|---|
| H13 Hardened Steel | ~48 HRC cavity/core hardness | High-volume molds (Class 101–102) |
| P20 Pre-hardened Steel | 28–32 HRC base hardness | Medium-volume molds (Class 103–104) |
| Aluminum 7075 | Soft, lightweight, high thermal conductivity | Prototype molds (Class 105) |
Core Steps of the Custom Mold Process
The mold creation journey begins once the 3D model of a buckle or other hardware component has been finalized. From that point, the design and fabrication evolve through several engineering stages that define tool performance and production consistency.
- Begins after 3D model finalization—engineers design A/B plates forming cavity and core with sprue, runners, and ejector system.
- Tool materials selected according to volume: P20 pre-hardened steel, H13 hardened steel, or aluminum 7075.
- Fabrication uses CNC milling for geometry and EDM for fine logos or tight radii common on branded hardware.
- Mold surfaces are polished or textured to control gloss, transfer finish, and achieve required Ra value on parts.
- Assembled mold undergoes trial runs, tuning temperatures, pressures, and cycle times until consistent ejection and cooling are achieved.
Technical Standards and Performance Parameters
Professional-grade molds follow established standards that define their expected service life, material hardness, and operating stability across production environments.
- Industry follows SPI/PLASTICS mold classes: Class 101 ≥1,000,000 cycles, Class 102 up to 1,000,000, Class 103 up to 500,000, Class 104 up to 100,000, and Class 105 prototype 500 cycles.
- High-life molds use hardened tool steel (H13) with cavity/core hardness around 48 HRC and base hardness ≥28 HRC.
- Clamp tonnage sized by projected area × 2–8 tons/in² (≈31–124 MPa), depending on resin and geometry.
- All but prototype molds include corrosion-resistant cooling channels, venting, ejector layout, and alignment per HASCO and SPI specifications.
- Trial validation ensures fill quality, dimensional stability, and cycle repeatability before mass production release.
These parameters ensure that each custom tool meets durability, precision, and performance benchmarks appropriate for its production volume—whether a million-run buckle program or a limited prototype series. By balancing material selection, machining quality, and cooling design, manufacturers deliver molds that maintain dimensional accuracy and consistent surface finish throughout their defined cycle life.
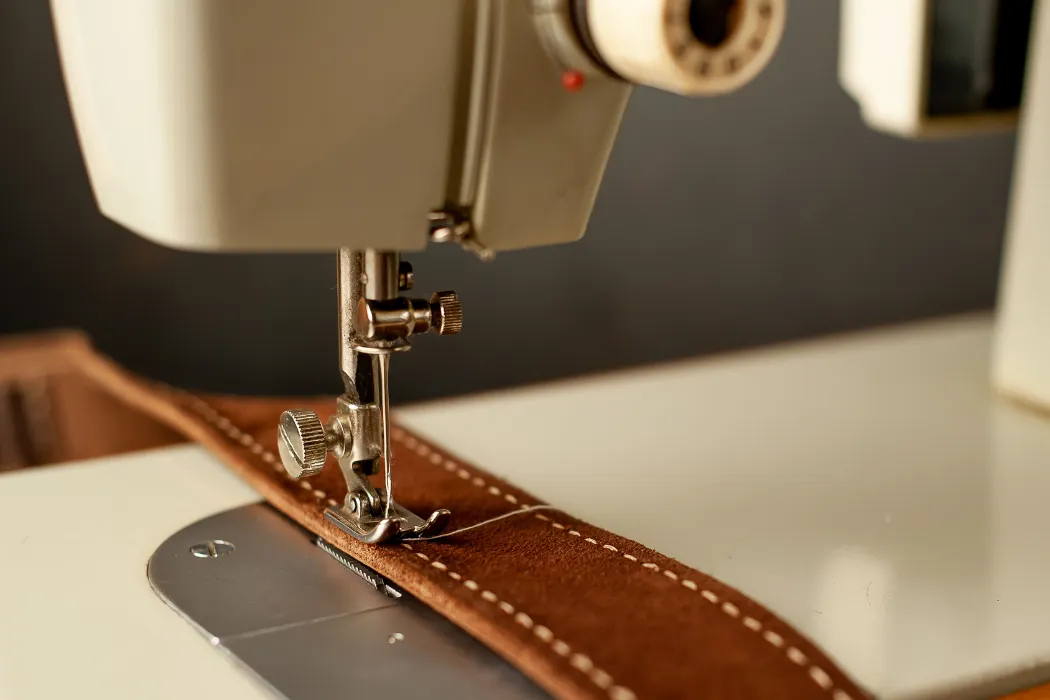
Premium Custom Leather Belts for Your Brand
What are PVD vs. Electroplating Finishes?
PVD is a high-vacuum process that deposits ultra-hard, thin ceramic coatings like TiN or CrN, while electroplating uses wet chemical baths to deposit thicker metallic layers such as nickel or chrome. Both enhance color, durability, and corrosion resistance, but differ in process, cost, and environmental impact.
Understanding PVD and Electroplating Processes
When discussing finishing techniques for metal components such as belt buckles and fashion hardware, two dominant technologies emerge: electroplating and PVD. Each relies on fundamentally different scientific mechanisms to achieve aesthetic and functional coatings.
- Electroplating: a wet electrochemical process depositing metals like copper, nickel, and chromium through DC current in solution baths at ambient–70 °C.
- PVD: a high-vacuum (10⁻³–10⁻⁵ mbar) physical process vaporizing metals like Ti or Cr at 150–500 °C to form dense ceramic films (~1–3 µm).
- Electroplated stacks (Cu–Ni–Cr) reach 5–30 µm total thickness, offering ductility and corrosion base, while PVD coatings are thinner but far harder and more stable.
Performance, Durability, and Application in Buckle Finishes
When applied to custom belt buckles, the choice between PVD and electroplating can shape both product longevity and brand identity. Below are the key mechanical and environmental differences that define their behavior in use.
- PVD coatings such as TiN or CrN often exceed 1800–2500 HV hardness and show up to six‑fold greater adhesion than electroplated layers (500–1000 HV).
- Electroplated chromium top layers (~0.1–0.5 µm) over nickel (10–25 µm) offer classic gloss but may micro‑crack under wear.
- PVD provides superior scratch, salt‑spray, and sweat resistance with eco‑friendly setup free of Cr(VI) or cyanide chemicals.
- Combining Ni electroplating underlayer plus PVD topcoat yields optimal durability and appearance for premium belts and hardware.
Electroplating remains the lower-cost option for volume manufacturing, leveraging liquid bath chemistry to deposit metals with adjustable thickness. PVD, however, relies on vacuum physics, creating thin but exceptionally strong ceramic barriers that outperform plated chromium for modern fashion hardware exposed to abrasion, salt, and sweat.
Premium hardware suppliers often use a hybrid solution—nickel or Ni–Cr plating for corrosion resistance, followed by a PVD topcoat for hardness, color diversity, and sustainability under strict environmental standards. This layered approach delivers high-end aesthetics while addressing regulatory and functional demands in metallic accessories.
How to Ensure Nickel-Free Compliance?
Nickel-free compliance means controlling nickel release from buckles and hardware to legal limits under EU REACH regulations. It is achieved by using nickel-free alloys, performing EN/ISO nickel-release testing, and maintaining documented certification and quality control throughout production.
Ensuring nickel-free compliance in custom buckles and leather hardware is about precisely managing nickel release levels, not merely choosing materials labeled as “nickel-free.” International regulations such as the EU Nickel Restriction define how much nickel can migrate from metal surfaces, and compliance requires correct material selection, repeatable testing, and complete documentation of results.
Understanding Nickel-Free Standards and Legal Limits
Manufacturers must understand that “nickel-free” is a measured condition rather than a marketing term. Legal standards define specific nickel release limits and require laboratory testing for verification.
- EU Nickel Restriction under REACH (Entry 27 of Annex XVII) limits release to 0.5 µg/cm²/week for skin-contact items and 0.2 µg/cm²/week for piercing items.
- Compliance is verified through CEN and ISO harmonized nickel-release tests rather than simply choosing a material name.
- Products labeled “Certified Nickel Free™” are tested repeatedly to ensure they never exceed legal release levels or trigger nickel allergy reactions.
In short, compliance depends on measurable nickel-release performance, not composition names. Only through standardized testing can a product legally be considered nickel-free under the EU Nickel Directive.
Material Selection, Testing, and Certification Practices
The path to compliance begins with intelligent material selection, followed by verifiable testing and certification that prove conformity to REACH regulations. Manufacturers like Hoplok apply a layered approach—engineering design, lab verification, and regulatory traceability.
- Use of nickel-free zinc alloys (Zn–Cu–Al–Mg), REACH-compliant brass, low-nickel stainless steel grades, titanium, or carbon fiber to prevent nickel exposure.
- Routine EN/ISO nickel-release testing reports proving ≤0.5 µg/cm²/week are required for each surface finish like PVD or electroplating.
- Certified Nickel Free™ programs and third-party batch testing ensure traceable compliance documentation for REACH audits.
- Periodic verification by accredited labs and integration of nickel testing with other quality checks such as salt-spray and coating durability tests.
These practices form a complete quality loop—from selecting verified alloys to maintaining compliance documentation—ensuring that every buckle or hardware component remains within the legal nickel-release threshold throughout its production lifecycle.
How Do “Click-Mechanism” Ratchet Buckles Work?
Click-mechanism ratchet buckles operate by engaging a toothed strap with pawls on a pivoting lever. Each lift of the lever locks on an inclined tooth, tightening tension incrementally, while a spring-biased release button disengages the pawls for smooth strap removal.
Core Mechanics of the Ratchet Buckle System
At the heart of the click-mechanism ratchet buckle lies the relationship between the toothed strap and two key components — the primary lever and the release mechanism. The system’s design allows the buckle to tighten in one direction only while maintaining a firm, load-bearing grip.
- The adjustment strap has inclined teeth with orthogonal faces that engage a lever-mounted pawl, enabling forward ratcheting without back-slip.
- A separate release lever pivots on a secondary axis and uses a spring-biased pawl that keeps tension until the user presses a recessed button to disengage both pawls.
Mechanically, the toothed strap feeds through the buckle housing. As the user lifts the primary lever, the adjustment pawl on its distal end catches onto each tooth, pulling the strap incrementally tighter. The orthogonal faces of the teeth resist reverse motion, ensuring no slippage occurs. When the recessed release button is pressed, the secondary pawl disengages, freeing the strap in a controlled way. This coupling of two distinct pivot axes — one for tightening and one for release — forms the fundamental one-way lock-and-release logic that defines the ratchet buckle’s functionality.
Materials, Engineering Specs, and Load Performance
Engineering precision is critical to maintaining the structural integrity of click-mechanism ratchet buckles, especially in high-load applications. The materials and geometry are optimized for reliability, corrosion resistance, and mechanical strength under cyclic tension.
- Common materials include Carbon Steel, Stainless Steel (e.g., 304), Aluminum, Brass, or Titanium processed to ±0.05 mm accuracy and thickness from 0.1 mm–15 mm.
- High-performance 1-inch webbing versions achieve 3,300 lbs breaking strength and 1,100 lbs working load capacity, utilizing torsion springs and pivot pins for durability.
Research evidence shows the buckle’s dual-pawl configuration (adjusting and locking pawls) and double-torsion spring assembly contribute to consistent performance under heavy-duty conditions. Components such as the ratchet tab, release tab, and base plate are often mounted via precision pivots, ensuring minimal play and predictable load behavior. Compact versions, seen in recent patent filings, integrate design refinements like squeeze-release tabs to prevent accidental disengagement. Altogether, these specifications reflect a balance of rugged functionality and mechanical elegance suitable for both industrial and sporting applications.
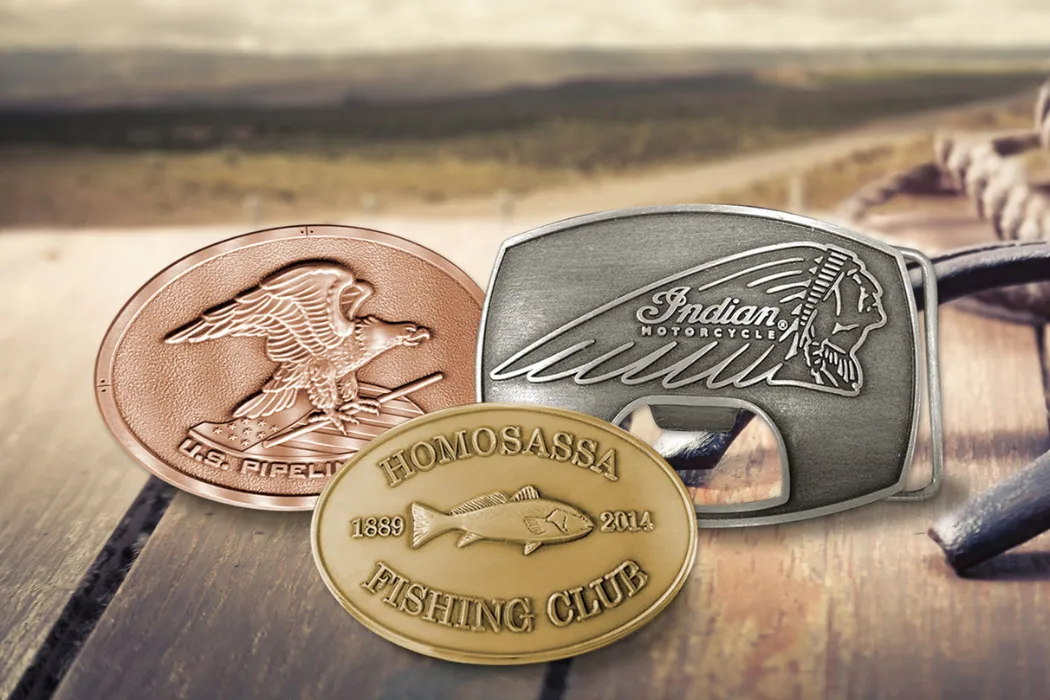
Can You Laser Engrave Logos on Hardware?
Yes. Most common hardware alloys—like stainless steel, aluminum, and titanium—can be laser engraved with permanent logos using fiber or CO₂ systems, provided engraving depth, coating thickness, and inspection guidelines follow industrial standards such as NASA PRC‑9003D for safe and precise results.
Laser Engraving Feasibility for Hardware Materials
Laser engraving is a reliable and precise solution for branding, identification, and traceability on a wide range of hardware materials. The process adapts to the material’s reflectivity, hardness, and coating type, enabling both aesthetic and technical applications.
- Commonly suitable metals include aluminum, titanium, copper-based alloys (except C17200), stainless steel grades 302, 304, 316, 17‑4PH, and similar.
- Fiber lasers are preferred for bare metals; CO₂ and UV lasers are used for anodized metals, plastics, and organic materials like leather inserts.
- Laser‑engraved logos are widely applied in industries such as aerospace, automotive, defense, and consumer hardware for logos and identification codes.
For belt buckles, clips, or strap hardware, fiber systems typically deliver the best accuracy and permanence, while CO₂ lasers handle coatings and composite surfaces with controlled power to prevent thermal distortion.
Technical Standards, Depth Control, and Quality Verification
Precision engraving on metal components is bounded by specification standards that regulate engraving depth, coating interaction, and inspection practices. NASA PRC‑9003D serves as a recognized reference that many industries mirror for process control and qualification.
- NASA PRC‑9003D sets a minimum depth of 0.003 in (≈76 µm) and a maximum not exceeding 50% of the base material thickness, with coating engravings limited to coating depth.
- Character height for technical logos is typically 3/16 in (4.76 mm).
- Inspection at 10× magnification ensures no cracking or coating damage that would reduce corrosion resistance.
- Logos may be engraved before plating or PVD to encapsulate marks under the finish, or post‑coating if depth respects anodize thickness limits.
This balance between depth and structural preservation ensures that engraved elements remain permanent without compromising fatigue resistance or corrosion protection—a principle especially relevant when working with anodized or PVD‑coated surfaces.
Most laser engraving setups for industrial hardware are guided by detailed qualification tests. These include engraving sample coupons with the thinnest expected section thickness, visual inspection under magnification, and ensuring marks remain legible under standard illumination. Fiber and hybrid YVO₄ machines from vendors like Keyence, Epilog Laser, MECCO, or Laserax are frequently cited in aerospace and manufacturing case studies for their consistency across aluminum and stainless steels.
When properly calibrated, laser‑engraved logos can survive abrasive wear, cleaning, and environmental cycling—validating them as both functional and aesthetic branding solutions for long‑term hardware applications.
What is the Cost of Custom Hardware Molds?
The cost of a custom hardware mold typically ranges from as low as $100 for soft prototype tooling to over $20,000 for hardened steel production molds. The final price depends on mold material, complexity, cavity count, and expected production volume.
Understanding the Pricing Range of Custom Molds
The price of a custom mold depends largely on the intended purpose, tooling material, and durability required for production. Costs span from low-budget prototypes used for design validation to industrial-grade molds built for continuous high-volume runs.
- Prototype or soft aluminum molds: approximately $100–$1,000 for short runs or design validation.
- Aluminum or pre-hardened steel molds: $3,000–$20,000 for small to medium hardware parts like buckles.
- Hardened steel production molds: $25,000–$100,000+ for complex multi-cavity tools with extended life.
Factors Influencing Mold Cost and Production Economics
Several technical and operational elements shape the total investment when commissioning a mold. These include machining processes, material specification, and production lifecycle targets. Each factor modifies both upfront cost and long-term economics.
- Machining rates influence pricing—around $80/hour for 3‑axis CNC and $200/hour for 5‑axis work.
- Mold material choice (aluminum vs. steel) affects durability and surface finish for coatings like PVD.
- Higher shot counts justify steel molds due to amortized per-part cost reduction over 10,000+ cycles.
- Complex features such as slides or texturing increase machining and finishing operations.
Research Summary and Industry Data Insights
Technical cost studies converge on a clear pattern for hardware mold pricing. Custom injection molds for small metal or plastic parts—such as belt buckles or fittings—typically fall within a range of a few thousand dollars for single-cavity aluminum tools and reach tens of thousands for hardened steel production versions.
- Low-end prototypes or soft tooling: $100–$1,000 for 3D‑printed or very simple aluminum molds.
- Mainstream mold range: $3,000–$20,000 for single‑cavity steel or aluminum tools.
- High-end production molds: $25,000–$100,000+ for hardened steel with multiple cavities.
When run length increases, the upfront investment in durable tooling is offset by reduced per-part cost, especially past ten thousand cycles. As a result, procurement decisions should weigh up not just the initial mold cost but the part cost amortization over the production lifespan.
Key Technical References
- Formlabs – Technical injection molding cost guide outlining material life and range.
- CADCrowd – Engineering-focused cost breakdown: ~$3,000 aluminum vs. $20,000+ steel.
- JAYCON – Procurement guide with explicit bands of $1.5K–$5K (aluminum) and $25K–$100K+ (steel).
- Xometry – Manufacturing marketplace citing tooling costs up to $100,000 for complex molds.
Final Thoughts
Custom belt buckle production blends engineering precision with artistry, balancing materials science, finishing technology, and design aesthetics. From casting alloys like zinc and brass to advanced coatings such as PVD and nickel-free finishes, each stage of sourcing and manufacture builds toward both form and function. The buckle’s role as the mechanical and visual centerpiece makes understanding its construction essential for ensuring comfort, performance, and lasting style.
For brands and designers, mastery of mold making, plating techniques, and compliance standards translates into durable, eco-conscious hardware that communicates quality and professionalism. Whether developing a limited artisan run or scaling to mass production, precision at every step—from CAD tooling to surface finish—creates a product that performs as well as it looks. In the end, a well-engineered buckle is more than an accessory; it’s a statement of craftsmanship and reliability.
Frequently Asked Questions
What is the cost of opening a custom buckle mold?
For a custom metal belt buckle, the typical mold (tooling) cost for a zinc‑alloy die‑cast buckle is about USD $200–$300 per mold for standard logo buckles. More complex, larger, or multi‑cavity tools can cost into the low thousands of dollars depending on design complexity and production requirements.
Is PVD plating better than electroplating for durability?
PVD coatings are generally harder, more scratch‑resistant, and longer‑lasting than traditional decorative electroplating on brass or steel. On stainless or alloy steel bases, PVD finishes such as TiN often outperform Ni/Cr electroplating in abrasion and salt‑spray tests, with typical surface hardness of around 2,500–3,000 HV compared to 200–1,000 HV for standard plating.
What is the difference between Zinc Alloy and Solid Brass?
Solid brass offers higher strength, density, and corrosion resistance than zinc alloy, making it better suited for high‑stress hardware. Zinc alloy, commonly used in die‑casting, provides cost‑effective production for complex designs but with lower long‑term durability. Brass density averages 8.3–8.7 g/cm³ versus about 6.6 g/cm³ for zinc alloys such as Zamak.
How do you ensure belt buckles are nickel-free?
Nickel‑free compliance is achieved through careful material selection, such as nickel‑free zinc alloy, titanium, or certain stainless steels, and verified through Dimethylglyoxime (DMG) testing for nickel release. Certified processes ensure no leachable nickel salts are present, avoiding exposure issues found in nickel‑plated bases.
Can you laser engrave logos on metal buckles?
Yes, laser engraving is common for marking logos on metal buckles using fiber or diode lasers. Materials include brass, stainless steel, aluminum, titanium, and zinc alloys. Typical parameters include speeds around 2,000 mm/s and resolutions up to 1,270 lines per inch for clean, permanent, high‑contrast results.
What is the standard salt spray test requirement for buckles?
While no buckle‑specific standard exists, manufacturers typically follow ASTM B117 neutral salt spray testing (5% NaCl at 35°C). Common benchmarks include 48–96 hours for standard hardware and up to 1,000 hours for premium coated buckles without visible red rust or significant surface corrosion.