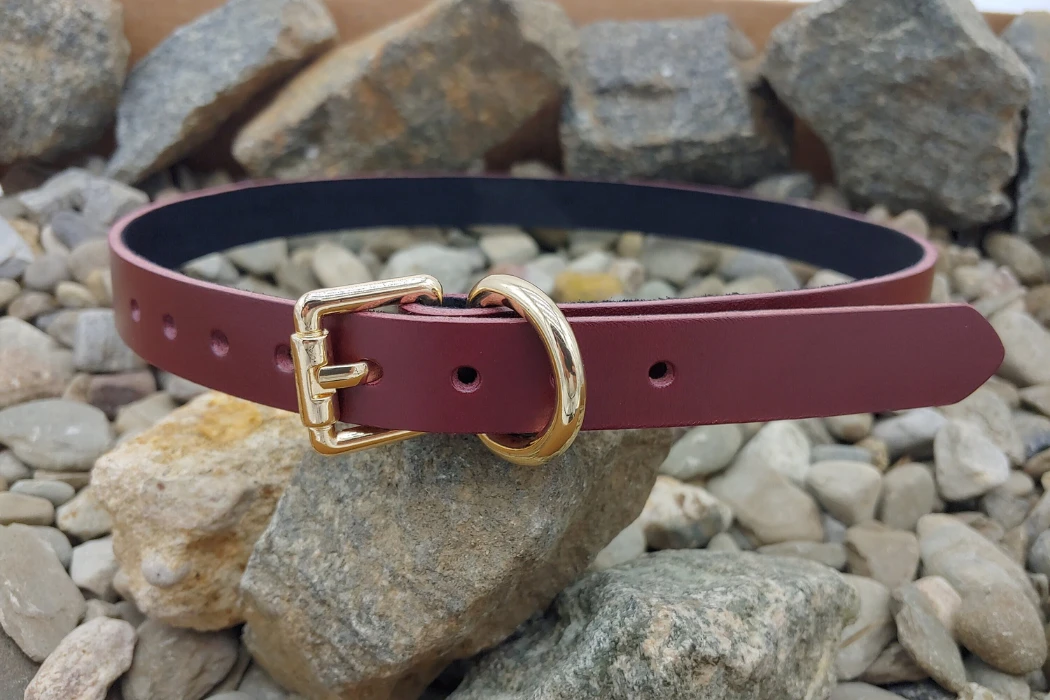
A belt inspection should connect visible defects with the approved drawing, material specification and acceptance plan. Finding a problem before shipment gives the buyer and factory a chance to correct it before it reaches a retail customer.
Separate natural leather characteristics from damage and unauthorised material changes. Wrinkles or grain variation do not by themselves prove full-grain leather, while an open cut or peeling finish needs assessment against the agreed limits. Keep approved appearance samples and defect photographs available to inspectors.
This checklist covers ten recurring inspection issues from material selection through final packing. The severity and lot-release decision must follow the buyer’s product-specific defect list; the examples below are not universal industry tolerances.
Quick Insight: The Defect Checklist
| No. | Defect | Category | Decision basis | Detection |
|---|---|---|---|---|
| 1 | Open scars or scratches | Material | Location, extent and effect on strength or appearance | Inspect both faces and edges in agreed lighting |
| 2 | Colour shading | Appearance | Approved colour range and viewing conditions | Compare with the retained reference |
| 3 | Skipped stitches | Construction | Seam function and approved workmanship | Check continuity along the seam |
| 4 | Loose threads | Finishing | Cosmetic tail versus unsecured seam | Inspect tips, loops and buckle folds |
| 5 | Cracked edge paint | Finishing | Agreed appearance and flex criteria | Inspect and bend using the defined procedure |
| 6 | Plating peeling | Hardware | Specified coating appearance and adhesion | Inspect corners, contact points and coating defects |
| 7 | Corrosion or tarnish | Hardware | Actual finish and allowed appearance change | Identify deposits, pitting or coating damage |
| 8 | Hazardous edges or points | Safety | Product risk assessment and applicable requirements | Use an appropriate safe inspection method |
| 9 | Incorrect size | Dimensions | Drawing’s measurement convention and tolerance | Measure from the specified datum |
| 10 | Suspected mould | Condition and hygiene | Hold and investigate before release | Check affected goods and packing without spreading contamination |
What Are the Most Common Leather Surface Defects?
Inspect material identity, finish and usable areas before cutting, then check the finished belt for damage introduced later. The same marking can have different acceptability on a distressed casual style and a uniform dress belt.
1. Open Scars and Scratches
Distinguish an allowed natural marking from a cut, abrasion or damaged area. Appearance alone may not establish when the damage occurred, so avoid assigning every scratch to tanning or transport without investigation.
- Visual check: Note the location, depth, exposed fibres and extent. Include the belt back and the area around holes and the buckle fold.
- Investigation: Compare incoming material and finished samples to identify where damage entered the process.
Set size and location limits in the defect catalogue. There is no universal rule that every visible scratch over 5 mm is a major defect. Damage affecting a structural area may matter even when small.
2. Colour Shading
Use an approved master sample and, where appropriate, a permitted shade range. Compare parts within one belt and across the sampled lot. A deliberate pull-up effect needs a different reference from a uniform pigmented finish.
- Visual check: Look for unexplained differences, patchiness or mismatched parts under the agreed light sources and viewing conditions.
- Investigation: Review material lots, application and finishing conditions; one appearance does not identify a single cause.
Define whether assessment uses an approved visual range or an instrumental colour difference, with its method and tolerance. “Grade 4 under D65” is not a universal incoming-colour standard.
How Do Stitching and Edge Construction Failures Happen?
Review the actual seam and edge design before judging workmanship. Cosmetic stitching and a seam securing the buckle fold serve different purposes. Record the defect and its location rather than assuming poor maintenance or rushed labour is always the cause.
3. Skipped Stitches
A skipped stitch interrupts the intended stitch formation and can create a snag or weakness. Check seam continuity, thread tension and the attachment area against the approved sample.
- Visual check: Look for floating thread sections, missed stitch formation and loose loops.
- Functional concern: Determine whether the affected seam secures a component and whether additional checks are required.
Use the specified stitch spacing and workmanship limits. An inspector should not introduce an unrelated stitches-per-inch target or release a functional seam defect because it is hidden.
4. Loose Threads
Thread tails can be a finishing issue, while an unsecured end can allow a seam to loosen. These require different corrections and should not automatically receive the same classification.
- Visual check: Examine strap tips, keepers and the buckle attachment for loose ends or pulled stitches.
- Correction: Secure and trim using the approved method for that thread and construction. Burning is not a universal treatment and can damage nearby material.
Set the finish requirement in the workmanship specification. A blanket 0.5 mm tail limit is not a substitute for checking that the seam is secure.
5. Cracked Edge Paint
Inspect for splitting, flaking, exposed layers and loss of adhesion, especially at bends. These defects can result from material preparation, coating compatibility, application, drying or the edge geometry.
- Visual check: Compare the edge before and after the agreed handling or flex procedure.
- Investigation: Identify whether the finish cracks within itself or separates from the substrate, then review the relevant process steps.
Define the bend radius, number of repetitions and acceptance criteria for a development check. Ten hand bends are not a universal standardised flex test. For relevant laboratory methods and their scope, see the belt physical-testing guide.
Why Do Buckles and Metal Hardware Often Fail Inspection?
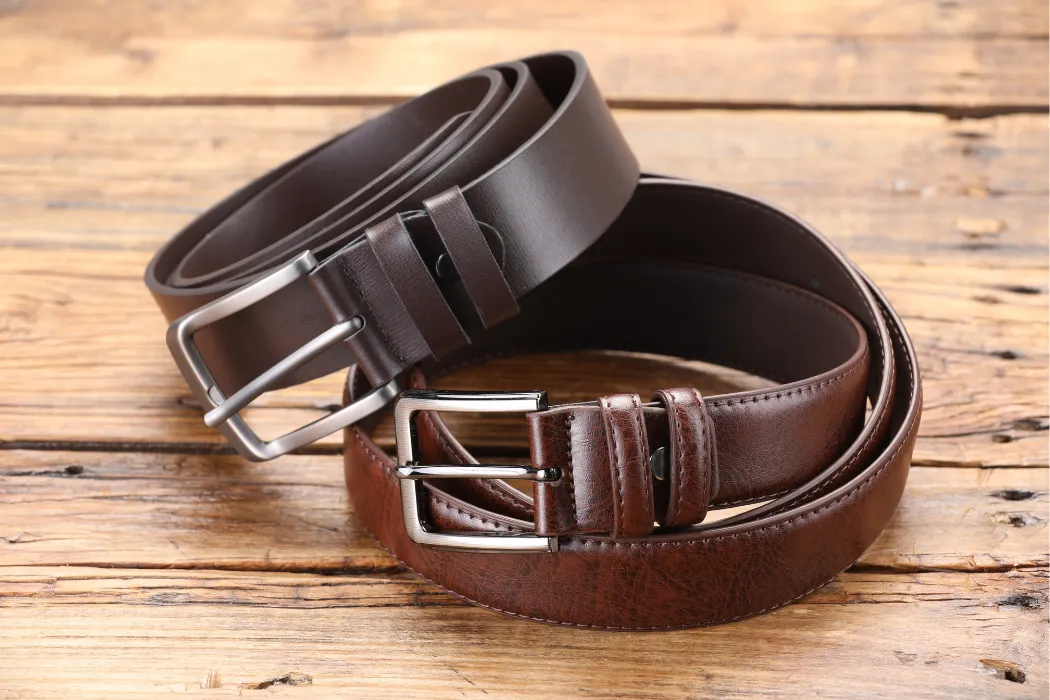
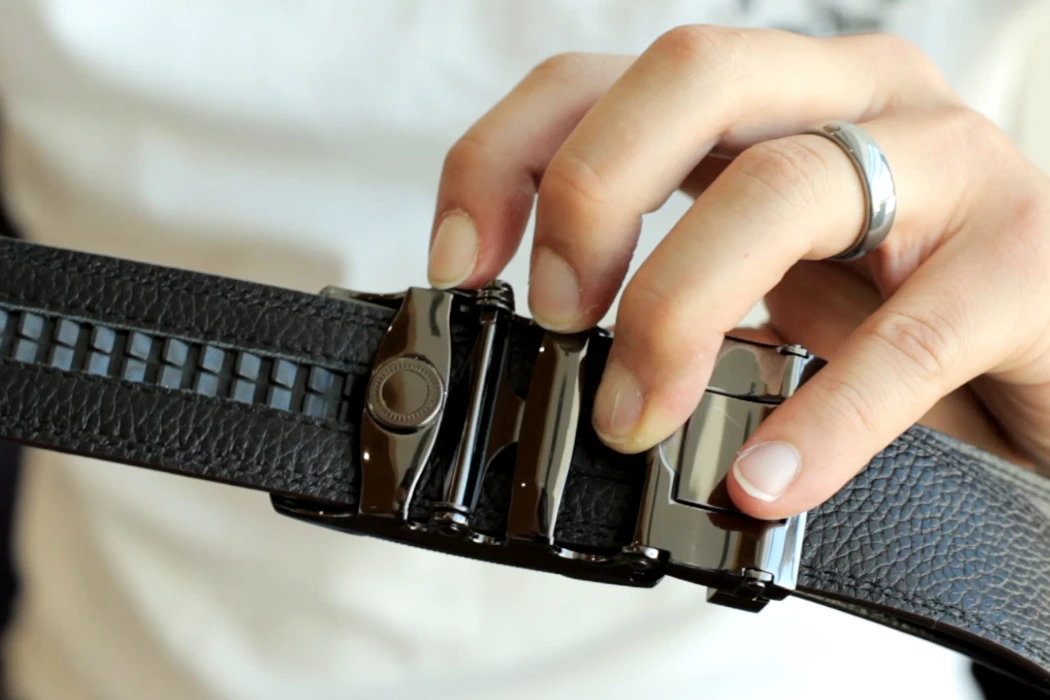
A buckle needs the specified appearance, correct fit and reliable operation. Inspect contact areas and concealed surfaces as well as the front face. Replacing hardware can also affect the strap attachment, so review the repair process before releasing reworked goods.
6. Plating Peeling
Bubbling, flaking or exposed underlying layers indicate a coating issue that should be recorded against the approved finish. The exposed material is not always grey; identify the actual substrate and coating stack.
- Visual check: Inspect corners, recesses, prong contact points and handling marks.
- Investigation: Surface preparation is one possible cause, alongside coating compatibility, process control and later damage.
If adhesion testing is required, define a method appropriate to the finish, including the tape and procedure where applicable. A tape brand name does not define a test. Apply the agreed lot-disposition rule rather than declaring that any tape result automatically rejects every item.
7. Rust or Oxidation
Identify corrosion, tarnish, pitting and coating loss separately. Humid storage, condensation, contamination and damaged protective layers can contribute, but no single visible colour establishes the cause.
- Visual check: Compare suspicious spots with the approved finish and inspect packaging for moisture or contamination.
- Investigation: Review substrate, protective system, handling and storage records together.
ASTM B117 describes operating salt-spray apparatus; it does not prescribe the exposure period or interpretation for a particular belt buckle. Agree the test and acceptance criteria. A fixed 24-hour requirement is not an industry-wide rule or a prediction of shipping life.
How Should Size, Safety and Hygiene Problems Be Handled?
These checks cover different risks. A wrong dimension needs a drawing-based decision, while a hazardous burr or suspected contamination calls for a prompt hold and assessment. Establish responsibility for disposition before inspection begins.
8. Sharp Edges and Points
Inspect buckle frames, prongs and other hardware for unintended sharp burrs or protrusions that could injure users or damage clothing. Use a suitable safe method; do not run bare fingers along a suspected sharp edge.
- Visual check: Look for casting flash, damaged edges and protruding fastening parts.
- Assessment: Use the applicable safety requirements and an agreed inspection procedure. Hold potentially hazardous goods for investigation.
A fabric snag check can help assess clothing damage, but it does not replace a product safety assessment or applicable sharp-edge/point testing. Define separate criteria for cosmetic roughness and hazardous features.
9. Incorrect Size
Measure with the method shown in the technical pack. For a conventional pin-buckle belt the specified functional length may run to a nominated hole, but removable, reversible and ratchet designs can use different reference points.
- Dimension check: Record length, width, thickness, hole spacing and other agreed dimensions.
- Reference point: Show the datum on a drawing so factory, inspector and buyer measure consistently.
The buyer and factory should agree tolerances before production. There is no universal ±0.5 inch acceptance limit for all belt styles and dimensions. Check size labels against the actual measurement convention too.
10. Mould or Fungus
White deposits can require investigation because surface wax bloom or residue may resemble contamination. Do not identify mould by colour or deliberately close-sniffing alone. Hold affected goods and assess related cartons and storage conditions before release.
- Condition check: Record visible growth or deposits, moisture-damaged packing and the extent of affected goods.
- Prevention review: Check drying, storage humidity, packing readiness and condensation risks. A single moisture-meter reading is not a universal safe-to-pack threshold for every leather.
Use appropriate handling precautions and qualified assessment for suspected contamination. CDC guidance advises against touching mouldy material with bare hands. Agree any treatment and reinspection with the responsible parties; do not conceal affected goods through casual wiping and shipment.
What Physical Tests Help Assess Defect Risks?
Choose physical tests for the actual material and construction, with the method and acceptance criteria recorded in advance. Visual inspection, laboratory tests and functional checks complement one another; none guarantees the absence of every future failure.
| Test | Requirement to define | Purpose |
|---|---|---|
| Dry and wet rubbing | Applicable method, rub count and staining/surface criteria | Assess transfer against clothing-contact requirements |
| Material or assembly pull | Specimen, fixture, method and force/stress limit | Assess the material or nominated connection |
| Flex resistance | Method suitability, conditions and acceptable damage | Evaluate coating and construction under repeated bending |
Frequently Asked Questions
What is the standard Acceptance Quality Limit (AQL) for leather belts?
There is no single AQL selection for every belt order. ISO 2859-1 provides sampling schemes indexed by AQL for lot inspection. Agree the lot, inspection level, defect classes and selected limits. If no critical defects may be accepted in the sample, state that rule explicitly rather than calling it a standard “AQL 0” plan.
How can I prevent mould during leather-belt shipping?
Control material and packaging readiness, storage conditions and condensation risk. Validate any moisture-control packaging for the route and packed product; desiccant or anti-mould inserts do not replace dry, clean goods and suitable storage. Use only packaging treatments appropriate to the market and material.
Is “Genuine Leather” a defect if I ordered “Full Grain”?
“Genuine leather” is a broad description, not an automatic lower grade. Full-grain leather is real leather too. The issue is whether the delivered construction matches the full-grain specification. A substituted corrected-grain or split material would need assessment as a specification deviation, regardless of the label. Leather and Hide Council terminology distinguishes these grain descriptions.
Why does edge paint peel after a few months?
Possible causes include poor substrate preparation, incompatible coatings, inadequate drying or stress at the bend. Investigate the failed sample and production record. There is no mandatory three-to-five-coat and heat-setting recipe for every edge system; follow the coating supplier’s process and approve the finished result.
Conclusion: Connect Inspection with Prevention
Use the ten checks as a working defect catalogue with photographs, measurement rules and agreed disposition. Record failures early enough to correct the process, and recheck affected characteristics after repairs or material changes. The premium belt manufacturing guide explains the wider development decisions behind an approved product.
Hoplok has four facilities in China and Cambodia, including ProPelli for finishing incoming crust leather. ProPelli’s current LWG Gold rating is facility-specific and separate from finished-belt acceptance. Send your drawing and quality requirements through our custom leather belt enquiry so the inspection and testing scope can be agreed with the quotation.