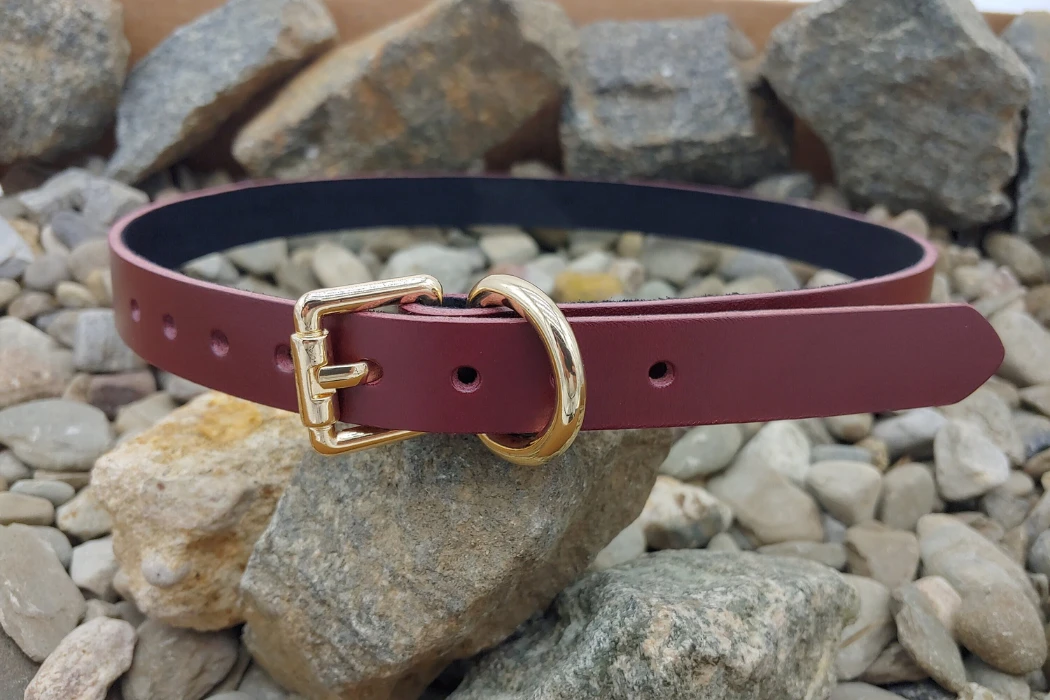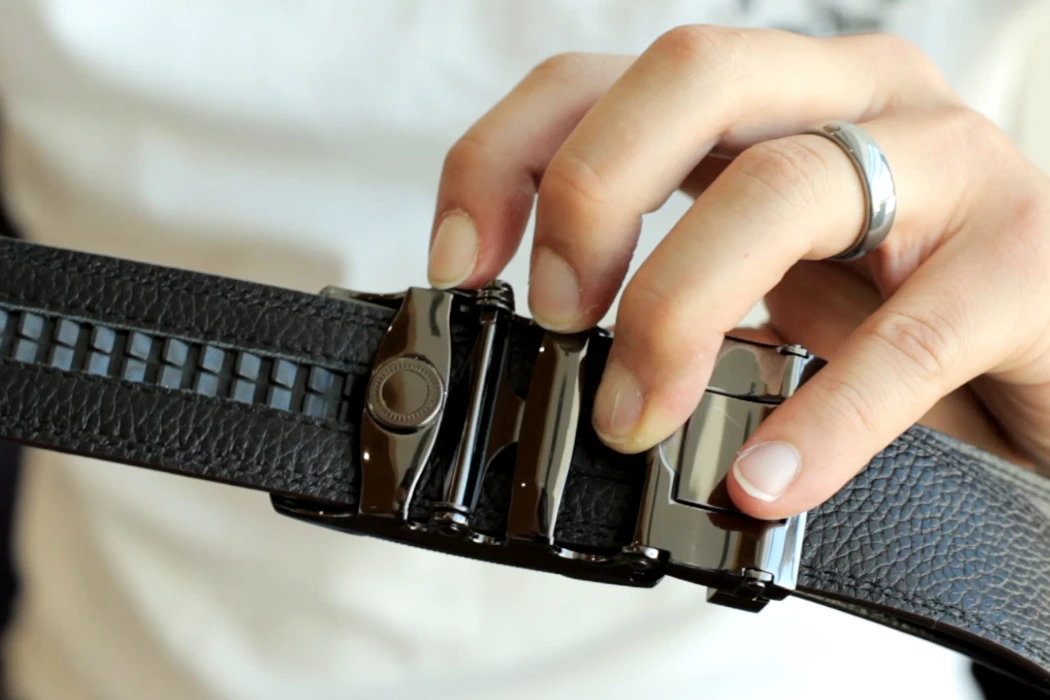
A production belt size chart needs a defined measurement origin, a target fit reference and an approved relationship to the retail label. The customer’s trouser size, the belt’s nominal size, the total finished length and the leather cutting length are different measurements. Confusing them can produce a correctly cut strap that still does not fit the intended customer.
For a conventional pin-buckle belt, a selected hole—often the middle hole—is a useful grading reference. The drawing must also identify exactly where measurement begins and whether the buckle is included. Other closures need their own fit-range method.
This guide explains how to build and verify a grading chart for adult and children’s fashion belts. Numerical examples below illustrate the calculation method; they are not universal body measurements, brand-size conversions or Hoplok production tolerances.
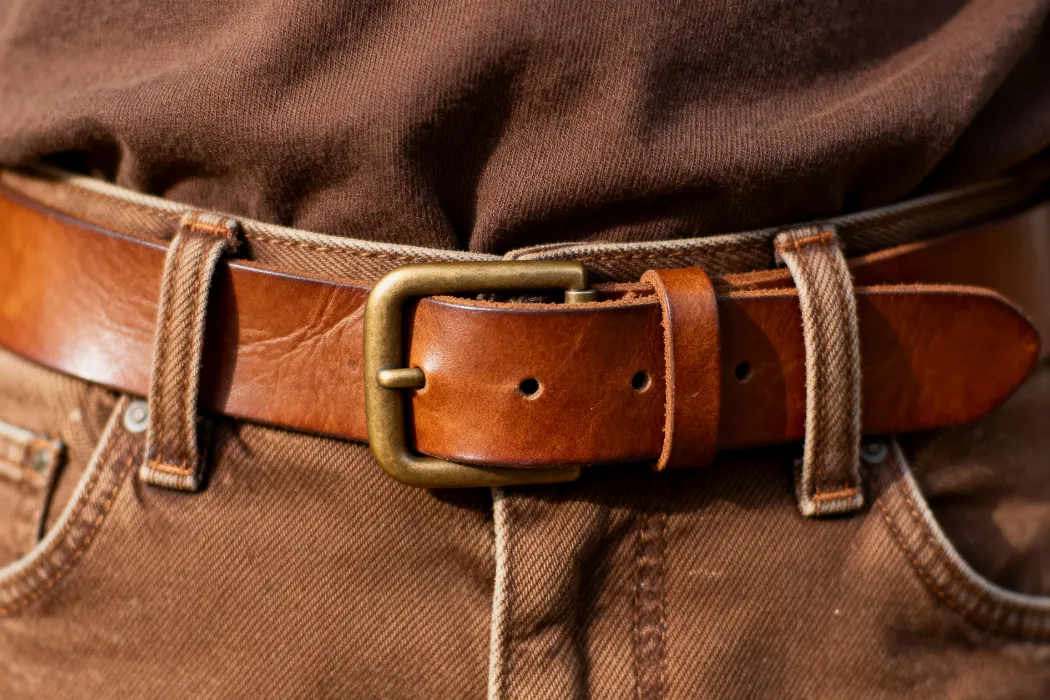
Why Must Retail Labels and Production Measurements Be Separated?
Trouser labels are not direct belt measurements
A trouser label may not equal the wearer’s measured circumference at the belt position. Garment style, wearing position and intended layering also matter. A “buy two inches larger” instruction is used by some brands as shopping guidance, but it is not a universal engineering allowance to add to every belt measurement.
For example, Filson’s Bridle Leather Belt description measures its size from the leather fold to the centre hole and notes that it may differ from trouser size. The practical lesson is to define the brand’s convention, not to transfer one brand’s rule to every product.
Create an explicit label mapping
Use separate fields for the retail label, nominal reference length, usable adjustment range, total finished length and cutting reference. State whether a numeric label represents a garment recommendation or an actual measured belt dimension. For alpha labels such as S or M, publish the approved range rather than assuming a worldwide conversion.
Use tolerance to control production variation
Tolerance is the permitted variation around a specified dimension. It is different from the grading step between sizes and from the adjustment range within one size. Adjacent belts may intentionally have overlapping fit ranges; that is not automatically a manufacturing error. Choose tolerances that the design and production process can support and verify them on samples.
Customer-service returns data can help improve a brand’s chart, but no universal return percentage or zero-return promise follows from a sizing method.
How Should the Measurement Method Be Defined?
Show the start and end points in the tech pack, ideally with a dimensioned drawing and approved reference sample. “Buckle to hole” is incomplete if one team measures from the leather fold and another from a point on the buckle. Keep the method consistent between product development, inspection and the customer size guide.
Choose the fit reference
For a fixed-hole pin buckle, define the reference hole and the exact measurement origin. Lay the belt in the agreed condition without applying an undefined pull. State whether the dimension is measured on the assembled product and how any curvature or elastic construction is handled.
Record the other dimensions
Total length matters for appearance, keeper engagement, packaging and material usage, even though it cannot alone define the wearable range. Tail length should state which hole or reference it is measured from. Hole spacing, hole geometry, strap width and the buckle attachment also need dimensions.
Keep finished length separate from cutting length
The leather blank may include fold-back, attachment and end allowances. Hardware geometry and material thickness affect how the assembly is developed. Do not simply subtract a nominal buckle length and add a tail to obtain a production cutting length without validating the actual construction.
| Measurement | Definition required in the drawing |
|---|---|
| Reference length A | Exact origin to the centre of the designated reference hole |
| Hole spacing s | Distance between adjacent hole centres |
| Hole count and geometry | Number, position, size and shape |
| Tail allowance t | Reference hole or point to the strap tip |
| Total finished length | Exact finished-product start and end points |
| Cutting length | Pattern dimension including the approved attachment and end allowances |
| Strap and hardware width | Compatibility with buckle and intended garment loops |
An example of hole-position arithmetic
For five equally spaced holes with the middle hole as the reference, the distances from the same origin are A − 2s, A − s, A, A + s and A + 2s. With an illustrative A of 900 mm and s of 25 mm, the hole centres are 850, 875, 900, 925 and 950 mm. The range must still be assessed with the assembled buckle and intended use.
If a 150 mm tail is measured from that reference hole to the tip, the tip is 1,050 mm from the same origin. This does not automatically make the leather blank 1,050 mm long: the attachment pattern and measurement origin still determine the cutting allowance.
How Can Buyers Build Adult Grading Charts?
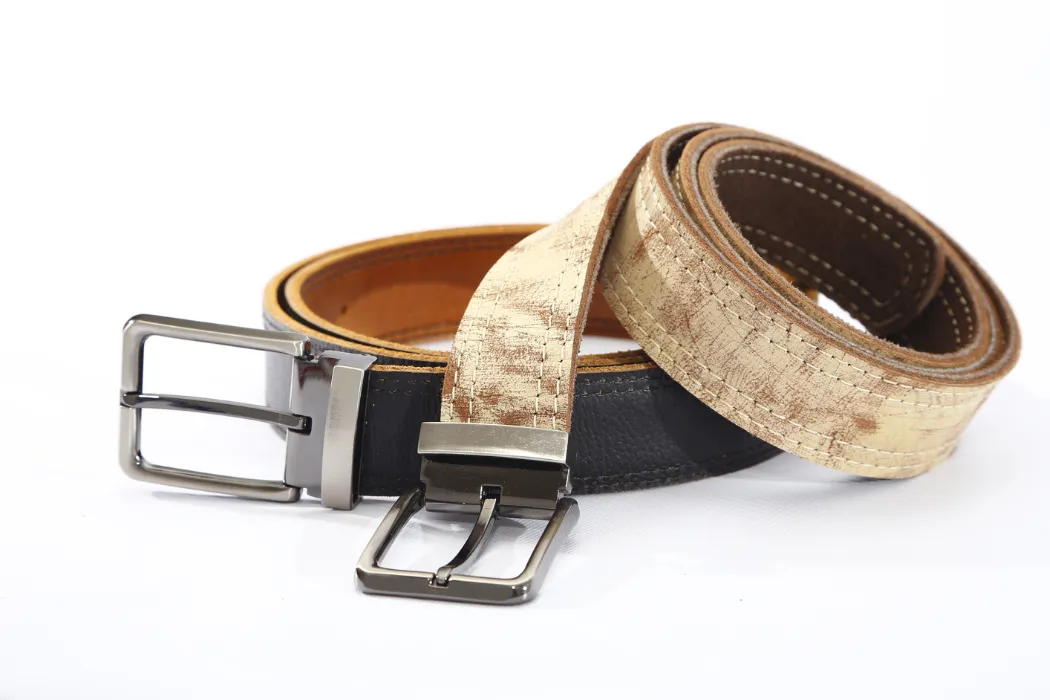
Choose the size range and grading step from the brand’s fit brief and sample validation. There is no universal rule that men’s labels use even inches, women’s alpha labels step by four inches or a medium always has one specific length. A waistband belt and a waist-cinching belt may use different conventions.
Select one controlling unit
Keep the production chart in one unit, then calculate any display conversion. One inch equals exactly 25.4 mm, or 2.54 cm. Thus 34 inches is 86.36 cm and 36 inches is 91.44 cm; “34/90” is not an exact unit conversion. If a brand uses such a paired label, define it as its own size mapping rather than mathematical equality.
The NIST conversion reference provides the inch-to-centimetre factor. State any rounding rule and avoid rounding back and forth between units during pattern development.
Example grading chart
The following example uses a 50 mm reference-length step, five holes and 25 mm hole spacing. Labels A, B and C are placeholders for a buyer’s size names; they do not represent men’s or women’s standard sizes. The hole-position ranges overlap intentionally.
| Example label | Reference A | First hole | Last hole | Retail label mapping |
|---|---|---|---|---|
| A | 850 mm | 800 mm | 900 mm | To be defined by buyer |
| B | 900 mm | 850 mm | 950 mm | To be defined by buyer |
| C | 950 mm | 900 mm | 1,000 mm | To be defined by buyer |
Validate the range before production
Try the samples at the intended wearing position with representative garments and the expected adjustment range. Check tail length, keeper engagement and buckle alignment at both ends of the range. Review whether the size steps leave a gap or excessive unused overlap, then approve the final label mapping.
An odd-numbered retail size may be appropriate for a particular assortment. SKU count is a commercial decision, not a reason to declare such sizes technically invalid.
How Should Children’s and Junior Sizes Be Specified?
Use measured fit requirements for the intended customer group and product, then decide whether an age label is useful retail guidance. A child’s age does not define one global waist circumference. Do not copy an age-to-length table into production without validating it for the brand’s market and wearing position.
Build a measured range
State the target circumference or approved belt reference measurements, adjustment range and garment use. If an age range appears on the label, document how the buyer established it. Keep the relationship between the age label and measured range clear in the size guide.
Evaluate adjustability as a design feature
More holes or a different closure may increase adjustment options, but the hole layout and hardware need to work with the strap construction. Extra holes do not guarantee a fixed number of years of growth. Cutting a strap shorter cannot create additional length later, so do not present cut-to-fit construction as a cure for children outgrowing belts.
Review removable parts and modification instructions
A removable buckle or screw post is not automatically the right choice for children. Have the responsible product team assess the attachment, intended age and applicable requirements. Any parent-adjustment instructions should be validated for the actual design; do not recommend home cutting or hardware removal as a universal feature.
| Child-product field | Information to approve |
|---|---|
| Intended user | Age classification and market |
| Measured range | Fit reference and usable adjustment positions |
| Garment use | Waist/hip position and relevant loop dimensions |
| Hardware | Attachment and appropriate handling requirements |
| Label guidance | Relationship between age/alpha label and measured fit |
| Validation | Fit samples and applicable product checks |
The same distinction between label, reference length and cutting length applies to junior products. Overlap with an adult size range can be a deliberate assortment choice, provided both charts clearly state their measurements.
Which Technical Factors Affect the Approved Dimensions?
Material and construction behaviour
Full-grain, split, bonded, PU and braided constructions vary. Do not assume that every full-grain belt stretches 2–3%, every PU belt has zero stretch or every braid needs a 5–8% reduction. Define the measurement condition and any relevant dimensional-stability or elongation assessment for the actual material.
Hole spacing and shape
Set the spacing, hole dimensions and location on the drawing. Smaller spacing can offer finer adjustment, but strength depends on material, geometry and loading together. No universal gap or oval-hole allowance guarantees fit or prevents tearing. Evaluate the layout with the intended buckle pin.
Buckle fold and attachment
The fold-back length depends on the buckle bar, leather thickness, lining, reinforcement and attachment method. Develop the pattern from the actual components and verify the assembled reference length. There is no universal 8–10 mm turnback allowance or one skiving thickness for all straps.
Production measurement and inspection
Agree the tool, measurement method, condition of the belt and recording format. Record target and tolerance separately for each critical dimension. Where a sample has been flexed, loaded or stored under a particular condition, identify that condition so its result is not confused with the initial measurement.
| Potential source of variation | Control to define |
|---|---|
| Different measurement origins | One drawing and approved reference method |
| Material movement | Specified condition and relevant material checks |
| Hardware changes | Revalidation of pattern and finished length |
| Hole-placement variation | Centre locations and dimensional tolerance |
| Unit conversion | One controlling unit and documented rounding |
| Retail label mismatch | Approved label-to-measurement table |
Recheck the size set after changing the buckle, strap construction or pattern. A reference sample is useful, but it should be supported by a dimensioned chart so future production is not dependent on visual comparison alone.
Frequently Asked Questions
Should every belt be two inches larger than trouser size?
No. That is a shopping convention used by some brands, not a universal engineering rule. Define the brand’s measurement method and validate the fit at the intended wearing position.
What is the standard distance between belt holes?
There is no single spacing that suits every belt design. Specify centre-to-centre spacing and hole geometry with the buckle and material, then check adjustability and performance. The 25 mm spacing in this guide is an illustrative example.
How should a braided or holeless belt be measured?
Define a nominal reference and usable fastening range for the actual closure. State any measurement tension or condition needed for the construction. Do not assume that a point 150 mm from the tip represents the fit reference for every holeless belt.
Are men’s and women’s belt widths fixed?
No. Width depends on garment loops, buckle, appearance and intended use. Specify it in the product drawing and validate compatibility with representative garments rather than treating gender labels as dimensional standards.
Is 36 inches the same as 90 cm?
No. The exact conversion is 91.44 cm. A brand can use a nominal paired size label, but it should define the mapping clearly and keep one controlling production measurement.
Approve the Chart, the Size Set and the Label Together
A usable grading chart connects the measurement origin, fit reference, hole layout, tail, construction and retail label. Validate the samples at the intended wearing position and document the tolerances. This reduces ambiguity without promising zero sizing errors or eliminating every return.
For Hoplok custom belt development, send the buckle reference, intended garment use, target range and proposed label chart. Confirm the pattern and size set through sampling; no universal set of “verified grading molds for every market” is assumed. Minimum orders are 300 genuine-leather belts or 1,000 PU belts, with belt sampling generally taking 2–3 weeks and bulk production 60–90 days, excluding shipping.