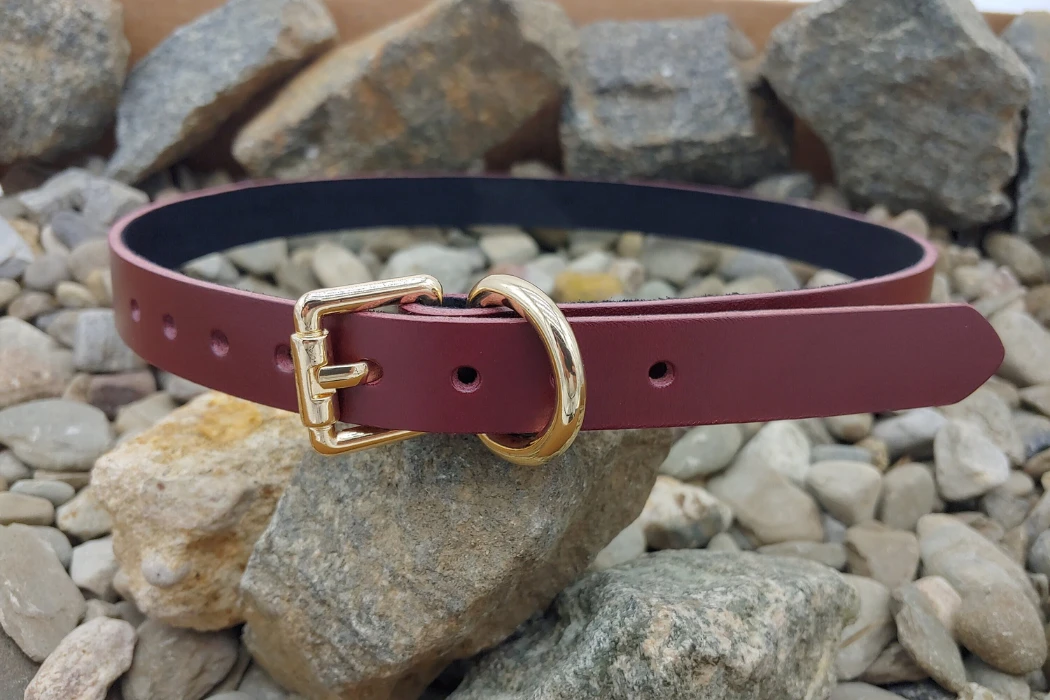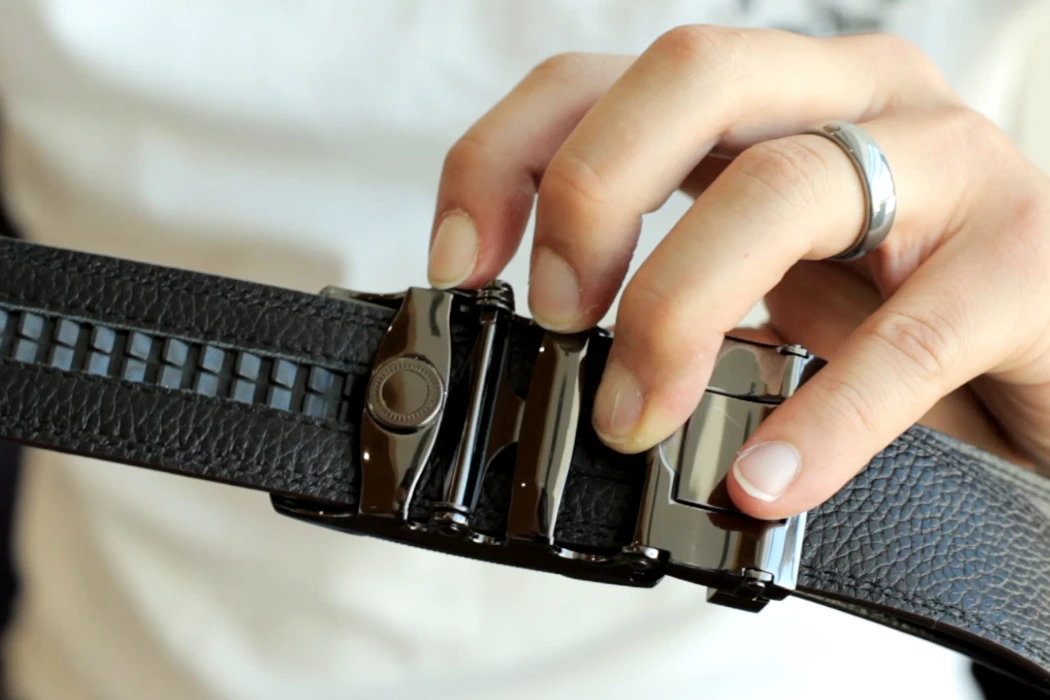
Choose a belt logo method by approving the mark on the actual production material. A crisp foil logo on smooth leather may look broken on a deep grain; a subtle blind impression can disappear against a dark finish. The drawing alone cannot answer those questions.
This guide compares blind debossing, raised embossing, foil stamping, printing, laser marking and metal badges. It also covers the artwork, placement and acceptance decisions that belong in a private-label belt specification.
First distinguish the processes
| Method | How the mark is made | Best reason to consider it | What to check on a sample |
|---|---|---|---|
| Blind debossing | A die presses a recessed mark without adding color | A discreet, tactile brand mark | Legibility, impression consistency and reverse-side marking |
| Raised embossing | Tooling forms a raised design | A relief effect that catches light | Construction suitability and exposed high points |
| Foil stamping | A compatible foil transfers color or a metallic effect through a die | Visible branding against the base color | Coverage, edge definition and adhesion |
| Printing | Ink forms a surface graphic using an appropriate printing process | Colored artwork or multiple graphic elements | Color, registration, adhesion and flexed appearance |
| Laser marking | A qualified process changes or removes surface material | Digital artwork and variable information | Material suitability, contrast, residue and damage |
| Metal badge | A separate branded component is attached | A three-dimensional hardware detail | Attachment, comfort, finish and added thickness |
Buyers sometimes use “embossing” for a recessed logo. Show the supplier the intended result in a drawing or physical reference and specify whether the image should be raised or recessed. “Permanent” is not a useful acceptance criterion: a mechanically formed or engraved mark can still wear or become less legible.
Blind impressions: resolve depth and legibility together
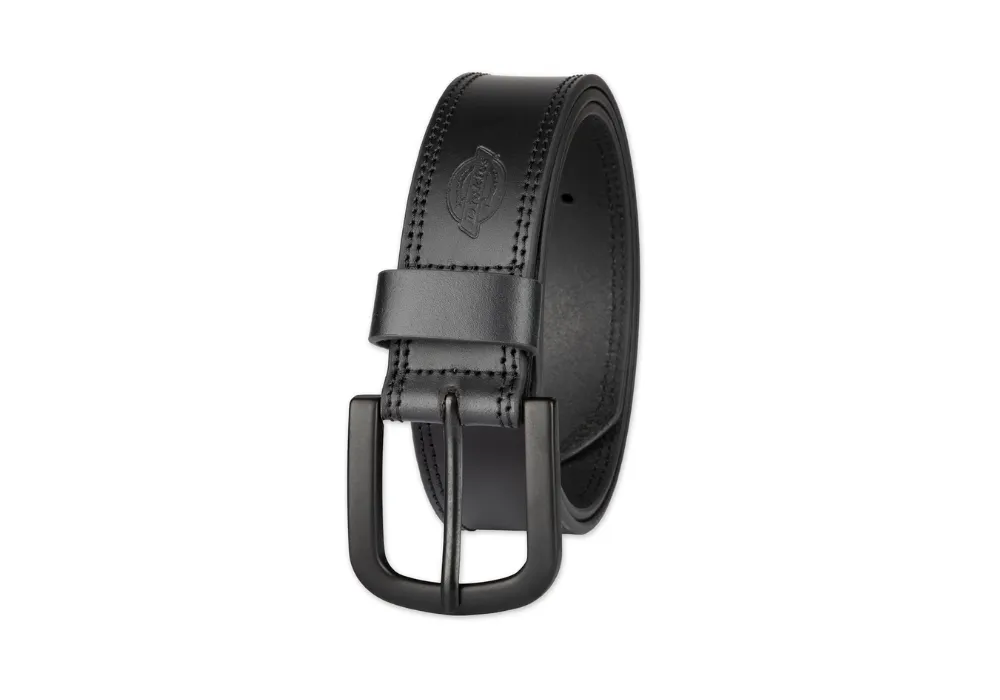
A blind deboss suits a quiet logo when the material can hold a clear impression. Die geometry, pressure, temperature where used, dwell time, moisture and material construction influence the result. The same setting should not be assumed to work on every leather or PU construction.
Review a sample at normal viewing distance, then inspect small counters and fine lines close up. Check the back of the strap for an unwanted witness mark and the edges of the impression for damage. Specify the approved appearance rather than requiring an arbitrary universal depth that could weaken a thin construction.
Ask the supplier to identify the tooling and whether a later artwork change needs another die. Include storage, repeat-order availability and ownership in the commercial agreement.
Foil stamping: qualify the foil and the finished surface
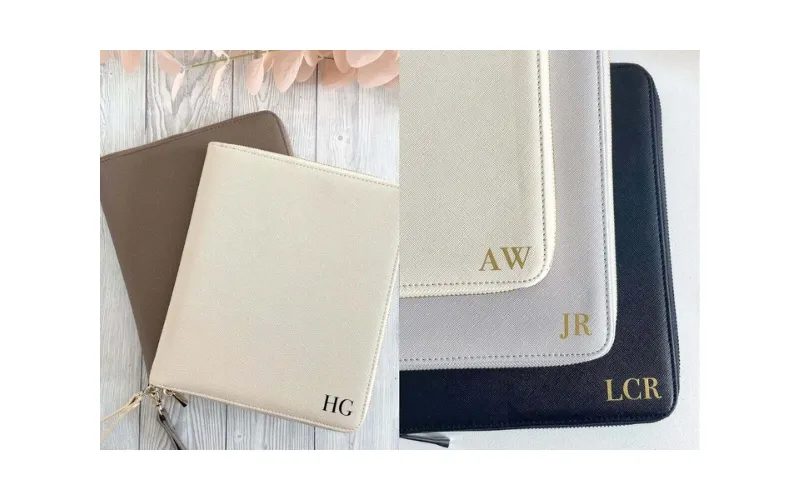
Foil adds contrast, but successful transfer depends on the complete surface system. Smooth and heavily textured finishes can produce different coverage. Oils, waxes and coatings may affect adhesion, so the test material should have the same finish as the planned bulk order.
Approve foil color, gloss, location and edge definition. Look for missing areas, filled-in lettering and misregistration. A recessed foil mark can change its exposure to rubbing, but it does not establish a fixed service life. The sample should be checked using the agreed rub, flex and appearance requirements.
Do not adopt a temperature range from an unrelated foil or leather. Process settings belong to the qualified combination of die, foil, substrate and equipment.
Printing: specify color and adhesion separately from relief
Printing is a separate option when artwork needs flat colors or a graphic effect that a blind impression cannot produce. For screen printing, separate colors normally require their own screens and alignment. Discuss whether another printing process better fits gradients, small text or a complex image.
Request a printed swatch on the specified finish. Approve the color reference, opacity, registration and feel, then check adhesion and flex performance. Do not apply an apparel ink curing temperature to leather or PU without material and ink-system qualification.
Make the production record explicit: ink or transfer reference, artwork revision and the approved sample. An unapproved topcoat change can alter a previously accepted print result.
Laser marking: compatibility comes before artwork detail
Laser results vary with material composition, finish, color and equipment. A digital file can simplify artwork changes, but setup, fixtures, material qualification and sampling still take work. Laser marking should not be quoted as automatically having zero setup cost or a universal production speed.
Obtain the material identity and approval for laser processing before a trial. PVC-containing leatherette is unsuitable: laser equipment maker Trotec identifies PVC among materials that should not be laser processed. The label “PU” alone is not enough to establish the safety or suitability of every multilayer material.
For an approved substrate and process, assess the final mark for contrast, residue transfer, scorching, edge damage and reverse-side effects. A laser suitable for leather is not automatically the correct system for a metal buckle. Evaluate those as separate jobs with their own samples.
Metal badges: include the attachment in the design
A badge can carry a raised logo or distinctive finish, but it becomes part of the belt’s construction. Identify its base metal, dimensions, finish, back structure and attachment method. Check how it sits against clothing and whether it interferes with the buckle, keeper or belt loops.
Approve the assembled belt rather than the loose badge alone. Look for sharp edges, rotating or loose attachments, local strap deformation and finish variation between the badge and buckle. Agree on attachment and finish checks appropriate to the design. Do not infer a five- or ten-year life from the metal name.
Make location and artwork measurable
- Position: measure from a fixed datum such as the belt tip or buckle fold, and identify the visible side.
- Artwork: provide a versioned vector file, outlined fonts and the intended finished dimensions.
- Small detail: approve the smallest letters and line gaps on actual material.
- Orientation: state how the logo reads when the belt is worn or laid out.
- Variants: distinguish permanent branding from variable size, batch or other information.
- Acceptance: retain an approved sample and list unacceptable defects.
When combining foil and a recessed impression, approve their alignment together. Adding a second process adds another registration step; it should be justified by the intended result rather than described as automatically more luxurious or more secure.
Compare the complete production cost
Request separate charges for artwork preparation, dies or molds, setup and recurring application. Consider the number of variants and expected reorders. A fixed die charge can be spread across a repeated design, while variable artwork may favor a digital process. There is no universal order quantity at which one method becomes cheaper.
For Hoplok belt orders, the minimum quantities are 300 leather belts or 1,000 PU belts, with style, color and size allocation confirmed in the quotation. Belt sampling takes 2–3 weeks; bulk production lead time is 60–90 days. A logo proof alone is not a complete belt sample.
Send the artwork, proposed placement, material reference and quantity to Hoplok. We can discuss the branding brief as part of your custom belt program and identify which sample comparisons are needed.