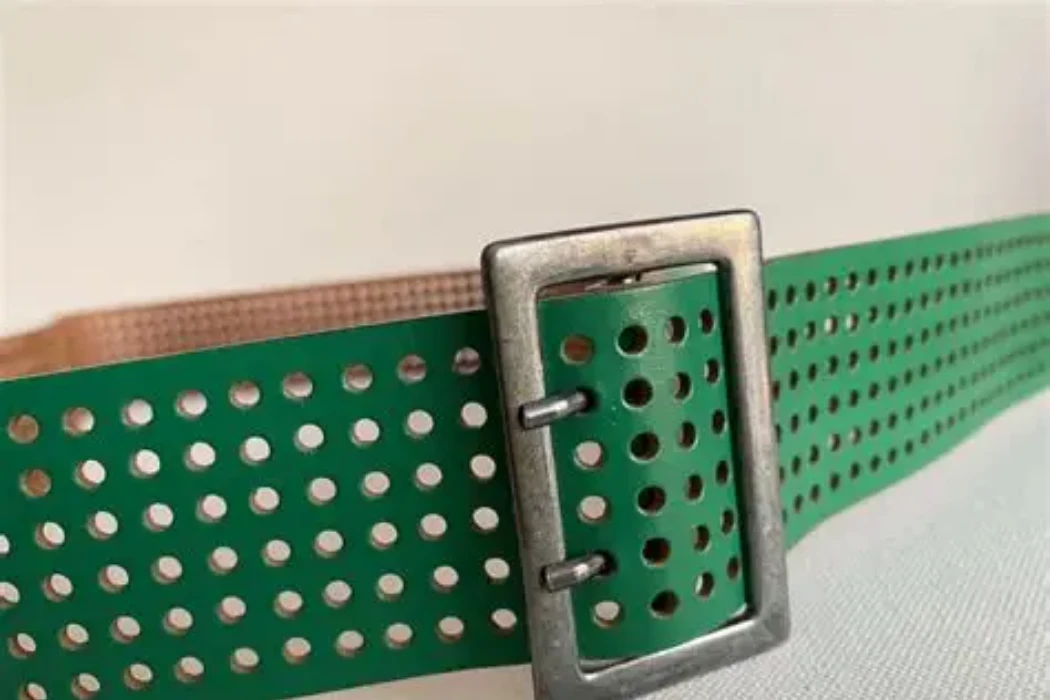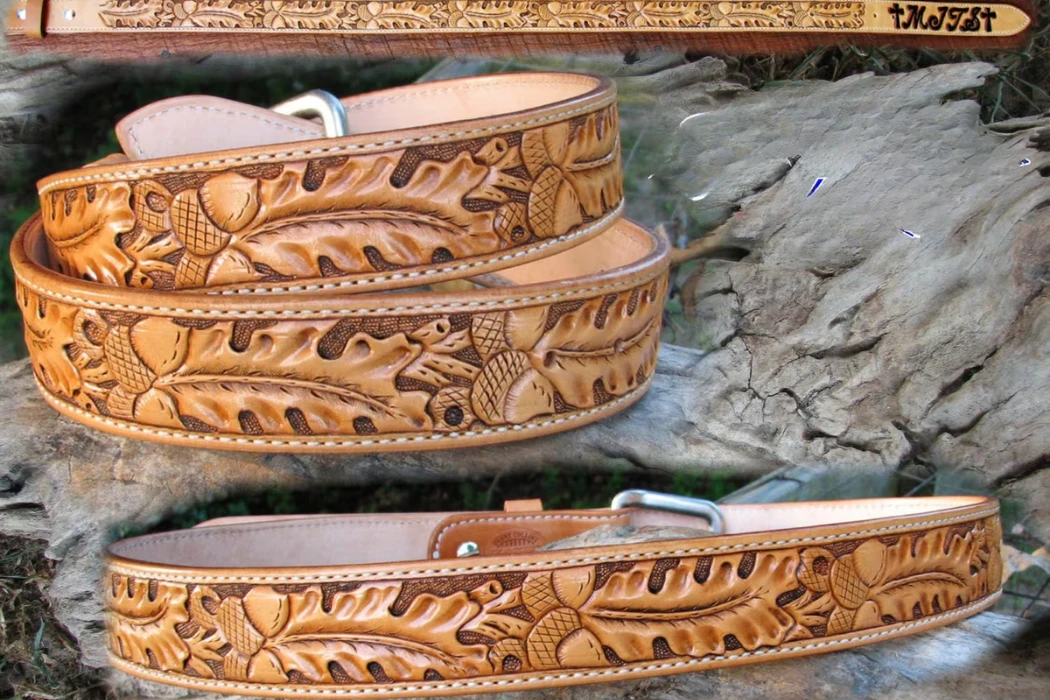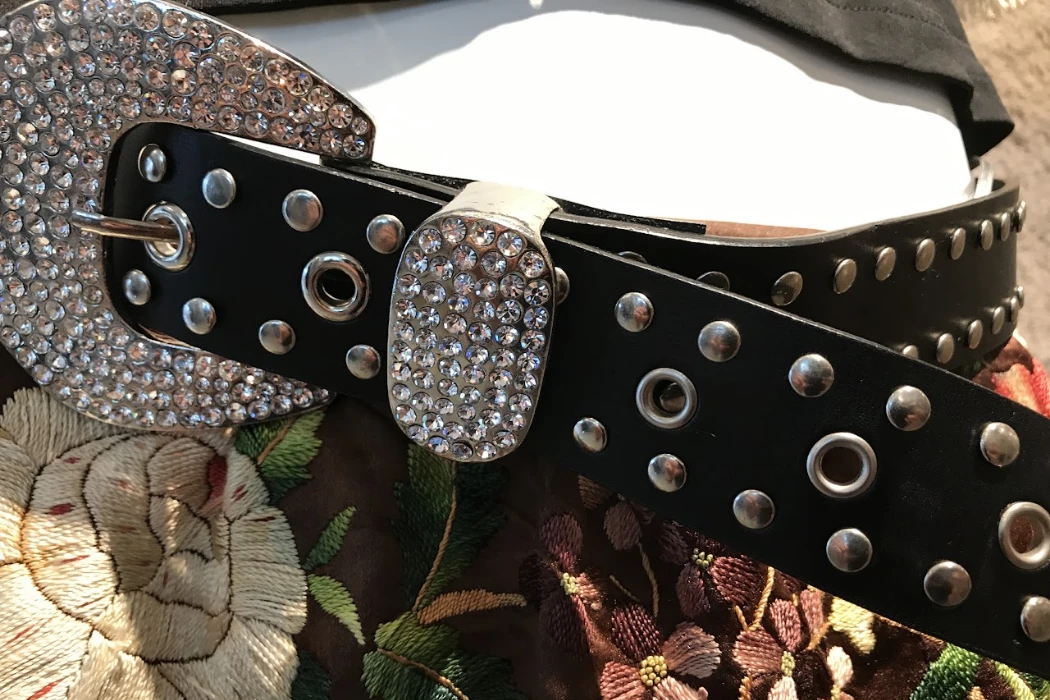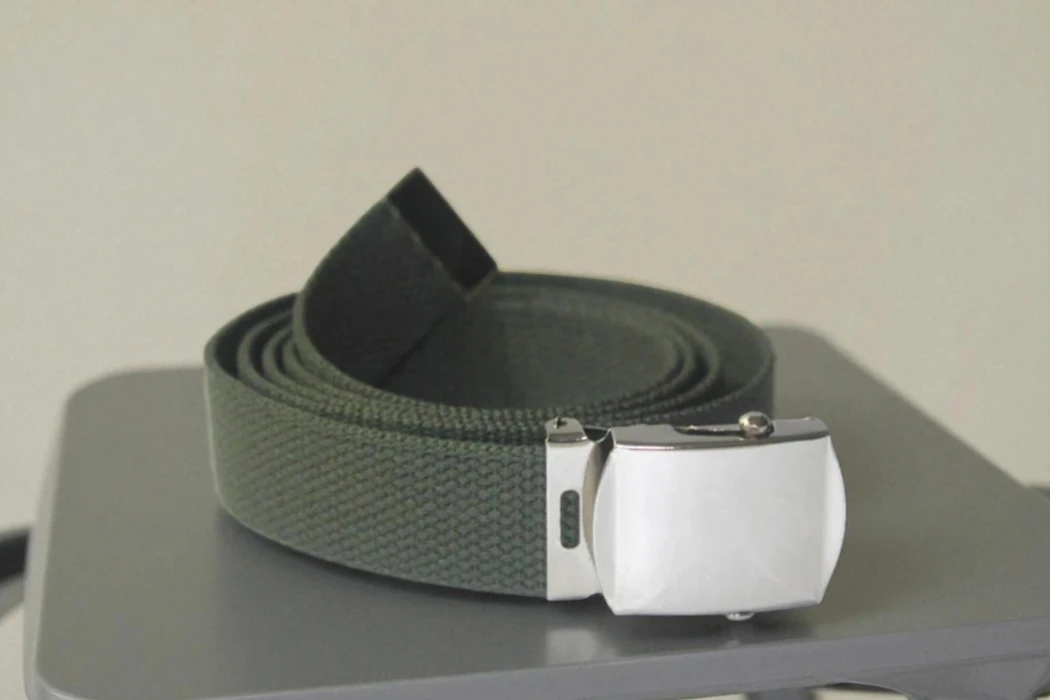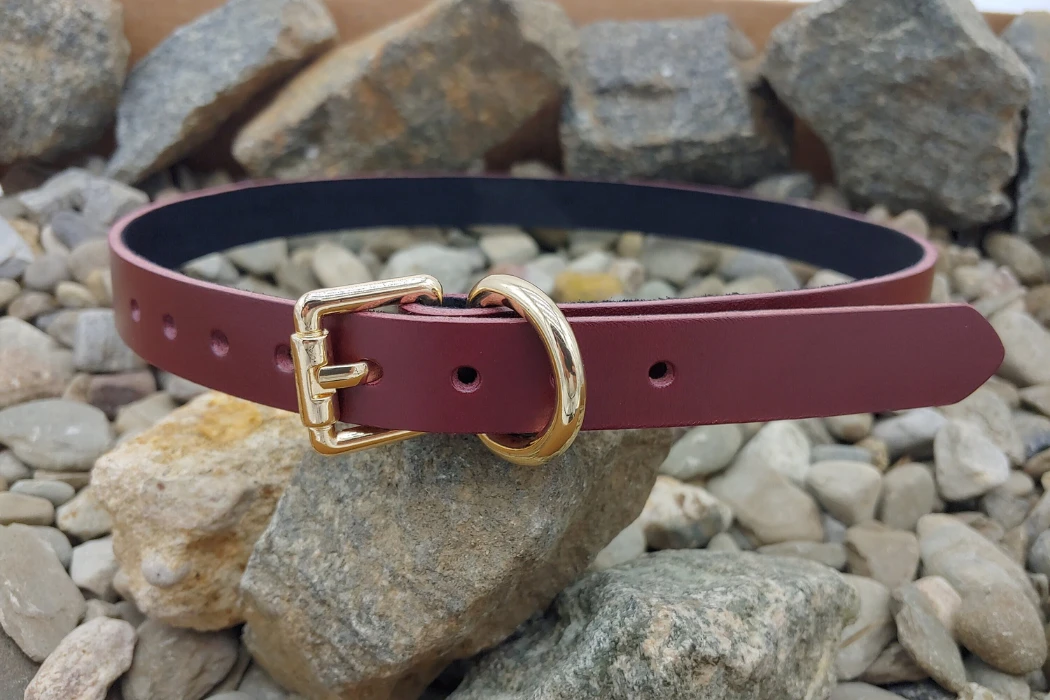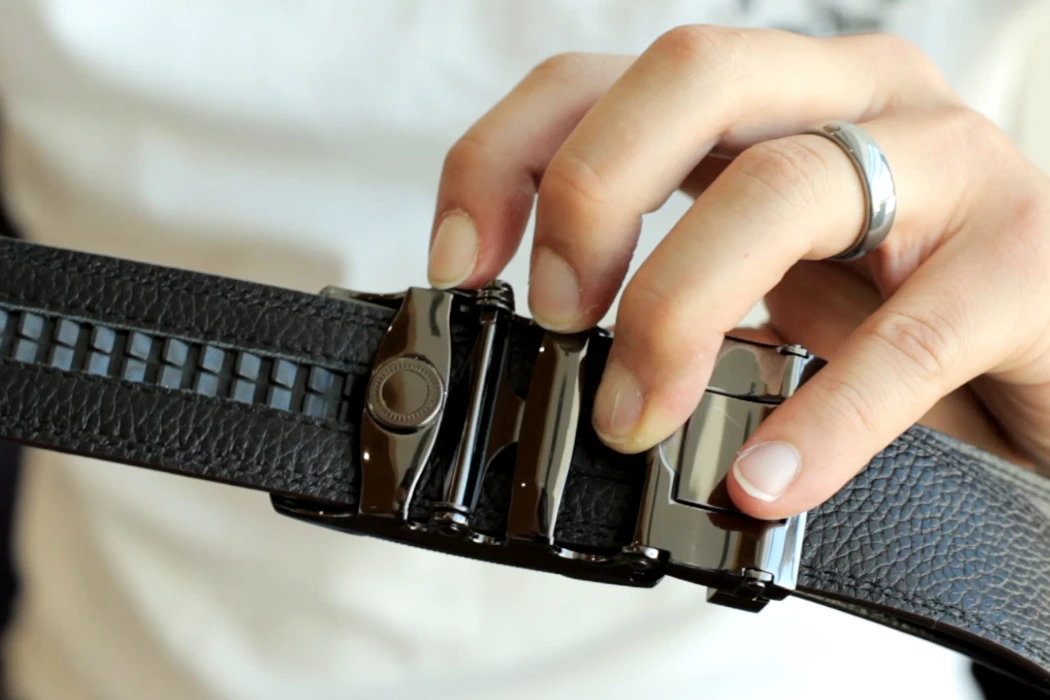
A belt can look correct and still fail through a weak buckle attachment, cracked finish or colour transfer onto clothing. Physical testing helps buyers investigate these risks before production approval and check whether the proposed construction meets a defined specification.
The useful question is not whether a factory can produce a large test number. It is whether the method, specimen, conditioning and acceptance limit match the product. Material testing, finished-belt testing and visual inspection answer different questions and should work together.
This guide covers tensile strength, flex resistance and colour fastness, then the hardware and quality records needed to use those results. It concerns ordinary apparel belts; a fashion-belt pull result does not qualify a product for lifting, fall protection or other load-bearing safety use.
What Does Tensile Strength Tell You About a Belt?
Tensile strength describes the stress a material withstands when stretched. ISO 3376:2020 covers leather tensile strength and percentage elongation. A material specimen tested by that method is different from a complete belt pulled through its buckle attachment.
Understanding the Break Point of Leather and PU
Leather structure, specimen orientation, thickness and processing influence results. For PU-coated textiles, the backing and laminated construction can be particularly important. The material name alone does not establish a breaking force.
- Leather specimen: Record the leather grade, thickness, sampling direction and preparation required by the selected method. Compare like specimens rather than assuming all full-grain leather has one strength value.
- Synthetic specimen: Use a method appropriate to the coated textile or laminate. Do not automatically apply a leather method to a different substrate without checking its suitability.
Ask the laboratory to distinguish tensile stress from assembly breaking force. Stress is commonly reported in N/mm², while force is reported in newtons. A claim expressed only as “100 kg strength” leaves the test geometry, units and product requirement unclear.
The Role of Stitching and Buckle Attachment
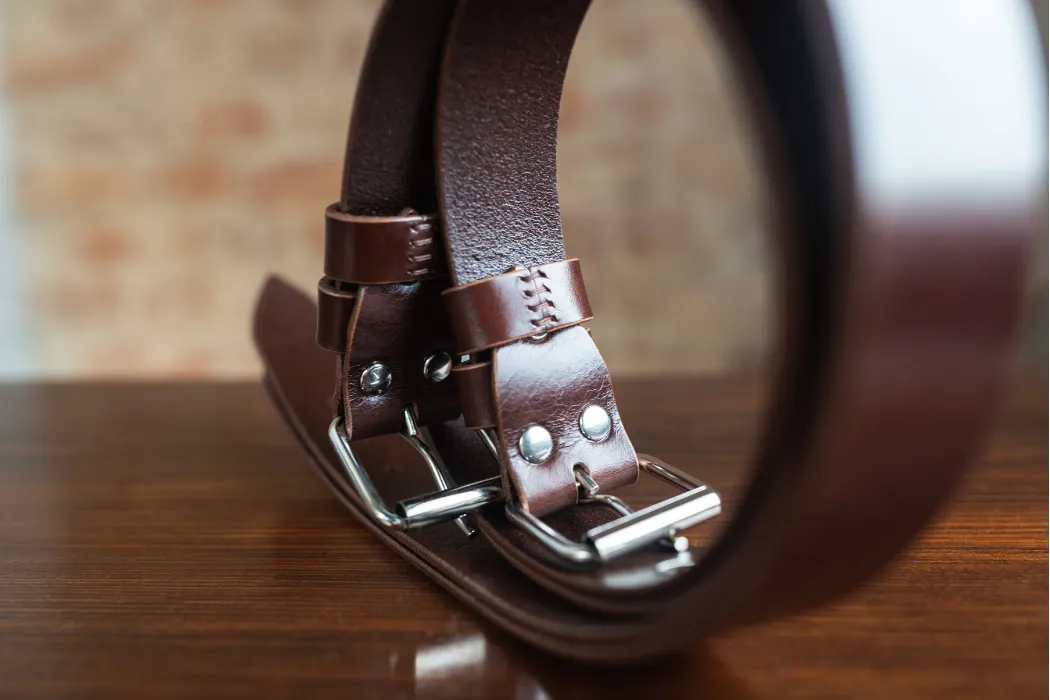
The strap, buckle fold, holes and fastening can fail differently. A strong material coupon does not prove a strong finished connection. Define a separate assembly test if buckle retention or hole deformation is important to the design.
- Stitching: Specify seam position, thread, needle and stitch spacing together with the material. More stitches are not automatically stronger; perforation and edge distance must be considered in the sample.
- Rivets and screws: Evaluate the actual fastener, installation and material support. A rivet is not inherently proof against pull-out, and a screw needs an appropriate retention arrangement if repeated loosening is a concern.
A useful assembly report identifies the fixture, loading direction and speed, failure location and observed damage. State whether the test is to a specified load or to failure. Keep those results separate from the material’s tensile-strength report.
How Humidity and Thickness Affect Results
Conditioning makes comparisons more meaningful. Moisture and temperature can influence leather and laminate behaviour, but there is no single percentage reduction that applies to every belt. Follow the atmosphere and conditioning instructions in the selected method.
- Conditioning: Record the conditions used and any intentional wet or aged exposure. Do not replace the method’s requirements with a blanket “24-hour” instruction for every test.
- Thickness: Identify where thickness is measured and whether thinning is an intended design feature. A skived fold and the body of the strap may have different requirements; investigate unintended variation against the drawing.
Use the following distinctions when requesting a report. None supplies a universal pass threshold for all leather belts.
| Test object | Specification detail | Result to record | What it can reveal |
|---|---|---|---|
| Leather specimen | Method, orientation and thickness | Tensile strength and elongation | Material behaviour under the specified pull |
| Laminated or coated strap | Layer construction and suitable method | Force or stress as the method requires | Backing rupture, separation or excessive stretch |
| Finished buckle attachment | Fixture, direction and loading procedure | Load and observed failure location | Fastener pull-out, hole damage or hardware deformation |
How Does Flex Testing Assess Wear and Tear?
Belts bend during fastening and use. Repeated laboratory flexing helps reveal weaknesses in the leather, surface finish or laminated construction under controlled conditions. It does not reproduce every wearing pattern, and a cycle count cannot be converted directly into years of service.
The Mechanics of Bally Flex Testing
ISO 5402-1:2022 describes a flexometer method for dry or wet flex resistance of leather and its finish. Its scope covers flexible leather below 3.0 mm thick. A thick finished belt may therefore need a different or additional assessment rather than being placed in this method without qualification.
- Specimen: Identify whether the test uses the leather layer, a laminate or the complete product. Prepare and clamp it as the applicable method requires.
- Conditions: Specify dry or wet testing and any agreed ageing before flexing. Record the machine settings through the method reference.
- Assessment: Agree the observation intervals, total cycles and acceptable damage before testing. A “50,000-cycle” statement without those details is incomplete.
For an assembled belt, a development check can also examine repeated fastening, the buckle fold and edge finish. Describe any bespoke procedure clearly so its results are not presented as a standardised test they did not follow.
Detecting Cracks in the Finish
The coating can fail while the underlying leather remains intact. Inspect and photograph the same areas before and after testing, noting cracks, flaking, abrasion or loss of adhesion separately.
- Surface finish: Record the location and extent of damage using the method’s assessment procedure. A pre-existing textured or “orange-peel” appearance is not itself proof of a flex crack.
- Edge paint: Examine the actual edge construction, especially at tight bends and the buckle fold. Material preparation, coating compatibility, drying and geometry can all matter; price alone does not identify the cause.
If a finish changes to resolve cracking, approve the revised hand-feel and appearance as well as its test results. The same colour name does not establish that the coating system is unchanged.
Why Laminated Layers Separate
A belt may combine a face, reinforcement and lining. Flexing can expose weak bonds, but it should be accompanied by an appropriate adhesion assessment where layer separation is a key risk.
- Identify the interface: Record whether separation occurs between coating and backing, between assembled layers or within a material. Those failures can require different corrections.
- Review the process: Check surface preparation, adhesive compatibility, application and curing against the process specification. No single heat-activated adhesive is mandatory for every belt construction.
Do not assume that all bonded or laminated materials fail identically. Compare the actual candidates after the relevant conditioning, then retain the approved construction as the reference for production.
Will Your Belt Stain Your Clothes? Understanding Colour Fastness
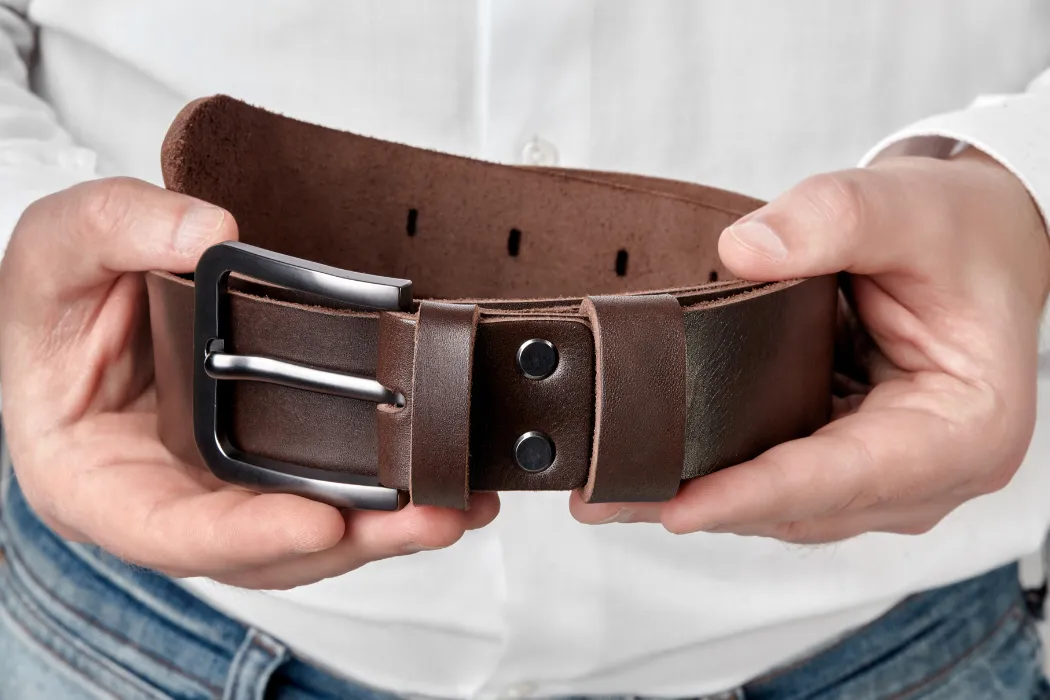
Colour fastness includes several behaviours; resistance to rubbing transfer is particularly relevant where a belt contacts pale clothing. A rubbing report should describe both staining of the contact material and any change or damage to the leather surface, as required by the method.
Wet and Dry Rub Test Methods
ISO 11640:2018 covers leather colour fastness to repeated to-and-fro rubbing. Laboratories use the specified apparatus, felt and conditions. Buyers must still agree the applicable condition, rubbing count and acceptance criteria for their product.
- Dry rubbing: Assess transfer under the defined dry condition. Include the relevant surfaces, such as the back, face and edge, where the method can be applied appropriately.
- Wet rubbing: Assess the specified wet condition separately. It is not interchangeable with a perspiration test or proof of resistance to every real-use liquid.
Compare reports only when the method and conditions match. The number of rubs alone does not establish which of two materials better resists staining.
Oil and Wax Finishes, Heat and Perspiration
Oil- and wax-finished styles need careful evaluation against pale clothing because surface transfer can be a design concern. Do not assume every pull-up or Crazy Horse grade behaves alike, or that heat inevitably drives pigment to the surface.
- Finish selection: Review the exact colour and finish through the required rubbing and contact checks. A change in finish can alter the natural pull-up appearance as well as transfer behaviour.
- Perspiration: Where relevant, request a separate suitable assessment. ISO 11641:2025 addresses leather colour fastness to perspiration; a water-wet rub is not the same test.
A fixing treatment or topcoat may be one development option, but it is not a universal remedy. Approve the finished sample and repeat the affected checks after any change.
Interpreting the Grey Scale
ISO 105-A03:2019 defines a grey scale for assessing staining. On the staining scale, grade 5 indicates no staining and lower grades represent increasing staining. Intermediate assessments may also be reported. Keep staining distinct from the separate assessment of colour change.
- Read the whole result: The grade needs its method, condition and number of rubs to be meaningful.
- Define acceptance: A grade is not automatically a pass or a fail for every market position. Set the requirement according to the intended use and buyer specification.
- Investigate variation: Review colour, finish and lot details if a production sample differs from the approved development result.
| Assessment | Procedure detail | Acceptance detail | Sample selection |
|---|---|---|---|
| Dry rubbing | Applicable method and agreed rub count | Staining and surface-change requirements | Relevant colours and clothing-contact surfaces |
| Wet rubbing | Specified wet condition and rub count | Separate agreed wet-test criteria | Exact finish and lining construction |
| Perspiration fastness | Suitable perspiration method | Method-specific staining and colour-change criteria | Materials relevant to the intended contact |
What Defines Hardware Durability and Corrosion Resistance?
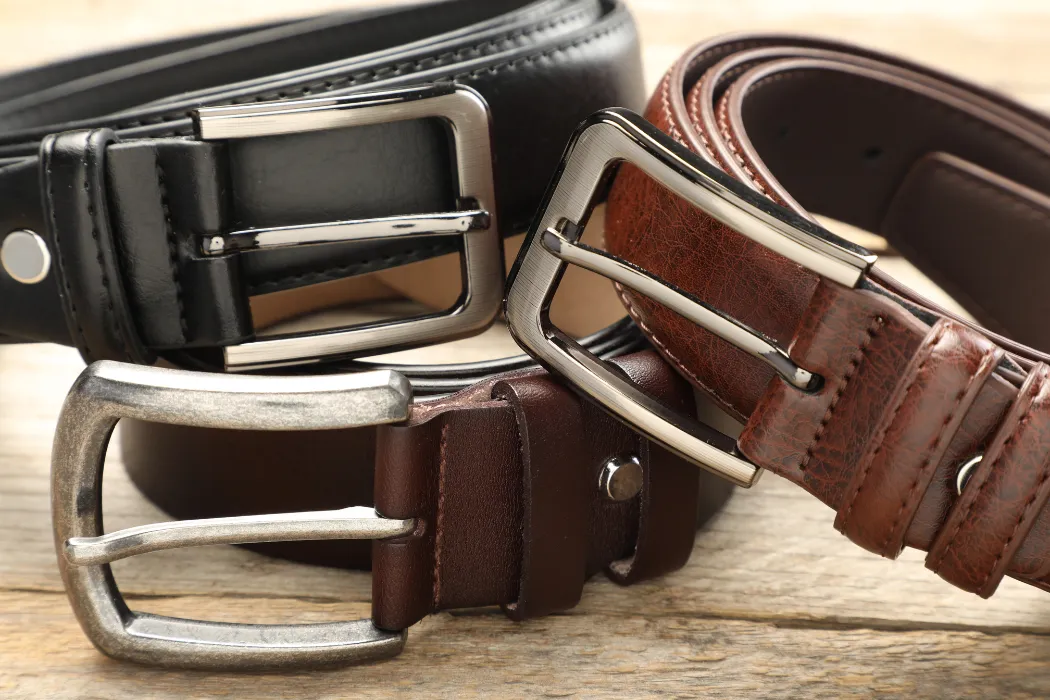
Hardware needs both a stable appearance and reliable function. Base metal, geometry, surface preparation, coating system and assembly influence the outcome. Rust, tarnish, pitting and coating loss are different observations; describe the defect rather than calling every colour change “rust.”
Testing Plating Thickness on Buckles
Plating thickness is one specification variable, not the sole measure of durability. Identify the substrate and coating layers, then define where and how thickness is measured if it is a purchase requirement.
- Plating route: Rack and barrel processes suit different parts and production needs. Judge coverage and performance of the actual buckle rather than treating one process name as a quality grade.
- Protective finish: A clear coating may be part of a system, but it is not mandatory for every alloy and finish. Confirm appearance, adhesion and wear performance for the chosen stack.
Salt Spray Testing and Its Limits
ISO 9227:2022 defines salt-spray methods used to check metallic materials and protective systems. Select the relevant method, exposure and evaluation criteria with the laboratory. The standard does not supply a fast-fashion, mid-market or premium-belt hours ladder.
- Specify the procedure: Identify the salt-spray variant, specimen condition, exposure duration and evaluation areas.
- Specify the endpoint: Distinguish substrate corrosion, coating corrosion, blistering or other agreed appearance defects. Keep the acceptance limit in the product specification.
- Interpret carefully: ISO cautions against using these tests to rank different materials or predict long-term corrosion resistance. A chamber result cannot be converted directly into warehouse months or shipping survival.
For premium belt development, specify the desired finish and its assessment criteria explicitly. An attractive coating name alone does not define the required durability.
Mechanical Functionality: The Click and Release
Reversible and ratchet mechanisms introduce moving parts. Test the actual buckle with the proposed strap because fit, strap thickness and tooth engagement can affect operation.
- Repeated operation: Define the action, cycle count and acceptable loss of function for the particular mechanism. Check retention, release and play at agreed intervals.
- Prong and frame: Specify loading direction and acceptable deformation in a suitable fixture. Review sharp edges and damage to the strap after the check.
How Do You Establish a Reliable Quality Control Standard?
A useful quality plan links the approved sample to measurable requirements, test methods and responsibilities. It also says what happens when a component or result changes. Testing after production cannot repair an unclear specification.
Moving from Appearance to Documented Acceptance
Keep visual inspection and physical testing as distinct parts of the plan. A shipment can meet an appearance sample yet have a bonding problem; a material can pass a laboratory test while the assembled belt has the wrong length.
- Lot inspection: If an AQL sampling system is used, define the lot, inspection level, defect classes and selected acceptance limits. An AQL number alone does not determine the sample size or authorise a universal defect percentage.
- Physical testing: Agree sampling frequency and quantities separately for destructive or time-consuming tests. Base the plan on product risk, material changes and the buyer’s requirements; do not assume a fixed percentage of every order must be destroyed.
Material Inspection Before Cutting
Examine incoming production material against the approved specification before committing it to cutting and assembly. Distinguish a visible natural characteristic allowed by the design from a defect that breaches the agreed acceptance standard.
- Leather and synthetics: Check identity, colour, handle, thickness and usable areas. Review unintended weak or damaged areas rather than rejecting all natural markings indiscriminately.
- Hardware: Match the part, dimensions, finish and functioning to the approved sample. Agree which tests require a new report for each lot and which remain supported by existing evidence.
Documentation and Third-Party Verification
A test report is useful only if it can be matched to the material or product being purchased. Check the laboratory, specimen identity, date, method edition, conditions and results. A report that cites ISO does not automatically establish that the buyer’s acceptance criteria were met.
- LWG: LWG certification concerns assessed facilities and their applicable scope. It is not a finished-belt test certificate or a guarantee that every product is free of chromium VI.
- Product evidence: Keep relevant chemical-compliance reports separate from tensile, flex and rubbing reports. Social audits and quality-management certification also answer different questions.
| Production stage | Inspection action | Acceptance basis |
|---|---|---|
| Incoming materials | Identity, thickness, colour and visual checks | Approved material specification and allowed variation |
| Hardware approval | Dimensions, finish, operation and agreed testing | Part drawing, finish reference and test criteria |
| In-line assembly | Stitching, attachment, bonding and edge checks | Approved construction and workmanship limits |
| Final quality review | Dimensions, appearance, packing and planned test evidence | Documented lot disposition against the purchase specification |
Frequently Asked Questions About Belt Durability
What is the standard tensile strength for a good leather belt?
There is no universal breaking-force requirement for every apparel belt. Specify whether the test concerns leather tensile stress, strap strength or the finished buckle attachment, then agree the method and limit for that construction. A material name does not justify a fixed kilogram claim.
How do you test leather for colour transfer?
Use a suitable rubbing-fastness method, such as ISO 11640 for leather, and record the dry or wet condition, rub count and staining assessment. The buyer’s specification sets the required acceptance criteria; the apparatus name alone does not define a pass.
Why does my leather belt crack when I bend it?
Possible causes include damage within the material, a finish that does not tolerate the bend, ageing or unsuitable care. Locate the failure and review the exact construction. A suitable flex assessment can help investigate it, but one method does not cover every belt thickness or assembly.
What is the difference between wet and dry crocking?
They assess rubbing transfer under different moisture conditions. A wet rubbing result is not interchangeable with a perspiration result. Compare results only with the same method, conditions and assessment criteria.
Does PU leather require different testing than genuine leather?
Often the substrate and layered construction require different applicable methods. Review tensile behaviour, coating and layer adhesion, flexing and relevant ageing resistance. A leather test method should not be applied to coated fabric simply because both materials are used in belts.
How often should factory quality control be performed?
Set checks at incoming material, assembly and final-release stages, with sampling and test frequency agreed for the order. Material substitutions, process changes or failures can require additional checks. AQL lot inspection and laboratory testing need their own defined plans.
Conclusion: Put Test Requirements in the Belt Specification
Useful test evidence connects a named specimen and method to a clear acceptance criterion. Keep the original report with the approved construction and confirm whether any later material, colour, buckle or process change affects that approval.
Hoplok operates four facilities in China and Cambodia. Its ProPelli operation finishes incoming crust leather and holds a current LWG Gold rating for that facility. This facility scope is separate from the test evidence required for a finished belt.
For custom leather belt development, send the drawing, material and hardware requirements, target market and test specification. Hoplok minimums are 300 leather belts or 1,000 PU belts; belt sampling takes 2–3 weeks and bulk production takes 60–90 days. Confirm testing scope, approvals and timing in the project quotation.