Some faux leathers can be embossed or debossed, but the process must suit the exact coating and backing. A heat press can form an impression on compatible material; a craft debossing tool produces a different, usually shallower result. There is no universal temperature, pressure or dwell time for everything sold as PU or PVC leather. Obtain the material supplier’s processing guidance, make a test piece, and inspect the result after cooling and flexing before approving production.
An impression that looks sharp immediately after pressing may relax later. This can reflect elastic recovery, a finish that does not accept the process, or unsuitable pressure and heat. Increasing temperature is not automatically the answer: coatings, adhesives and backing fabrics can be damaged before the desired relief develops.
This guide compares craft debossing, controlled heat pressing and industrial high-frequency processes. It explains what each can do, how to qualify a sample, and what a brand should specify when commissioning a logo or texture. The comparison is about process selection; availability on a particular production line must be confirmed with the manufacturer.
The Science: Why Faux Leather Behaves Differently than Real Leather?
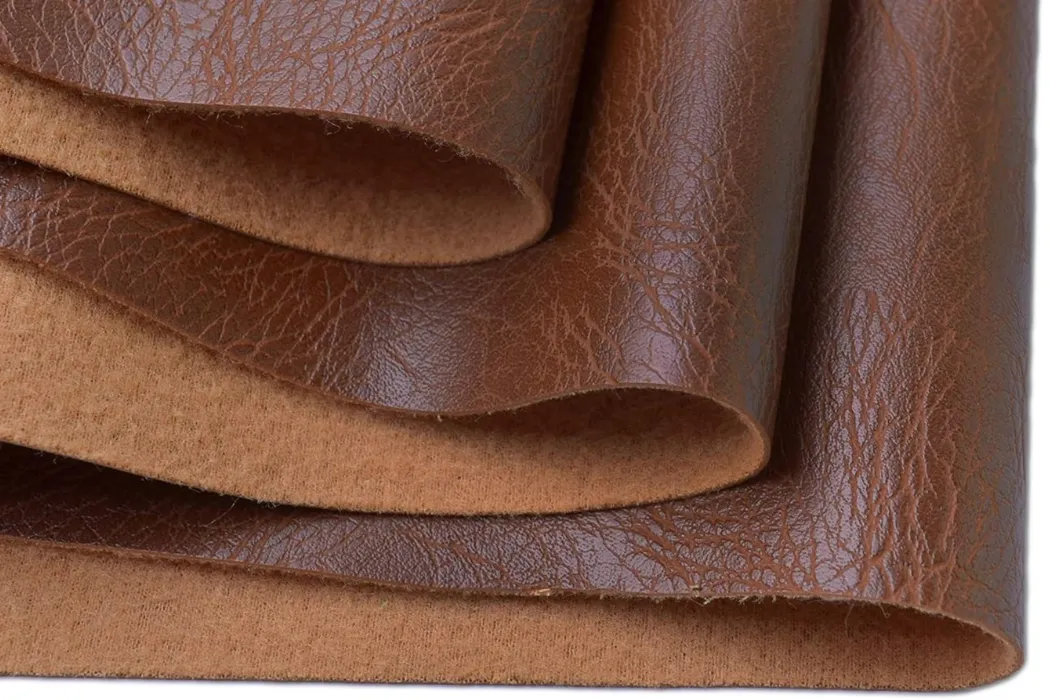
Leather has a collagen-fibre structure; synthetic alternatives may combine a PU or PVC coating, a textile backing, foam and adhesives. Suitable vegetable-tanned leather can accept damp tooling, but this is not a method for every finished leather. Likewise, not every PU coating behaves as a simple thermoplastic. Ask about the complete material construction and whether it is intended for hot embossing, cold debossing or RF processing.
The “Memory Effect” (Spring-Back)
Spring-back is the partial recovery of an impression after pressure is removed. Its extent depends on the material, coating, pattern and process. Check retained detail after the supplier’s recommended conditioning period rather than accepting a fresh impression as proof of durability.
- Cold debossing: Some compatible craft materials retain a useful indentation without heat. Others recover substantially. No reliable universal percentage or time-to-fade applies to all synthetic leather.
- Heat setting: With a heat-compatible construction, controlled heating can help form the surface. Cooling and release conditions must follow the equipment and material guidance; a hot impression alone is not evidence of permanence.
The Difference Between PU and PVC Reaction
Not all faux leathers react the same way to heat. Knowing the difference prevents ruined projects.
- PU-coated material: Polyurethane chemistry, finish thickness, backing and adhesive all affect the response. Obtain a processing limit for the actual grade; “PU” alone does not establish a safe temperature or a melting point.
- PVC-coated material: PVC formulations can be designed for embossing or RF welding, but flexibility and process limits vary. Do not assume every PVC sheet needs more heat than every PU sheet. Use the supplier’s recommended application and processing data.
Real Leather vs. Faux Leather Embossing Physics
Use this table to identify the question to resolve before selecting a process.
| Material | Structure | Process to assess | After forming |
|---|---|---|---|
| Veg-Tan Leather | Collagen Fibers | Damp tooling on suitable uncoated tooling leather | Dry and inspect according to the leather supplier’s guidance |
| PU-coated synthetic | Polymer on Fabric | Only processes qualified for the coating/backing construction | Check retained relief and surface damage after cooling |
| PVC-coated synthetic | PVC formulation with backing and possible foam | Qualified hot embossing or RF process | Inspect relief, bonds and distortion after cooling |
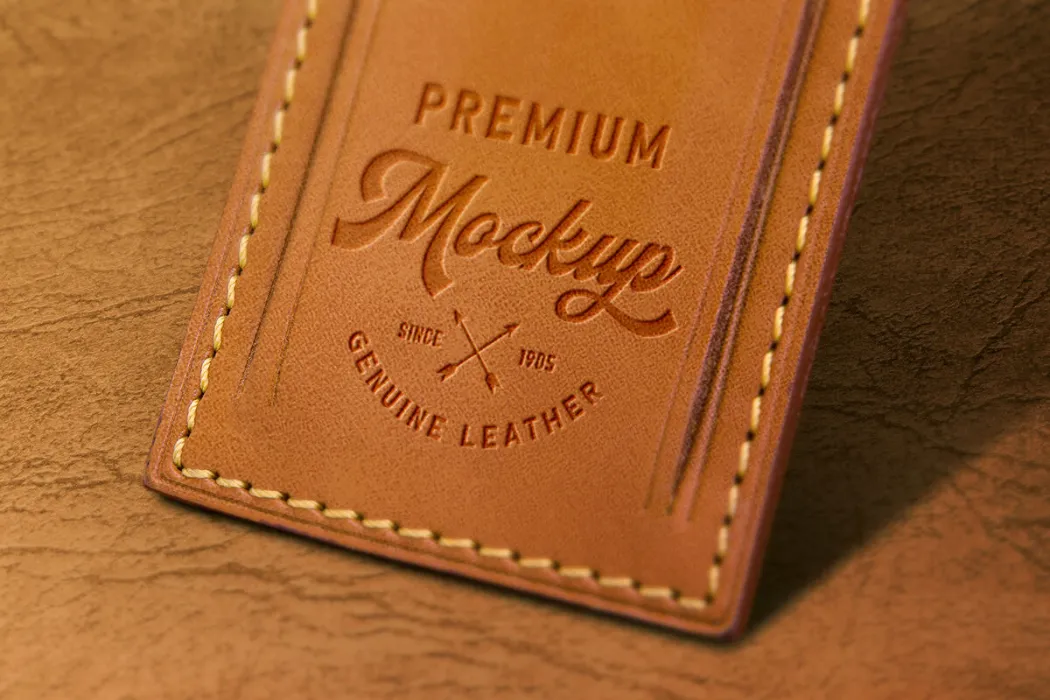
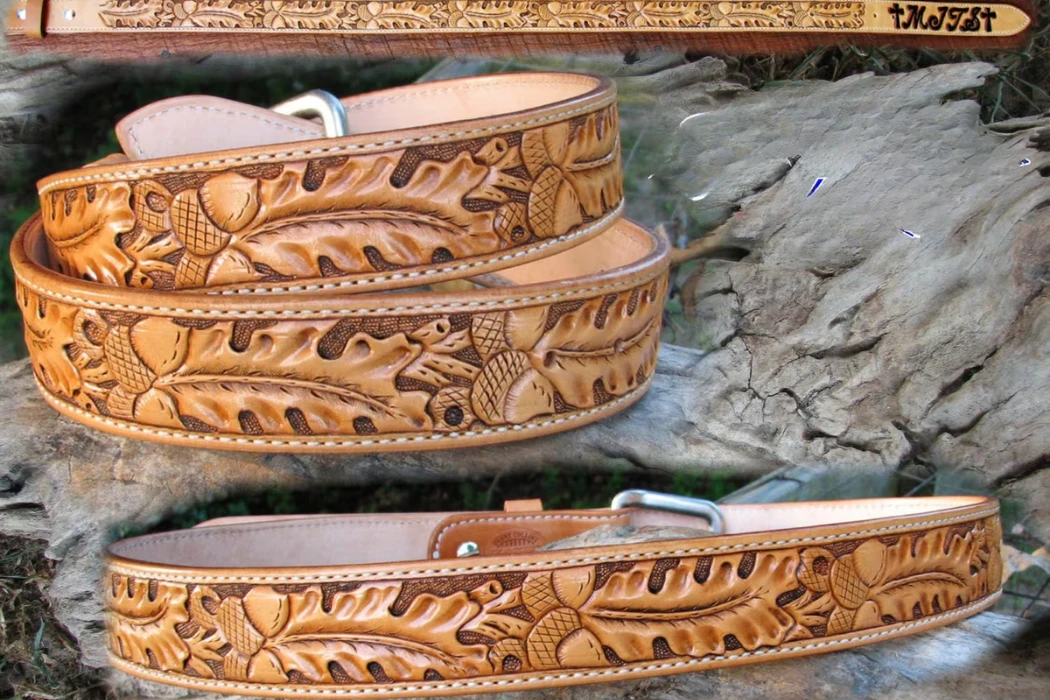
Illustrative debossed leather mockup; the pictured “genuine leather” label is not evidence of a faux-leather process or a Hoplok production sample.
Method 1: The Heat Press Method (Professional Studio Results)
A controlled heat press is one option for repeatable logos and localized texture. Select the die, support, release sheet and machine together: contact area and material thickness affect how heat and pressure reach the surface. Start from the supplier’s written settings for the chosen grade, then vary one parameter at a time on scrap from the production material. Keep an approved sample and a record of the final settings.
Choosing a Suitable Die
Brass, magnesium and other tooling materials are used in different marking applications. Choose according to the artwork, relief, press, production quantity and tooling supplier’s recommendation. Brass is an option, not the only professional choice.
- Heat control: Ask how the die is heated and how its working temperature is measured. Even contact and temperature across the logo matter more than an unsupported ranking of tool metals.
- Depth and edges: Review a tool drawing for line width, relief and clearance around the image. Test fine lettering and large solid areas on the actual material; an excessively deep or sharp tool can mark or cut the coating.
Cooling and Releasing the Workpiece
Cooling may be part of a qualified forming cycle. The required restraint and release point depend on the construction and equipment. Plan this step before pressing so the impression is not stretched or flattened while handling the workpiece.
Use a cycle established with the machine supplier. For equipment that requires a cooling hold, use its approved fixture or procedure; do not improvise a heavy block on delicate relief. Two matters to confirm are:
A) Whether cooling occurs in the press or in a separate supported fixture.
B) How the part is supported and when it can be handled without distortion. Record that criterion in the work instruction and assess the cooled piece.
What to Record in a Heat-Press Trial
Replace generic internet settings with a trial record for the actual material. Machine pressure readouts are not interchangeable with pressure at the die face, so retain the machine and tool identification as well.
| Material to qualify | Temperature basis | Dwell / release basis | Additional checks |
|---|---|---|---|
| Standard PU (Polyurethane) | Supplier-approved range for this PU construction | Trial on the specified coating and backing | Grain flattening, bond damage and retained detail |
| Thick PVC / Vinyl | Supplier-approved range for this PVC grade | Machine and material-specific cycle | Distortion, surface damage and layer adhesion |
| Thin Fashion Vinyl | Confirm whether heat forming is permitted | Trial with suitable support | Wrinkling and backing shrinkage |
| Plant-Based Composite | Identify binder, coating and backing first | Do not infer settings from plant content | Heat compatibility and finish adhesion |
Method 2: Craft Debossing and Prototype Limits
Cricut lists paper-thin faux leather among materials for its Debossing Tip and identifies the tool as compatible with Cricut Maker machines using QuickSwap Housing. This can be useful for evaluating line artwork on a compatible sheet. It does not reproduce a factory hot-stamped logo or prove that a production synthetic leather will behave the same way. See the Cricut tool and materials guide.
Cold Debossing vs. Heat Embossing
The Cricut method relies entirely on mechanical pressure concentrated on a tiny point.
- Mechanism: The tool presses a recessed line into the material without removing it. This is debossing, rather than laser engraving or a heat-forming operation.
- Suitability: Select a compatible material setting and make a small test. The manufacturer notes that thick, compressible materials may also receive marks from the tool housing.
- Material placement: Cricut’s leather instructions specify faux leather face up for debossing. Follow the tool’s setup instructions; preheating a sheet or cutting mat with a heat gun is not a substitute for an approved material setting.
Why an Iron Is a Poor Production Reference
A household iron and hand-held stamp provide limited control over contact pressure, alignment and dwell. Even if a one-off sample looks acceptable, the process may not be repeatable enough to specify a branded product.
- Control: Use a machine with a stable fixture and a recorded process when comparing supplier samples. A prototype made with different tooling cannot define the factory’s achievable detail.
- Surface damage: Excessive or uneven heating can glaze the grain, change colour or separate layers. A pressing cloth does not establish a safe operating temperature.
- Decision: If the material supplier does not approve ironing or heat stamping, use a compatible cold-marking method or request a factory trial instead.
Method 3: Industrial Mass Production (High-Frequency Welding)
High-frequency (HF), also called radio-frequency (RF), welding uses an electromagnetic field to heat compatible materials while tooling applies pressure. Equipment manufacturer Forsstrom describes 27.12 MHz equipment for joining PVC and PU materials. Compatibility of a particular coated textile still needs testing. Forming a logo or relief requires suitable tooling and construction; welding is not automatically the correct branding method.
Comparing Production Cycles
Both hot presses and RF equipment can form part of industrial production. Select a process around the material and accepted sample, then compare its real cycle, handling requirements and reject rate.
- Cycle time: Request an observed cycle including loading, forming, cooling and unloading. A quoted press dwell or RF power-on time alone does not establish hourly finished output.
- Quality limits: Assess grain retention, colour change, bonding and part distortion with either process. RF heating does not guarantee an undamaged surface or eliminate the need for process control.
What to Check in an RF Sample
An electrode and backing fixture can create a localized weld or shaped effect when the material responds to RF energy. The final result depends on layer construction, tool design and process control. Ask the supplier to show the effect on your chosen material instead of inferring it from a sample made from another grade.
Review these features in the sample:
- Relief: Agree the visual result and whether depth needs measurement. Check for thinning, tearing or flattening around the design.
- Edges: Inspect small characters, corners and the boundary of the electrode impression for consistent definition.
- Retention: Inspect the sample after cooling, conditioning and representative flexing. Neither RF nor hot stamping justifies a universal zero-recovery guarantee.
Embossing Methodology Comparison
This table helps brand managers decide which method fits their production scale and quality requirements.
| Method | Result to qualify | Output assessment | Tooling requirement | Best For |
|---|---|---|---|---|
| DIY (Cricut) | Recessed line on compatible sheet | Depends on artwork and sheet handling | Compatible machine, housing and tip | Craft work and limited artwork prototypes |
| Heat Press | Localized impression on compatible material | Measure the complete production cycle | Die, fixture and process trial | Logo trials and production with suitable equipment |
| HF Welding (Industrial) | Weld or shaped effect on RF-compatible construction | Validate output with actual loading and cooling | Electrode, support and material qualification | Compatible industrial forming/joining applications |
Specifying Custom Tooling for a Brand
Give the tooling supplier a vector logo, required finished size, reference placement and an actual material swatch. Identify whether the artwork should be raised or recessed. Fine lines that are legible on screen may not reproduce cleanly in a textured coating.
Before ordering tooling, agree who owns it, where it will be stored, what sample approval covers and how repeat orders will be matched. If a combined forming-and-cutting tool is proposed, evaluate both the edge and the surface impression. Ask Hoplok to confirm the proposed equipment and any subcontracted steps before assigning this process to an order.
Common Mistakes: Why Your Design Disappears or Melts
Fading, glazing and delamination can arise from the material as well as the settings. Start by confirming that the construction is approved for the process. Then compare tool contact, temperature, dwell, pressure and release conditions with the accepted trial. Reject pieces with damaged coating or backing rather than treating deeper relief as better quality.
The “Scorched” Surface
Overheating or excessive dwell can change the grain and gloss, discolour the surface, or damage a bond. The point at which this happens is construction-specific; a material name is not a process limit.
- Glazing: A smooth, shiny patch around the logo can indicate unwanted flattening of the finish. Review heat, pressure, tooling clearance and protective materials against the approved sample.
- Bubbling: Blisters or separated layers require investigation of heat compatibility, moisture and bond integrity. Stop the trial and consult the material supplier rather than applying more pressure to hide the defect.
The “Ghost” Image (Spring-Back)
If a design loses definition after release, compare it with the retained control sample after the same conditioning period. Confirm whether the pattern, substrate or press cycle changed. Recovery is not the only explanation for a weak mark.
Where cooling restraint is part of the validated process, follow that procedure and record release conditions. If relief still fades, revisit material suitability and tooling. Do not impose a fixed cooling-block time across unrelated grades or assume that a heavier weight is safer for the design.
Troubleshooting Guide
Use this diagnostic table to save your material from common errors.
| Problem | Visual Appearance | Root Cause | The Fix |
|---|---|---|---|
| Design Fades | Crisp at first, then blurs/flattens. | Recovery or an unsuitable material/process combination | Recheck material approval, tooling and cooling/release procedure |
| Surface Bubbles | Blisters or air pockets under skin. | Possible heat or bond damage | Stop and compare the trial with supplier processing limits |
| Melted Edges | Design edges are undefined/messy. | Excess heat, pressure or unsuitable tooling | Review the tool and change one process variable per trial |
| Backing Separation | Fabric peels away from plastic. | Bond failure or backing incompatibility | Review the construction and process with the material supplier |
Embossing vs. Debossing vs. Laser Engraving on Faux Leather
Do not laser-process PVC or unidentified faux leather. Laser manufacturer Trotec lists PVC and other unsuitable materials because processing can generate hazardous emissions and damage equipment. “PVC-free” alone is not full approval: coatings, additives, adhesives and backing must also be suitable for the chosen laser and extraction system.
Defining the Terms
These three terms are often used interchangeably in marketing, but they represent distinct physical processes with different results:
- Embossing: Often describes a raised pattern, made with tooling appropriate to the material and effect. In commercial leather discussions the word is also used loosely for impressed textures, so approve a physical sample.
- Debossing: A recessed impression pressed into the surface. Many stamped logos have this appearance. State the required result on the drawing instead of relying on terminology alone.
- Laser engraving: Removes or alters surface material using a laser. The colour and depth achieved depend on the complete substrate; it does not necessarily reveal a contrasting fabric layer.
The Safety Warning: Lasers and PVC
Obtain material identification and available safety/processing documentation from the supplier, then have the laser equipment provider confirm suitability. An SDS may not describe every layer or all processing emissions, so it should not be treated as blanket laser approval.
Do not use a flame test as approval: Appearance, smell or an improvised copper-wire test cannot qualify an unknown composite for laser processing. Keep unidentified material out of the laser and seek supplier documentation or competent material identification.
Safety & Technique Comparison
Compare the process requirements rather than labeling every non-laser method automatically safe.
| Technique | Physical Process | PVC Safety | Visual Effect |
|---|---|---|---|
| Heat Embossing/Debossing | Controlled forming on approved material | Only within the supplier’s approved processing conditions | 3D Texture, Tonal Color |
| Cold Debossing (Cricut) | Mechanical Pressure | No heating; still follow machine/material instructions | Subtle Indentation |
| Laser Engraving | Vaporization (Burning) | Not suitable for PVC or unidentified composition | High Contrast (Burnt/Removed Layer) |
Frequently Asked Questions
1. Can I use a hair dryer to emboss faux leather?
A hair dryer does not provide controlled die pressure and temperature for a repeatable embossing cycle. It is not a useful way to qualify a production logo. Use the material and equipment supplier’s approved process; do not replace it with hotter improvised tools.
2. Is faux leather embossing permanent?
Retention depends on the material and process. Cold debossing can be useful on compatible sheets, while heat or RF processes may produce other effects. Approve the result after cooling and relevant conditioning, flexing and rubbing checks. No method guarantees that every mark lasts for the product’s entire life.
3. What is the best temperature for embossing PU leather?
There is no single best temperature for PU leather. The coating chemistry, thickness, backing and adhesives affect the limit. Ask the material supplier for a processing window and record temperature, dwell, pressure, tooling and release conditions from a successful trial.
4. Does embossing damage faux leather?
Yes. Possible defects include grain flattening, discolouration, coating damage and separation from the backing. Check the area around the logo as well as the logo itself. An impression is a decorative treatment; do not claim that it reinforces the material without relevant evidence.
5. How do manufacturers make alligator texture on fake leather?
Cross-hatch or reptile-style textures can be formed using patterned plates, rollers or other surface-making processes, depending on the material construction. The pattern is a manufactured appearance and does not identify an animal species. Obtain an approved texture sample and confirm how it will be matched in bulk.
6. Can I use a regular iron?
Only consider ironing if the material supplier specifically permits it and gives instructions. A household iron is not a controlled substitute for a production press. For supplier approval, request a sample made with the proposed production material, tooling and process.
Conclusion: Qualify the Material and the Process
Successful faux-leather branding starts with identifying the complete construction. Select a compatible marking process, agree the raised or recessed appearance, and retain a cooled and tested sample. Written settings and tooling records help distinguish a repeatable production result from a successful one-off trial.
A craft sample can help evaluate artwork, but a brand also needs to review placement, consistency and retained detail on finished goods. Include acceptable defects and inspection conditions in the purchase specification so the factory and buyer assess the same outcome.
For a Hoplok custom bag, belt or wallet project, send the material reference, vector artwork, logo size and desired effect with your inquiry. Request a feasibility review and sample before fixing the production specification. Contact Hoplok to discuss the branding method appropriate to your product.