Studded and rhinestone belts need the decoration, strap and attachment method to work as one assembly. Hardware can loosen when the material, layout or setting is unsuitable, but neither prong count nor leather thickness alone predicts retention.
This guide covers five manufacturing decisions: hardware selection, stone attachment, strap construction, testing and production control. Use the actual components and approved samples to define acceptance criteria before bulk production.
1. How Should Studs and Rivets Be Selected?
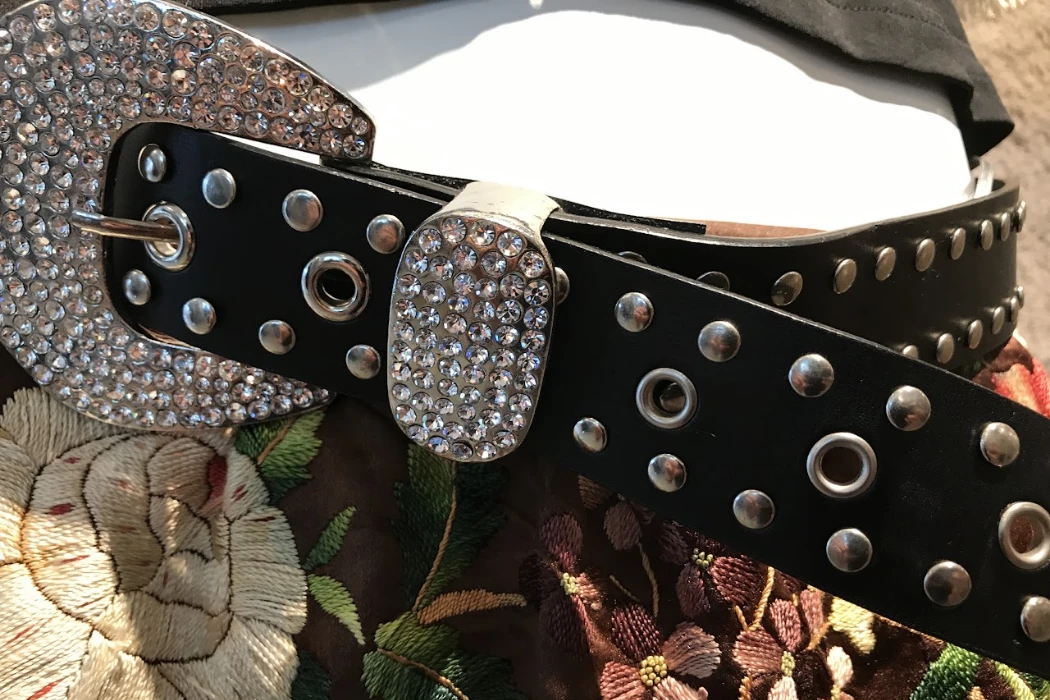
Choose the attachment from the hardware drawing and the finished strap construction. A decorative stud and a rivet may have different functions, even when they look similar. Confirm the part number, base material, finish, dimensions and setting requirements instead of ranking every four-prong or brass component above the alternatives.
Prong-back studs
Prongs pass through the material and are formed at the back using suitable tools. Their length and geometry must suit the assembled layers and the intended fold. Check that the setting holds securely without sharp exposed ends, distorted hardware or damage to the strap. Some components pierce the material during setting; others require prepared openings.
Screw-back and other attachments
Screw-back hardware uses matching threaded components. It can provide a useful assembly option but may loosen unless its design and installation control that risk. Define any locking method with the hardware supplier and validate it. Snap-in or socket components also need matched parts and a verified engagement method; their decorative appearance does not reveal their retention strength.
Rivet materials and finishes
Brass, zinc alloys, steel and stainless steel come in different grades and finishes. Corrosion and wear depend on the alloy, coating, processing and exposure. Stainless steel is not universally immune to corrosion or suitable for washing, and zinc alloy should not automatically be labelled short-lived or low quality. Compare the specified component and relevant test result.
Prong count and hardware weight
More prongs change the contact layout, but they also require more openings. Retention depends on geometry, material condition, edge distances, setting and loading together. There is no universal six-to-ten-millimetre prong length or automatic four-prong durability advantage.
| Attachment | Specification to confirm | Sample check |
|---|---|---|
| Prong-back | Leg shape, length and forming method | Retention, back smoothness and strap damage |
| Screw-back | Thread engagement and approved assembly method | Loosening, fit and contact edges |
| Rivet | Post, cap, assembled thickness and setting tool | Joint retention and deformation |
| Snap-in/socket | Matched components and engagement method | Complete engagement and retention |
Evaluate the weight and projection of large decorations on the actual belt. Check whether they tilt, snag clothing, interfere with garment loops or make the strap uncomfortable. Reinforcement can be considered where needed, but it does not excuse a poorly matched attachment.
2. Which Rhinestone Attachment Method Fits the Material?
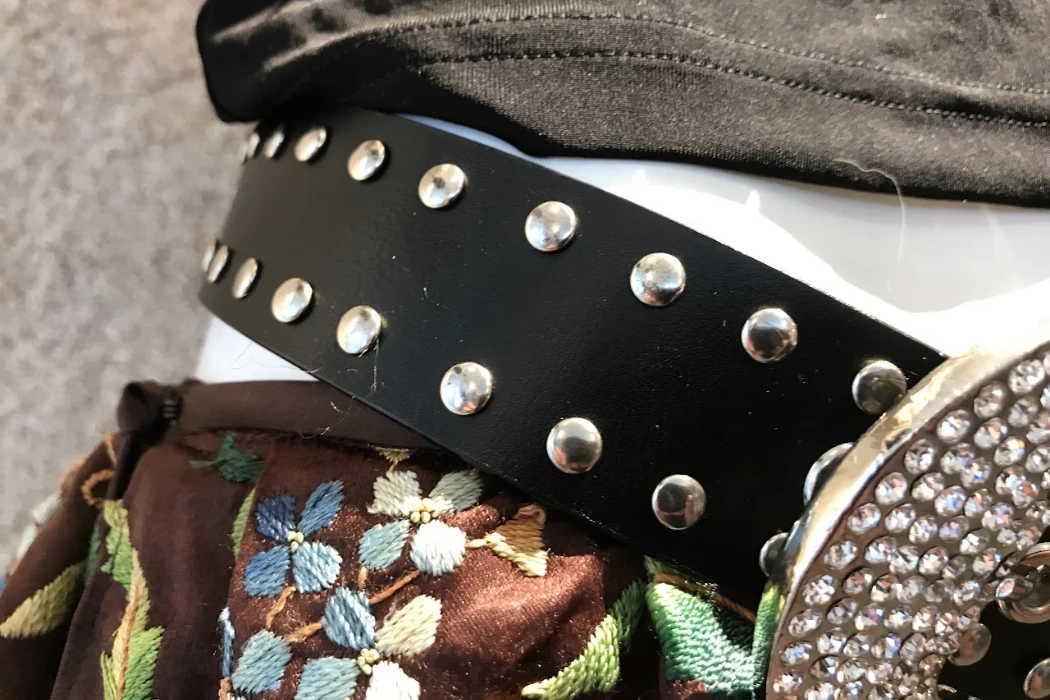
Hotfix, cold gluing, mechanical settings and sew-on components are different systems. Each needs compatible materials and installation instructions. Combining methods is not automatically stronger: an added adhesive or stitch can change flexibility, appearance and failure behaviour.
Hotfix compatibility
Hotfix stones have an adhesive intended for heat activation. The Preciosa Hotfix application manual requires checking the substrate’s absorption, heat and pressure suitability and lists smooth leather and smooth leather imitations among unsuitable surfaces for the described application. Do not apply generic fabric settings to a finished belt or assume every leather can accept hotfix.
Ask the stone supplier to confirm the exact product and surface. Establish application and cooling or curing requirements from its instructions and material trials. A water-drop check mentioned in a bonding manual concerns surface absorbency; it is not proof that a material is genuine leather.
Prong or claw settings
A setting retains the stone mechanically, while the setting itself must also attach securely to the strap. Check both interfaces. Inspect for damaged stones, incomplete closure, sharp claws and movement. Mechanical retention does not remove the need to evaluate flexing, corrosion and contact with garments.
Sew-on stones
Use components designed for stitching and an approved stitch arrangement. Check the thread, hole edges, anchoring and supporting material. A thread break or damaged hole can still release a stone, so do not assume that multiple stitch points guarantee permanent attachment.
Adhesive-set stones
Specify a bonding system suited to the stone backing and leather finish. Surface preparation, application amount, assembly time and cure must follow the selected product’s instructions. General contact cement or epoxy is not automatically suitable, and one category cannot be ranked below every mechanical option without a comparison.
| Method | Main approval questions |
|---|---|
| Hotfix | Is this exact finish compatible with the supplied adhesive and heat process? |
| Mechanical setting | Are both stone-to-setting and setting-to-strap retention satisfactory? |
| Sew-on | Are hole edges, thread, anchoring and backing appropriate? |
| Adhesive-set | Are the finish, stone backing, bonding system and cure compatible? |
Check cleaning and wear using the approved care method for the finished belt. A leather belt should not be assumed machine-washable. Where wiping is the care instruction, validate that procedure rather than imposing unrelated repeated machine washing.
3. How Should Strap Thickness and Reinforcement Be Approved?
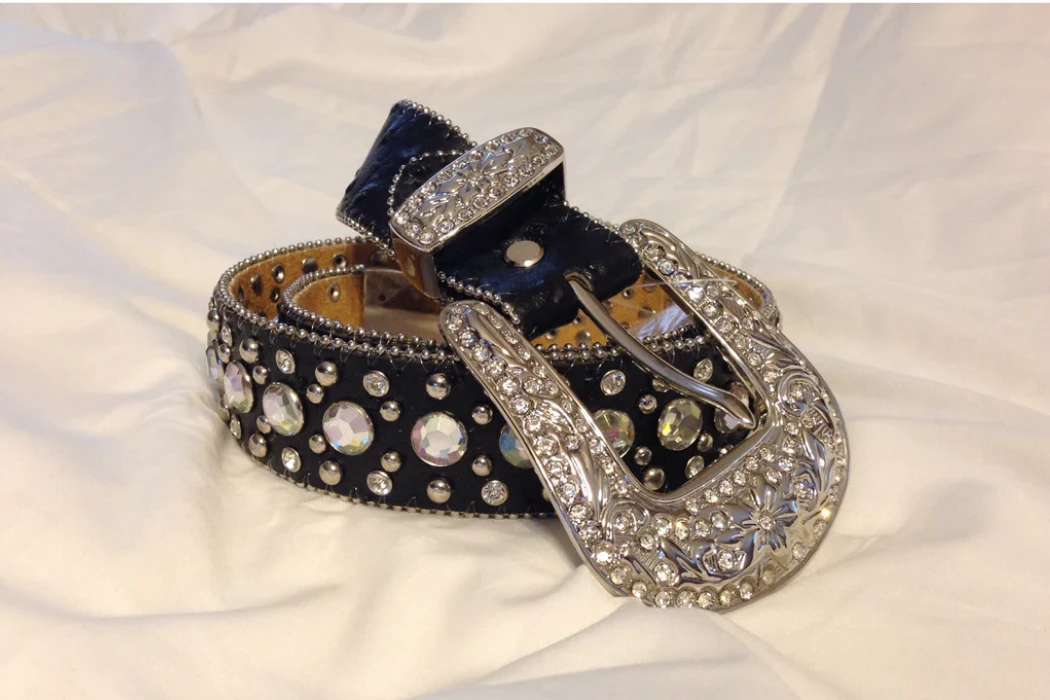
Specify the complete construction: face material, lining, core or reinforcement, adhesives and the thickness where hardware is installed. The attachment supplier’s grip or setting range is a useful starting point. There is no universal thickness table that makes every small stud secure or every heavy ornament safe.
Match components to assembled thickness
Measure the relevant stack, including any local fold or reinforcement. An overly long post or prong can set poorly, while a short one may not engage as intended. Increasing strap thickness without changing the hardware can therefore create a new problem rather than solving one.
Choose reinforcement by function
A local backing or continuous layer may distribute forces or support the design. Evaluate the complete assembly for retention, flexibility, thickness transitions and appearance. Specify whether the reinforcement is bonded, stitched or otherwise held in place. It cannot guarantee that holes will never enlarge.
Treat skiving as a controlled design change
Local thinning may be needed for an attachment or fold, but removing material around a heavily loaded decoration can also reduce support. Show the permitted area and final thickness on the drawing. Validate the result rather than advising universal thinning wherever prongs pass through.
Compare leather articles, not just grade names
Full-grain describes preservation of the grain surface; it does not mean an unsplit full-thickness hide or guarantee hardware retention. Split leather and lined constructions vary. Test the actual article, thickness and reinforcement instead of assuming that full-grain never needs support.
Identify PU construction
PU-based materials may use woven, knitted or nonwoven supports and different coatings. Identify the actual structure and assess openings, tear behaviour, layer adhesion and finish damage. Additional support may be appropriate for one design and unnecessary for another; cost implications belong in the quoted construction.
| Drawing or material field | Reason to specify it |
|---|---|
| Layer stack and local thickness | Matches attachment dimensions and support |
| Hole or piercing layout | Controls position, spacing and edge distance |
| Reinforcement extent | Defines where loads and thickness change |
| Skived areas | Prevents unapproved local thinning |
| Hardware projection | Checks snagging and garment clearance |
| Approved sample | Connects appearance to the actual assembly |
4. What Should the Durability Test Plan Include?
Use test methods and acceptance criteria suited to the product, component and intended market. A material test, an attachment test and a finished-belt assessment answer different questions. None alone proves that every belt in a shipment will perform identically.
Attachment retention
Agree the fixture, pulling direction, rate, conditioning and failure criteria. Record the force and how the assembly failed: hardware separation, stone release, material tear or another mode. Use consistent units. The result is useful only when the method and sample construction are identified.
ISO 3376:2020 covers leather tensile strength and percentage elongation. It is not by itself a stud-pull or finished-attachment test. Select a suitable component assessment in addition to any material tests.
Corrosion assessment
A defined salt-fog test can compare performance under its stated conditions. ASTM B117-26 describes the controlled exposure and warns that stand-alone results seldom correlate with performance in natural environments. It also does not prescribe the product’s exposure duration or interpretation. Agree the condition and evaluation criteria; do not convert chamber hours into coastal service life.
Rubbing, flexing and cleaning
Review colour transfer, finish wear, stone or setting movement and damage to the surrounding strap. Use relevant conditions and the approved care procedure. If moisture or temperature exposure matters to the project, specify it with the laboratory rather than treating any chamber test as a complete simulation of all climates.
Read the report in context
Check the issuing laboratory, sample identity, test method and version, conditions, observations and acceptance criteria. Confirm whether the supplied materials match the tested sample. Independent reporting can be useful, but the laboratory’s name does not replace a review of competence, method and scope.
- Identify the exact belt, stone, setting and material article.
- Record the relevant method, conditions and number of specimens.
- Distinguish measured results from the buyer’s pass/fail criteria.
- Keep photographs and failure descriptions where useful.
- Reassess significant component or process changes.
Sampling and production controls complement development tests. A passing sample is evidence for the tested construction under those conditions, not a promise that stones can never fall out or that a belt will survive a fixed number of years.
5. How Should Production and Inspection Be Controlled?
Approve the layout
Create a drawing or template showing decoration positions, spacing, orientation and clearance from strap edges, buckle folds and adjustment holes. Review the pattern across the size range. Confirm the intended tooling and opening geometry with the hardware supplier; not every prong requires a round pre-punched hole.
Develop the setting method
Use hand tools, a press or a combined process suited to the components and pattern. The setting tool must support the hardware without damaging stones or finishes. Validate alignment and forming on samples. A machine is not automatically more consistent, and hand setting is not automatically safer for delicate stones.
Inspect incoming components
Check the approved article and finish, dimensions, stone condition and strap construction before assembly. Keep substitutions subject to review. A visually similar rivet or stone may have a different post, backing or coating.
Check during assembly
Inspect alignment, engagement, prong closure, back smoothness, stone damage and the surrounding material. Control relevant adhesive or hotfix steps according to the approved process. If a defect appears, investigate the cause and contain affected pieces before continuing.
Review the completed belt
Compare the finished product with the drawing and retained sample. Check garment contact, snagging, appearance, buckle operation and packaging protection as well as decoration retention. Include agreed sampling checks and document the disposition of defects.
| Observed issue | Items to investigate |
|---|---|
| Loose or tilted hardware | Component fit, setting method, thickness and backing |
| Torn or damaged material | Hole layout, edge distance, material condition and local loading |
| Missing or moving stone | Setting closure or bonding compatibility and process |
| Damaged stone or finish | Tool support, handling and setting conditions |
| Misaligned rows | Pattern, registration and size-specific layout |
| Snagging back or face | Exposed edges, projections and lining construction |
These are investigation prompts, not a diagnosis from appearance alone. Confirm the cause before changing thickness, glue or setting force. Retain the approved construction and process record so corrective changes can be checked on the next sample or production lot.
Frequently Asked Questions
Do rhinestones fall off leather belts over time?
They can, depending on the setting, bonding system, material and use. No method guarantees permanent retention. Approve the actual assembly after relevant wear and care checks.
How are studs attached to a belt?
Common systems include formed prongs, threaded backs, rivets and matched snap-in components. Use the component supplier’s installation method and verify engagement on the specified strap.
What is the best leather thickness for a studded belt?
There is no universal best thickness. Match the complete layer stack to the hardware and intended design, then evaluate retention, flexing and appearance on the sample.
Are riveted leather belts durable?
A properly developed riveted assembly can meet a buyer’s requirements, but the result depends on component fit, material and setting. A rivet should not be assumed to outlast every other part of the belt.
Can a rhinestone belt be washed?
Follow the approved care instructions for the complete belt. Do not assume that hand or machine washing is suitable for leather, adhesives, coatings and hardware. Validate the intended cleaning procedure.
What tool is used to set belt studs?
Use a tool or press and matching setting dies suited to the exact hardware. Confirm support, alignment and adjustment on samples before production.
What is the difference between a rivet and a stud?
A rivet commonly joins materials, while a stud often provides decoration. Some components perform both roles. Specify the required function and attachment instead of relying only on the name.
Why do some belts tear near stud holes?
Possible causes include unsuitable material, insufficient support, layout, damaged openings, incorrect setting or excessive local loading. Inspect the failure and validate the correction rather than assuming thickness alone caused it.
Prepare an Approval Brief for the Decorated Belt
Connect the decoration layout, component specification, strap construction, setting method and test criteria. Keep an approved sample and review substitutions before bulk production. This makes the buying decision traceable without promising that every attachment will remain unchanged indefinitely.
For Hoplok custom belt development, send the artwork, hardware references, intended material, size range and market requirements. Confirm the feasibility and testing of the proposed decoration through sampling. Minimums are 300 genuine-leather belts or 1,000 PU belts; belt samples generally take 2–3 weeks and bulk production 60–90 days, excluding shipping.