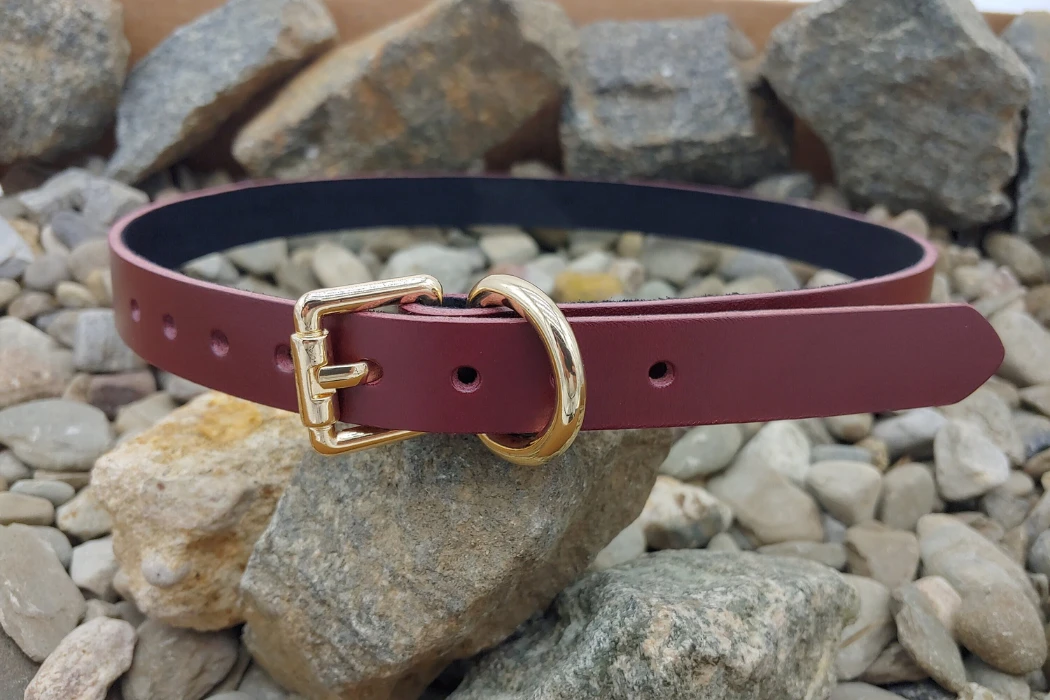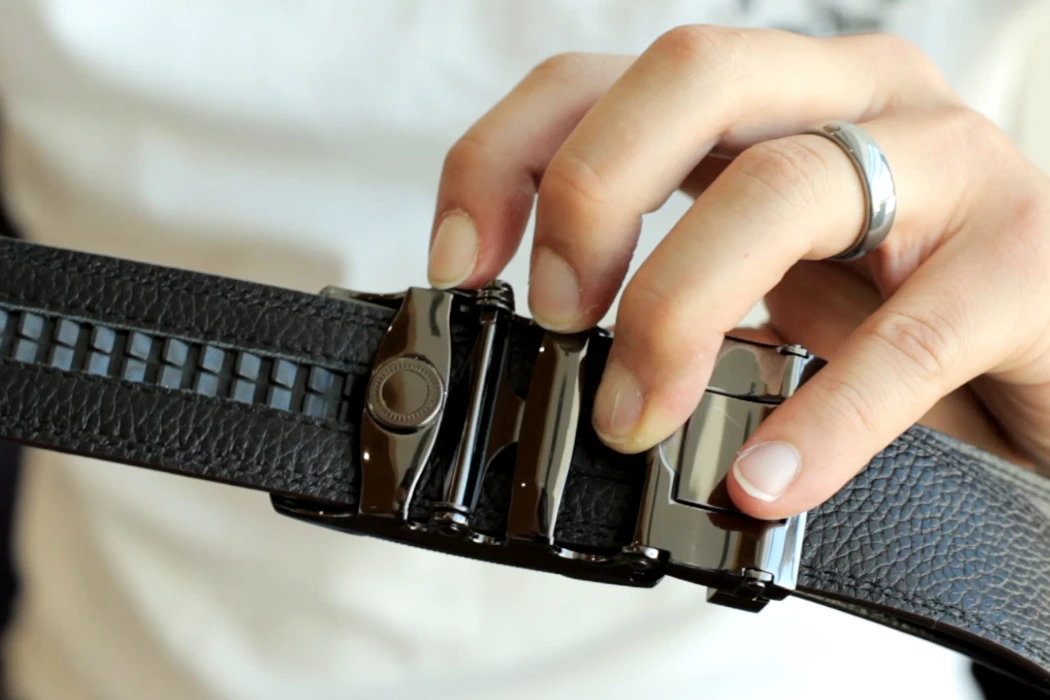
Making a leather belt involves specifying the construction, selecting and cutting the leather, controlling thickness, forming the strap and buckle end, finishing edges, assembling hardware and checking the finished product. The sequence changes for single-layer, lined, padded and reversible belts.
For a brand, understanding these stages is useful when reviewing a sample or comparing factory quotations. A good production brief explains what the belt must look like and how it must perform. It also identifies the measurements and checks needed to reproduce the approved sample across sizes and subsequent orders.
1. Choose a construction before ordering leather
A single-layer belt uses one leather strap for the main body. A lined belt combines a face and backing; a built-up belt may add a filler or reinforcement between them. A reversible design needs two acceptable outward-facing surfaces and hardware that supports the intended rotation. These choices affect thickness, edge treatment, stiffness, material consumption and assembly.
Specify leather species, tannage where relevant, surface finish and thickness range. Full-grain describes a retained grain surface, not a guaranteed lifespan. “Genuine leather” does not identify one fixed grade or prove that the material is a split. Grain leather, split leather and leather-fiber composites require clear descriptions rather than a simple premium-to-budget ranking.
Vegetable-tanned leather is often chosen for a firm hand and traditional tooling. Other tannages and finishes can be appropriate for softer fashion or dress belts. Assess the actual leather for stretch, flexing, color transfer, finish adhesion and the desired edge treatment. Tannage alone does not determine strength or the ability to carry every kind of logo.
2. Turn the size chart into a cutting specification
Define the finished size measurement with a drawing. Brands may use a buckle contact point or another agreed reference to a selected adjustment hole. The fold allowance, buckle length, hole positions and tail beyond the final hole all affect the pattern. Adding two inches to a trouser label can be a shopping approximation, but it is not a production measurement system.
For example, if a design uses five holes at 25 mm intervals and sizes to the middle hole, the two outer holes are 50 mm either side of that reference. This is an illustrative specification, not a mandatory industry standard. Record the actual hole spacing, diameter or slot shape and acceptable position tolerance for your product.
Cutters inspect hides for defects, loose areas, stretch and usable length. Long belt strips constrain yield differently from small leather parts. Mark acceptable natural variations and excluded defects before estimating consumption. A high yield is useful only if the resulting straps meet the agreed quality; no universal nesting percentage fits every hide and design.
3. Control body thickness and the buckle fold separately
Leather can be split to adjust overall thickness and skived locally to reduce bulk at a fold or edge. Specify the finished body thickness and the remaining thickness at critical joins. Removing a fixed percentage from every buckle fold can weaken some constructions or leave others too bulky.
For layered belts, review the face, lining and any reinforcement as a complete assembly. Check the result after bonding, sewing and finishing. Nominal component thicknesses do not fully describe the finished compressed stack. The buckle’s bar or clamp must accept that stack without cutting into it or leaving excessive movement.
Traditional leather “ounce” descriptions approximate thickness; procurement drawings are clearer when they include millimeters and tolerances. For context, Tandy lists a specific 9–10 oz belt blank as 3.6–4.0 mm. That product example does not establish the correct thickness for every belt.
4. Cut the tip, holes and any branding features
The tip must suit the frame, keeper and trouser loops as well as the visual design. Rounded, pointed, tapered and square ends can all be valid. Approve a full-size pattern rather than relying on a style name, which different suppliers may interpret differently.
Hole shape and placement should allow the chosen prong to enter and seat without forcing it. Include the buckle tongue slot where required. For a ratchet belt, the track location and profile replace conventional hole placement as critical interface dimensions.
Logo work may occur before or after assembly depending on access and process. Specify artwork size, position, orientation and appearance. Approve a strike-off on the actual leather finish, followed by a complete belt sample. An attractive imprint on a loose swatch does not reveal whether it will land under a keeper or bend across a fold.
5. Select an edge process the construction can support
| Edge approach | What to approve | What to check after use simulation |
|---|---|---|
| Burnished edge | Surface smoothness, shape, color and suitable leather response | Roughening, color transfer and changes after flexing |
| Painted edge | Preparation, compatible coating system, coverage and drying or curing | Cracks, peeling, tackiness and adhesion around holes or folds |
| Turned or folded edge | Fold allowance, bulk, corner shape and sewing position | Opening, unevenness and seam damage |
| Deliberately exposed edge | Clean cutting and the agreed visual character | Loose fibers and unacceptable abrasion |
Burnishing is particularly associated with suitable vegetable-tanned leather, while painted or turned edges offer other visual and construction options. Avoid assigning one mandatory edge method to all chrome-tanned leather. The finish, fiber structure and product design determine what works.
Edge paint is a system of preparation, application and drying or curing. The material supplier’s process instructions and the finished sample should guide the sequence. More coats do not automatically produce a better edge, and a machine does not remove the need to inspect it.
6. Assemble and inspect the buckle connection
Screws and snaps can make a buckle removable; stitching and rivets generally create an attachment intended to remain closed in everyday use. Select the method for appearance, maintenance and performance. Neither a sewn fold nor a metal fastener is automatically the strongest option.
Check keeper clearance, screw post length, rivet setting, seam placement and prong movement. A stitched belt also needs a defined thread and stitch construction. Hand saddle stitching and machine lockstitch are different processes; the actual seam, thread, tension and construction matter more than a general “handmade is stronger” claim.
Hardware approval should cover material declaration, geometry, surface finish and operation with the strap. Brass, steel and zinc alloy all require appropriate design and finishing. Weight alone cannot identify the metal or predict durability.
7. Verify the finished belt and preserve the reference
Check dimensions, visual defects, shade, edge condition, logo position, adjustment and release. Where relevant, agree testing for flexing, layer adhesion, colorfastness, hardware finish and component retention. Define the method and acceptance criteria for the intended market and use. A facility audit or leather environmental rating does not replace finished-product testing.
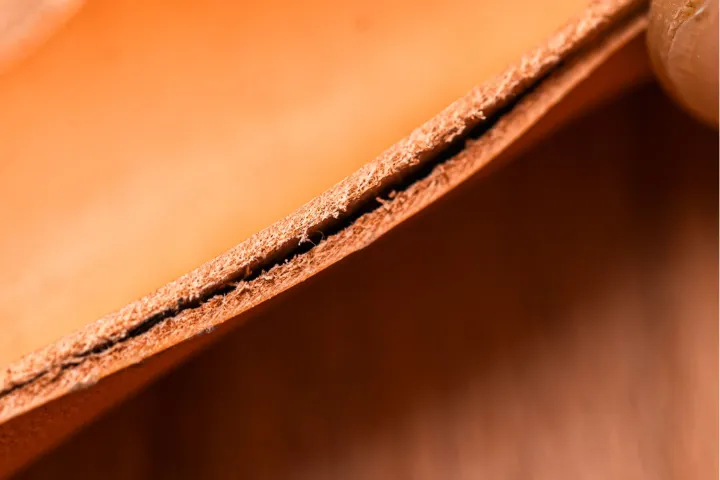
A cross-section can reveal separation between layers. Compare the finished construction with the approved sample and investigate adhesion where applicable; a photograph alone cannot identify leather grade.
Keep signed samples, dated drawings, material references and a record of approved changes. Match packing labels to the size chart. If a raw material changes between sample and bulk, assess whether the change affects fit, finish or performance before accepting it.
What a factory quotation should include
Ask for the leather and lining basis, hardware, finishing, assembly, packing, tooling and testing scope. Yield assumptions should reflect your sizes and defect limits. Separate the factory price from freight, duties and other landed costs. Retail DIY material prices and factory labor guesses are not a reliable cost model.
Hoplok operates four facilities totaling 19,000 m²: HongDing belts in Dongguan, Hoplok bags in Cambodia, Hongcen Max belts in Cambodia and ProPelli leather finishing in Cambodia. ProPelli receives crust leather from partner tanneries, specializes in belt leather and other finishing, and holds a valid LWG Gold rating. It is a finishing facility, not a tannery.
For custom belt manufacturing, the confirmed MOQ is 300 leather belts or 1,000 PU belts. Belt sampling takes 2–3 weeks and bulk production 60–90 days. Supply the drawing, material brief, size quantities and target launch date so the production route and schedule can be assessed.
For quotation comparisons, use the belt manufacturing cost and yield guide.