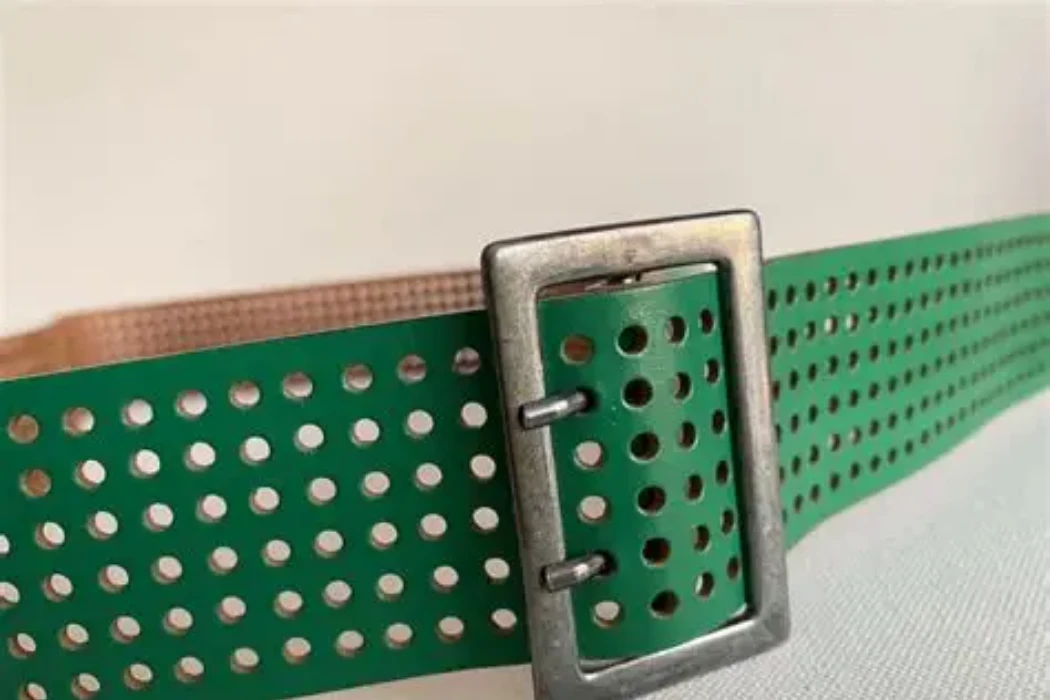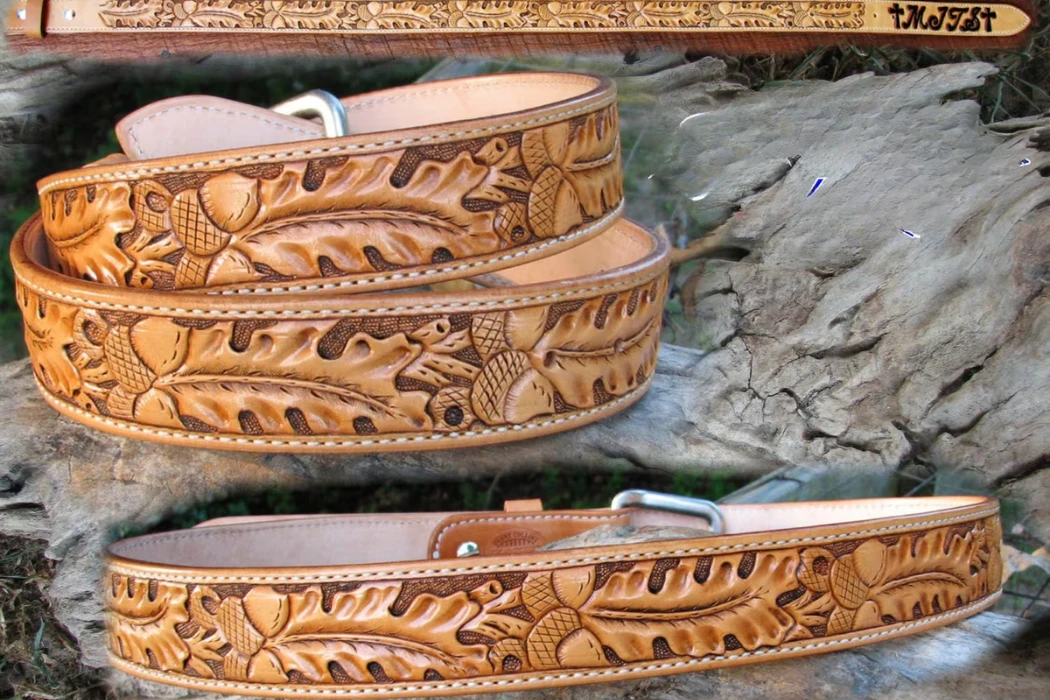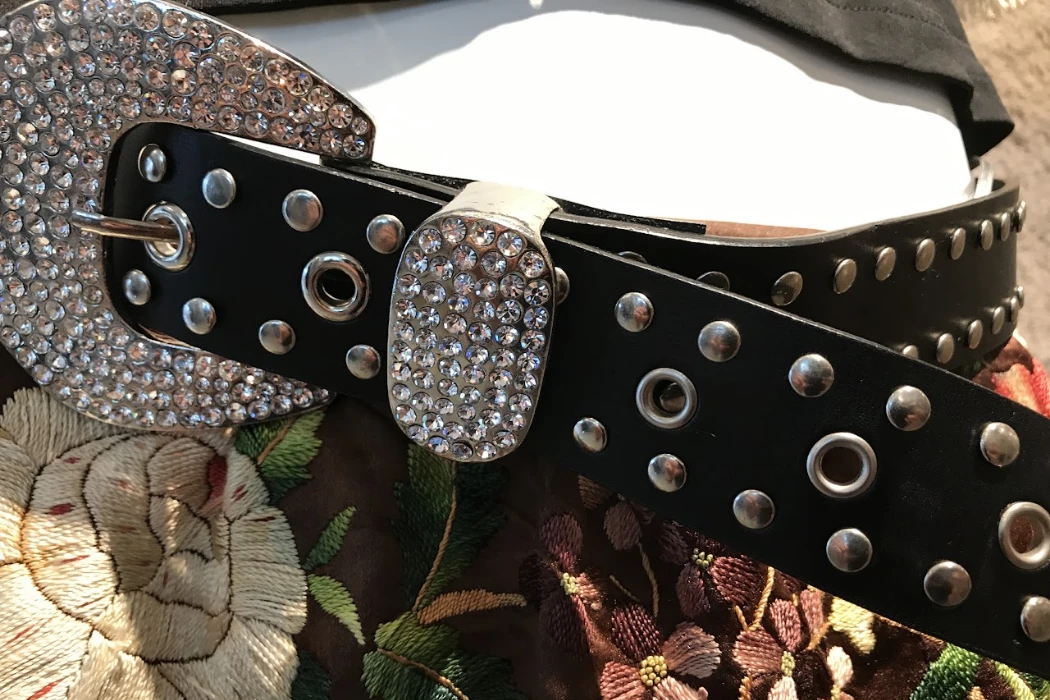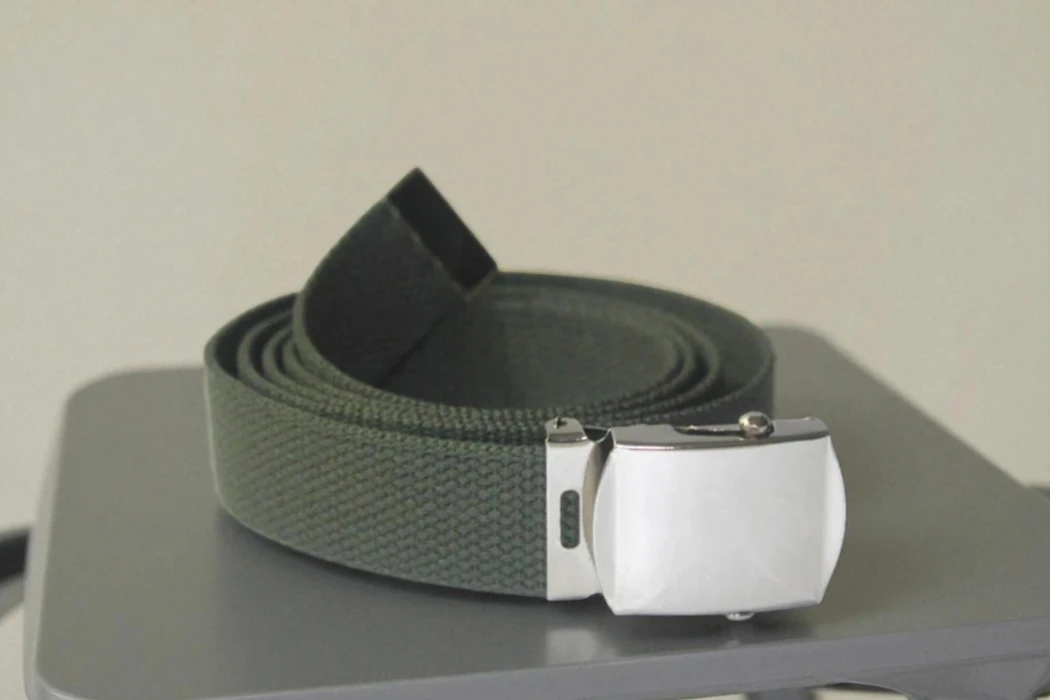
A plain leather strap turns into a brand statement the moment embellishment enters the picture. Studs, embossed logos, hand-burnished edges, and hardware finishes turn a basic strap into a recognizable product line. Fashion brands that work with a custom leather belt manufacturer rely on these details to separate a generic accessory from a signature piece buyers remember and reorder.
Belt embellishment covers the techniques used to decorate, reinforce, or brand a belt’s surface, edges, and hardware. Common methods include embossing, laser engraving, studding, braiding, and logo branding through foil stamping or metal plates. Each technique changes the belt’s look, cost, durability, and production timeline in a different way.
The right choice depends on the material and finish, design, target price and intended use. Confirm each technique with the actual construction and a physical sample. The sections below give product developers a way to describe the effect, identify the required tooling and agree the checks before bulk production.
What Are the Most Common Belt Embellishment Techniques?
Belt embellishment falls into four broad categories: surface texture effects, hardware add-ons, logo and branding marks, and structural details. Surface effects change how the leather looks and feels, such as embossing or laser marks. Hardware add-ons include studs, rivets, and decorative buckles. Branding marks identify the maker or brand through stamped or debossed logos. Structural details, like wrapped edges or reinforced stitching, affect how a belt performs over time.
Surface Texture Effects
Texture effects can mechanically reshape or mark a surface, while oil, wax and other finishes can change its appearance and handle. Specify the process and result rather than assuming all texture work leaves the material unchanged.
- Embossing: A patterned tool forms a relief or texture in the surface. In leather trade usage the term can cover various impressed effects, so define the raised and recessed areas on a sample or cross-section.
- Debossing: Usually describes a recessed mark. Select the impression depth for the actual material and finish; it is not restricted to one leather-thickness range.
- Crazy horse and pull-up finishes use waxes and oils that shift color when the leather stretches or gets rubbed. This creates a slightly worn look right off the production line.
- Laser engraving: A compatible laser process can darken or remove surface material. Confirm the full material composition, equipment suitability and required extraction before trials; it is not automatically more detailed than every die-made mark.
Texture effects work best when matched to leather thickness and grain type, because the wrong pairing can crack the surface or blur the pattern.
Hardware Add-Ons
Hardware turns a plain strap into a belt with visual weight and mechanical function.
- Studs and spikes attach through pre-punched holes and commonly come in brass, zinc alloy, or nickel-plated steel.
- Rivets: Can secure layers or hardware when the rivet, hole, setting and material stack are matched. Specify placement from the construction, not a universal spacing.
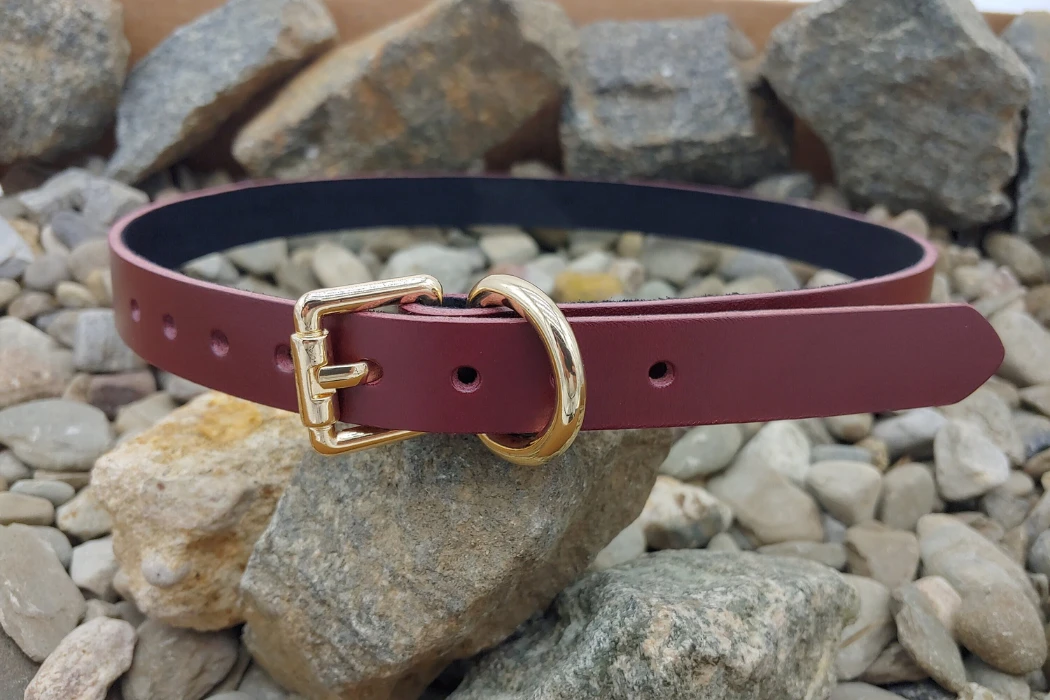
- Decorative buckles range from cast metal designs to hand-forged pieces, with plating options like antique brass, gunmetal, and polished nickel.
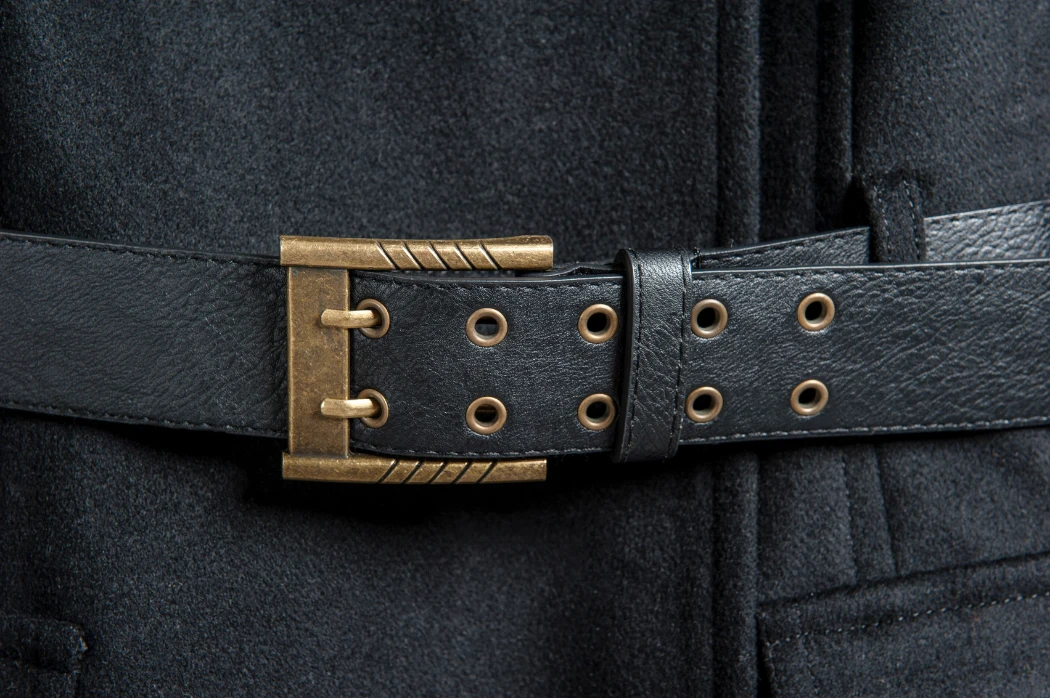
- Eyelets and grommets: Can finish or reinforce openings, but retention, sharp edges and interaction with the buckle pin need testing. Adding an eyelet does not automatically extend belt life.
Hardware choice affects belt weight and cost as much as looks, so sourcing teams usually test a few finishes before locking in a final spec.
Logo and Branding Marks
Branding marks tell a buyer who made the belt without needing a hang tag.
- Hot foil stamping: Transfers a selected foil with controlled heat, pressure and dwell time. Follow the foil, equipment and material guidance and approve the result on the actual surface.
- Metal logos: May attach mechanically or through another validated system. Define size, thickness, position and attachment for the belt rather than using a fixed logo-size rule.
- Embroidery and labels: Can add color and texture where the material and construction support the attachment. Leather embroidery is possible but needs suitable needle, design density and support trials.
- Laser marks: Evaluate contrast, detail and abrasion after engraving. A laser mark is not automatically more durable than every printed or foil design.
The right branding method depends on the leather’s color, thickness, and whether the logo needs to survive years of daily wear.
Structural Details
Structural embellishments change how a belt holds together, not just how it looks.
- Turned edges: Fold material around the edge to create the approved profile. Compare with a finished cut edge; neither is inherently the cleaner option for every design.
- Reinforcement: Additional seams may support the buckle area, but their position and needle holes affect the material. Validate the selected pattern and assembly.
- Edge stitching: Specify stitch spacing and distance from the edge for the material, thread and desired appearance. There is no universal 2–3 mm offset.
- Layering: A face, lining and optional insert can control profile and handle. Specify the layers and bonding; stiffness and durability depend on the complete combination.
Structural work rarely gets noticed until it fails, but these details often matter more to a belt’s lifespan than its surface decoration.
How Is Leather Embossing Different from Laser Engraving?
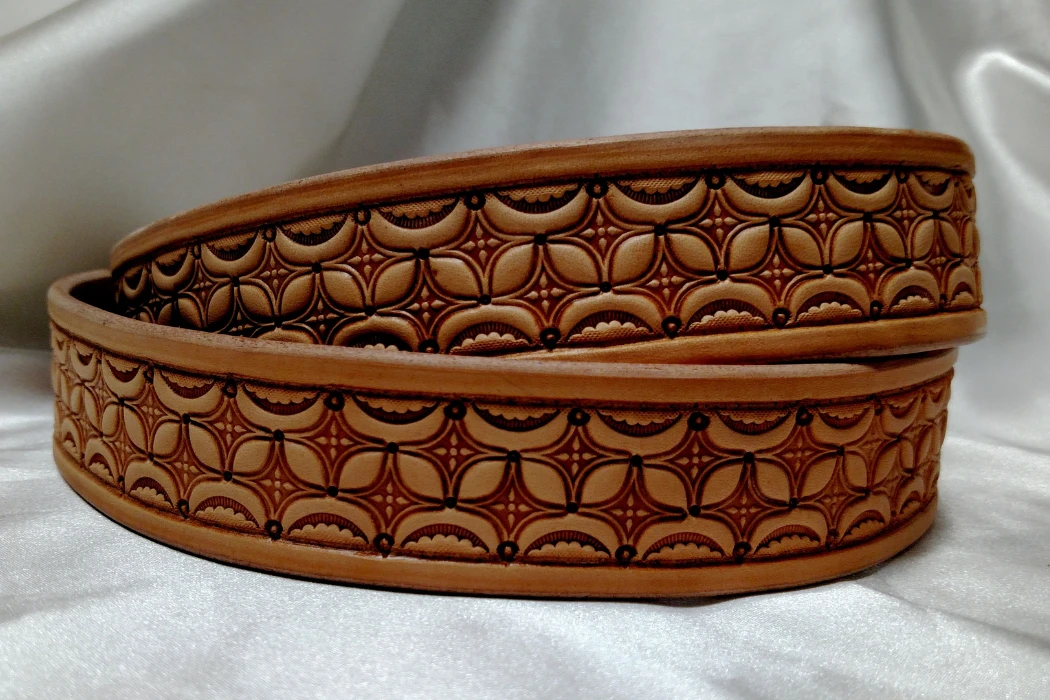
Embossing and debossing use tooling and pressure to form the intended relief or impression, sometimes with heat. Laser engraving creates a mark through a light-based process on compatible material. Compare the actual design in both methods: line detail, relief, contrast, tooling, throughput and wear can influence the choice.
Embossing and Debossing Basics
The terminology should be backed by a physical reference. A recessed logo, raised relief and all-over grain texture can require different tooling even when a quotation uses the broad word “embossing.”
- Tool and settings: Select die material, pressure, temperature where used, and dwell time for the leather and finish. Establish a trial window rather than applying one temperature range to all materials.
- Relief: State which areas should sit above or below the surrounding surface and whether any change should show on the reverse. Confirm the intended depth after the material relaxes.
- Material support: Check whether the selected thickness, backing and finish can accept the impression without tearing, cracking or unwanted show-through.
- Die selection: Compare the required detail, expected run, equipment compatibility and tooling quotation. Confirm ownership, storage and replacement arrangements for repeat orders.
- Wear: Test the actual raised or recessed design for definition and surface change. Neither profile provides a universal durability advantage.
Keep the approved tool revision and settings linked to the material code. Recheck the result when the leather, coating or backing changes.
Laser Engraving Precision
Laser engraving skips the physical die and uses light instead, which opens up a different set of design options.
- Laser process: A suitable system can alter the surface color or remove material. The result depends on the laser, settings and material composition.
- Fine detail: Trial the smallest letters and narrowest lines in the artwork, then assess legibility after cleaning and the agreed wear test. No single minimum line width covers all equipment and leather.
- Because no die needs to be made in advance, laser engraving works well for one-off samples or low-volume custom orders.
- Compatibility: Check the complete leather, coating and adhesive system before processing. Trotec advises against laser processing PVC and unspecified plastics; a leather-like appearance does not prove laser suitability.
- Thickness and surface: Engraving can remove material, so evaluate the residual section, edge condition and reverse side. Thin material is not automatically safe or appropriate for a chosen engraving depth.
Compare a physical laser sample with the intended die-made effect. A digital preview cannot show every change in color, residue, texture or flexibility.
Best Leather Types for Each Method
Not every leather responds the same way to heat and pressure, so the embellishment method often depends on the hide itself.
- Grain and tanning: Full-grain describes grain retention, while vegetable-tanned describes a tanning route. Neither alone guarantees an enduring impression; approve the actual leather and finish.
- Corrected or coated surfaces: Test definition, adhesion and cracking after impression. Similar-looking finishes may respond differently to the process.
- Laser candidate materials: Use a composition-confirmed material and supplier/equipment guidance. Vegetable-tanned leather is not necessarily low in oils or free of coatings, and its label is not a substitute for compatibility assessment.
- PU or other coated materials: Assess embossing separately from laser compatibility. Do not laser an unknown coating as an informal scrap test; establish composition and the suitable process first.
- Animal-inspired textures: Crocodile- or snake-style relief may be embossed on a declared cowhide or synthetic base. Specify the relief and test the construction; it does not universally require thick full-grain leather or imply exotic skin.
Matching leather type to embellishment method up front reduces waste and avoids rework later in bulk production.
| Factor | Embossing / Debossing | Laser Engraving |
|---|---|---|
| Process | Tooling and pressure, with heat where appropriate | Focused beam burns or darkens the surface |
| Design Depth | Raised or recessed, tactile feel | Surface alteration or material removal |
| Line Precision | Confirm detail and relief on a physical sample | Confirm detail and contrast on a compatible material |
| Tooling Setup | Dedicated or selected pattern tooling | No die needed, design loaded digitally |
| Production assessment | Tooling, run size and approved impression | Compatibility, setup and approved engraved result |
| Material requirement | Material/finish shown suitable by impression trials | Composition and laser compatibility confirmed before trials |
What Hardware Options Exist for Studded and Riveted Belts?
For studs and rivets, specify the alloy or material, finish, dimensions, attachment and underside profile. Decorative size choices should leave enough room for bending and fastening. Structural rivet layout must be validated with the material stack; no fixed spacing or stud size suits every belt.
Stud and Spike Materials
Studs and spikes come in a handful of common metals, each with its own weight, cost, and corrosion resistance.
- Brass: Can provide the desired tone and weight. Confirm alloy, finish, applicable chemical requirements and appearance after relevant exposure.
- Zinc alloy: Can be die-cast into detailed shapes. Confirm the alloy and casting quality; compare the actual component quotation rather than assuming a fixed price advantage.
- Stainless steel: Confirm grade and finish and assess the required corrosion and wear behavior. It is not universally scratch-proof or the most expensive option.
- Aluminum: Can offer a lightweight component option. The final part’s mass and retention depend on its dimensions and attachment as well as material.
- Dimensions: Specify the footprint, height and spacing of studs or spikes. Check snagging, sharp points, clothing contact and access to the buckle on the assembled sample.
Material choice for studs balances weight, shine, and budget, so the final pick usually depends on the belt’s price point and target look.
Rivet Placement and Spacing
Rivets do structural work, holding leather layers and hardware together at points that see the most stress.
- Layout: Dimension rivet positions from the fold and edges, leaving the required material between holes. Validate spacing with the construction rather than applying a generic interval.
- Double-cap rivets: Match the post, caps and setting tool as a system. Check that setting secures the layers without cutting, crushing or leaving a loose cap.
- Post length: Follow the component maker’s guidance for the compressed material stack and setting method. A universal extra 2–3 mm is not correct for every rivet type.
- Tubular rivets: Select the particular component for its intended attachment, material stack and setting equipment. Assess retention instead of assuming that all tubular designs are only for light decoration.
- Chicago screws: Can support removable hardware when the design and fastening procedure allow it. Confirm resistance to loosening and whether replacement can be performed without damaging the strap.
Correct rivet placement keeps a belt’s stress points reinforced, so poor spacing often shows up first as a loose buckle loop or a tearing hole.
Hardware Finishes (Brass, Nickel, Antique Silver)
Specify the base metal separately from the finish. A color name such as antique silver or gunmetal does not disclose the plating chemistry, coating stack or durability.
- Polished brass gives a warm, bright gold tone, while antique or oxidized brass looks darker and more worn from the start.
- Bright nickel plating creates a cool, reflective silver finish, and brushed nickel offers a softer, matte version of the same look.
- Antique silver finishes use a darkened base with polished highlights, giving hardware an aged, vintage character.
- Finish thickness: Use the component supplier’s proposed coating system and the buyer’s performance requirements. There is no universal 5–15 micron thickness that establishes corrosion resistance for every finish.
- Black oxide and gunmetal finishes darken metal hardware for a more understated look, popular on casual or western-style belts.
Finish selection often matters as much as the base metal, since plating is what buyers actually see and touch every day.
| Material | Typical Finish Options | Durability Notes | Best For |
|---|---|---|---|
| Brass | Polished, antique/oxidized | Check alloy, finish and exposure performance | Designs using the approved tone and weight |
| Zinc Alloy (Zamak) | Plated brass, nickel, or antique tones | Check casting, section and finish performance | Detailed decorative shapes where validated |
| Stainless Steel | Brushed, polished | Check grade and finish performance | Designs using the approved grade and appearance |
| Nickel-Plated Steel | Bright nickel, brushed nickel | Specify coating stack and test requirements | General fashion belts |
| Aluminum | Anodized, matte | Check dimensions and attachment performance | Belts with heavy stud coverage |
How Do Manufacturers Achieve Braided and Woven Belt Designs?
Braided and woven belt designs interlace specified strands into an approved pattern. The strips may be leather or another declared material. Strand width, thickness, tension, pattern and end attachment influence the result. A core or backing is an option to evaluate, not a requirement for every braid.
Braiding Patterns
Braid complexity ranges from simple three-strand weaves to intricate patterns that take specialized machinery or trained hands to complete.
- Three- and four-strand examples: Compare pattern samples with their strand dimensions and finished width. Strand count alone does not determine production time.
- Higher-strand examples: Additional strands can change the pattern and visual texture. Confirm material consumption and the proposed manual or machine process for the actual design.
- Herringbone and diamond weaves arrange strips at angles instead of straight braids, producing a flatter, more geometric pattern.
- Production route: Ask which operations are manual, machine-assisted or subcontracted. No universal strand-count cutoff separates machine from hand production.
- Some premium belts combine two braid types in a single strap, such as a flat herringbone panel bordered by a simple three-strand edge.
Pattern choice affects both cost and lead time, so brands typically balance visual complexity against production speed and budget.
Strip Width and Leather Selection
The width and type of leather strip used in braiding determines how the finished belt looks and holds up over time.
- Strip width: Set the width and tolerance from the pattern and target strap dimensions, then check the braid after relaxation and fastening.
- Latigo: A trade description that should be clarified with the supplier’s tanning and finishing information. It is not synonymous with oil tanning; select the specific article by handle and performance.
- Species: Specify the proposed species and traceability requirements. Do not infer a thin strip’s strength from its species name; use relevant material and braid tests.
- Tanning and stretch: Compare measured extension and recovery on the actual strips and braid. A vegetable-tanned label does not automatically mean less stretch than every chrome-tanned leather.
- Thickness: Match the strip thickness to the folds and pattern. Check for cracking, bulky intersections and exposed reverse surfaces on the approved braid.
Approve the material, strip dimensions and completed pattern together. Their interaction matters more than any one label or nominal thickness.
Reinforcement for Durability
Decide whether the braid needs a core, backing or other reinforcement by evaluating its width stability, extension and end retention. Different patterns can work with different constructions.
- Optional core: A selected core or backing can influence stretch and handle. Specify its composition and attachment and check whether it interferes with fastening through the braid.
- End retention: Stitching or another suitable attachment secures the strands. Test the chosen construction; waxed thread alone does not prevent every end failure.
- End caps or metal ferrules cover the raw ends where the braid meets the buckle, protecting the leather from fraying.
- Finished width: Set the width for the buckle and garment loops and define the measurement condition. Braids can change shape when handled or loaded.
Check end retention and dimensional change before bulk approval. A braid without a core is not automatically defective or destined to loosen within weeks.
Which Logo Branding Methods Work Best on Leather Belts?
Compare logo methods by the required appearance, placement, material compatibility, tooling and performance. Foil, metal plates, embroidery and labels can all be useful. No method has a universal longest life or lowest cost, and embroidery is not limited exclusively to fabric.
Hot Foil Stamping
Hot foil stamping transfers the decorative layer from a selected foil using suitable heated tooling and controlled contact with the material.
- Settings: Establish temperature, pressure and dwell time from the foil and material guidance and trials. Keep the approved combination in the production record.
- Coverage: Assess foil transfer on the selected surface. Texture, finish chemistry and settings can affect gaps, edge definition and adhesion.
- Quotation: Separate the tooling, setup and unit application costs, including any repeat-order charges.
- Wear: Evaluate foil adhesion and rubbing on the actual finish. Compare alternatives using the same conditions rather than ranking all foil marks below metal or laser.
- Multiple colors: Confirm registration, process sequence and setup costs where the design uses more than one foil color.
Foil stamping is an option when a flat metallic or colored mark fits the brief. Approve coverage, edge definition, color and wear behavior before production.
Metal Plate Logos
Metal plate logos attach a separate, solid piece of hardware to the belt strap or buckle instead of marking the leather directly.
- Size: Dimension the logo plate and check readability, profile and clear space on the belt. Large and small designs have different attachment needs.
- Material: Compare the actual alloy, finish, mass and component quotation. A brass or zinc label does not establish the plate’s wear life.
- Attachment methods include rivets, screws, or adhesive backing, each affecting how permanent the logo becomes.
- Contact: Check snagging, edge smoothness, clothing contact and movement while the belt bends. The raised plate and its finish can also abrade or become damaged.
- Thickness: Select the section for the shape and attachment. Confirm that it resists the agreed bending or retention test without adding unacceptable bulk.
Include tooling, finish and attachment costs in the comparison. Test the actual plate rather than promising it will retain its appearance longer than every other mark.
Embroidery and Woven Labels
Embroidery and woven labels can add multiple colors and texture. Confirm suitable material support, stitching and placement for the selected belt construction.
- Leather embroidery: Needle holes remain in leather and dense designs can weaken it. Trial the needle, thread, support and design density before approval. Madeira’s backing guidance includes leather applications, demonstrating that fabric is not the only possible substrate.
- Woven labels get produced on a loom ahead of time, then sewn onto the belt during assembly.
- Artwork: Compare small text, color changes and thread coverage on a stitched sample. Other methods can also produce multi-color logos, so choose by the actual design.
- Care: Validate rubbing and any permitted cleaning for the complete belt. Embroidery on fabric does not automatically make leather trim or hardware washable.
Approve the logo sample in its final location and check how it contacts clothing or the buckle. This is especially useful where several decorative techniques share a small area.
| Method | Performance check | Cost comparison | Material compatibility | Design consideration |
|---|---|---|---|---|
| Hot Foil Stamping | Foil adhesion, coverage and rub behavior | Tooling, setup and application quote | Surface/foil compatibility confirmed by trials | Flat metallic or colored mark |
| Metal Plate Logo | Attachment, finish and contact behavior | Tooling, component and attachment quote | Material stack suitable for the attachment | Raised hardware identity |
| Embroidery/Woven Label | Stitching, rubbing and permitted care | Artwork/setup and unit application quote | Suitable fabric or leather with approved support | Thread color and texture |
What Buckle Mechanisms Suit Different Embellishment Styles?
Select the buckle and decoration together. A pin may pass through adjustment holes or a suitable braid, while a ratchet engages a compatible track. A reversible design needs both faces and the turning mechanism to remain usable. Check decoration clearances through the full fastening range.
Pin Buckles vs. Ratchet Buckles
Pin and ratchet buckles both hold a belt closed, but they use very different mechanisms to do it.
- Pin buckle: Specify the pin, functional openings and adjustment range. Hole spacing is a design choice; a braid may use suitable interstices where the construction is validated.
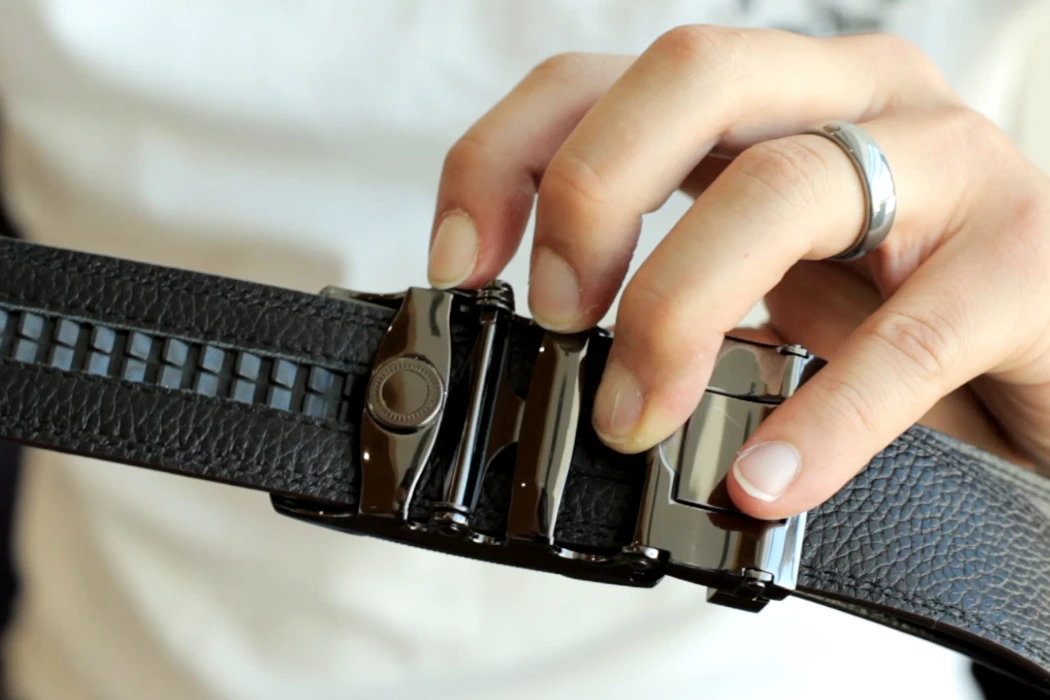
- Ratchet: Confirm the actual track, adjustment increment, release and holding behavior. Step size differs between systems.
- Because ratchet mechanisms hide inside a flat buckle housing, they suit smooth, embossed, or debossed belts better than heavily studded designs.
- Pin layout: A solid strap needs suitable adjustment openings, while a braided construction may use its interstices. Check that the pin and chosen decorative pattern work together.
- Compatibility: Match strap width, thickness and track attachment to the selected buckle rather than assuming a standard ratchet width.
Pin buckles favor tradition and visible craftsmanship, while ratchet buckles favor a cleaner look and finer size adjustment.
Reversible Buckle Systems
Reversible buckles let one belt do the work of two, showing a different leather color or texture on each side of the strap.
- Turning mechanism: Confirm how the selected buckle permits reversal and test repeated operation with the strap attached.
- Two-sided appearance: Specify how both faces are finished and how the edge is constructed. A reversible belt does not universally require two leather layers bonded back-to-back.
- Because both sides show, embellishments like deep embossing or thick studs usually do not work well. They can show through or add too much bulk.
- Reversible belts typically stay closer to smooth or lightly textured finishes, keeping both faces flat enough to flip cleanly.
- Combined thickness: Check the actual assembly through the buckle and keeper. A fixed thickness range does not cover every reversible design.
Reversible systems trade heavy embellishment for versatility, giving one belt two finished looks instead of one bold design.
Matching Buckle Finish to Embellishment
Buckle finish works best when it matches the metal tone used elsewhere on the belt, rather than clashing with studs, rivets, or plate logos.
- A belt with brass studs or rivets usually pairs with a brass or antique brass buckle, keeping the metal tone consistent across the strap.
- Nickel or chrome hardware pairs naturally with bright or brushed nickel buckles, giving a cooler, more uniform look.
- Mixed metals, like a gunmetal buckle next to bright silver studs, can look unintentional unless the design calls for contrast on purpose.
- Buckle attachment methods, such as a stitched loop-back or a screw-in post, also need to suit the strap’s thickness. This matters even more when reinforcement sits underneath the embellishment.
Matching buckle finish to the rest of the hardware keeps a belt looking intentional, rather than like mismatched parts from different suppliers.
How Does Edge Finishing Affect the Final Look of an Embellished Belt?
The edge contributes to the belt’s profile, touch and appearance. Options include a burnished or painted cut edge and a turned construction. Select the finish for the leather or synthetic stack, check bending at the buckle fold and approve how the edge relates to the surface decoration.
Hand-Burnishing
Burnishing uses friction with a suitable treatment to compact and smooth a cut edge. It does not make the complete belt waterproof.
- A burnishing tool or piece of canvas rubs the edge with water, wax, or a gum tragacanth solution until the fibers compress and shine.
- Material trial: Some firm vegetable-tanned leathers burnish readily, while other constructions need a different approach. Evaluate the actual edge rather than assigning every chrome-tanned leather the same behavior.
- Preparation: Set the bevel or edge profile for the leather thickness and intended appearance. There is no universal amount to remove from each corner.
- Production time: Compare the approved burnishing sequence with the alternative paint process, including drying or curing. Neither route is always faster.
- Final treatment: If wax or another product is applied, check compatibility, transfer and bending after application. Gloss does not by itself demonstrate water resistance.
Hand-burnished edges give a natural, glass-like shine that many buyers associate with higher-end, craft-made leather goods.
Painted Edges
Edge paint seals and colors the cut leather surface with a flexible coating instead of relying on friction alone.
- Application: Follow the selected edge system’s preparation, coat and drying sequence. Approve the result on the actual stack.
- Build: Too little or too much coating can affect appearance or behavior, but there is no universal coat thickness for every edge product. Use its technical guidance and material trials.
- Material fit: A paint system may suit leather or layered constructions that need a controlled colored edge. Confirm adhesion and flexibility for the particular base.
- Color-matched edge paint lets manufacturers coordinate the edge tone with the belt’s main color, rather than leaving a contrasting raw edge.
- A flexible topcoat or sealant often finishes the paint job, helping the color resist cracking as the belt flexes with wear.
Painted edges offer a consistent, controlled finish across leather types that do not respond well to hand-burnishing.
Folded vs. Raw Edge
The edge construction itself, folded or raw, changes both the belt’s thickness and how much extra finishing it needs.
- A folded edge wraps the leather over a core or lining and stitches it down, hiding the raw cut completely.
- Turned profile: Folding may add material, while skiving can reduce the profile. Review the cross-section rather than assuming a turned edge is always thicker.
- Cut edge: May be left deliberately raw or finished to the design. Approve the appearance, feel and wear behavior of the selected material.
- Layered designs: Define the edge and seam in section so the factory can reproduce how the face, lining and insert meet.
- Measurement: Check the finished edge and strap thickness against the drawing. The thickness change depends on skiving, layers and assembly, not a universal added millimeter value.
A cross-section sample makes the edge decision concrete. Include the fold and tip where the construction changes.
Are There Special Considerations for Colored and Antiqued Finishes?
Color and antique effects need a physical reference on the actual material. Define the intended base shade, contrast, gloss and permitted variation, then select relevant fastness checks. A paper color code or attractive first sample does not establish repeatability or wear behavior.
Pantone Color Matching
Pantone color matching gives brands a shared reference point, but leather does not take color exactly like paper or fabric swatches do.
- Color trial: Prepare a finish or color sample on the selected leather or PU material. The process may involve dye, pigments or coatings rather than simple absorption alone.
- Appearance: Grain, texture, gloss, coating and lighting affect the visual match. Compare the production sample with the agreed physical standard.
- Feasibility and cost: Confirm whether the color is achievable on the selected base and whether trials, special formulations or minimum quantities affect the quote. Matching is not universally free.
- Batch-to-batch color consistency depends on tracking dye formulas closely, since natural hide variation can shift the outcome even with an identical recipe.
- Some mills also keep physical leather swatch books on file, letting repeat orders reference a previous approved sample instead of starting the match from scratch.
Keep a dated, approved physical color sample and viewing conditions for repeat orders. A reference code helps communication but does not replace that approval.
Hand-Dyeing and Antiquing
Antiquing builds depth into a belt’s color by layering dye and glaze rather than applying a single flat tone.
- A base coat of dye sets the belt’s main color, often applied by hand with a sponge, brush, or spray gun.
- An antique glaze, usually darker than the base coat, settles into embossed grooves, seams, and edges, then gets wiped back from the raised surface.
- This wipe-back step creates contrast between recessed and raised areas, giving the belt an aged, hand-finished look.
- A protective topcoat seals the layered dye and glaze, helping the color resist rubbing off during normal handling.
Compare the labor, process sequence and permissible variation for the desired antique effect. The effect can be valuable for the design, but it is not inherently better than an even color.
Colorfastness Testing
Colorfastness tests evaluate specified exposures under controlled conditions. Select methods and acceptance criteria for the leather, textile or other component being assessed.
- Rubbing: Leather testing under ISO 11640 uses wool felt. Textile crocking methods use their specified rubbing medium and procedure; do not treat every rubbing test as the same white-cloth check.
- Light fastness testing exposes leather to a controlled light source, checking for fading after a set exposure period.
- Perspiration fastness testing checks whether sweat exposure causes color to bleed or transfer, which matters most for belts worn directly against skin.
- Assessment: The scale and acceptance value depend on the method and buyer requirement. Light-fastness and staining assessments are not all scored on the same gray scale, and grade 4 is not a universal retail pass value.
- Method selection: ISO 11640 covers leather rubbing fastness, while ISO 11641 covers leather perspiration fastness. Select textile methods for textile components or another agreed and justified application.
Colorfastness testing gives brands a measurable way to confirm a finish holds up, rather than relying on how the belt looks at the sample stage.
| Test Standard | What It Measures | Scope and acceptance basis |
|---|---|---|
| ISO 105-B02 | Textile colorfastness to artificial light | Use for the agreed material/application; specify exposure and assessment |
| ISO 105-X12 | Textile colorfastness to rubbing | Select for the textile component or justified agreed application |
| ISO 11641 | Leather colorfastness to perspiration | Agree the procedure and acceptance criteria |
| ISO 11640 | Leather rubbing fastness with wool felt | Agree conditions, cycle count and assessment grades |
What Is the Difference Between Embossed and Debossed Leather?
Debossing usually means a recessed mark, while embossing may mean raised relief or be used broadly for impressed leather texture. Define the raised/recessed areas and reverse-side effect on a sample. Neither term prescribes one heating method or guarantees permanent detail under all wear.
How Do You Emboss a Logo on a Leather Belt?
Provide approved artwork, position and desired relief. The supplier selects suitable tooling and trials the pressure, temperature where used and dwell time on the actual material. Approve definition and wear behavior before production rather than applying one temperature recipe.
What Materials Are Used for Belt Buckles?
Options include brass, zinc alloys, stainless steel and plated steel, among others. Specify the base material and finish separately, then compare geometry, weight, retention, corrosion evidence and price for the actual component.
Is Laser Engraving Durable on Leather?
Durability depends on the material, laser process, mark depth and exposure. Confirm laser compatibility first, then inspect detail and surface condition after the agreed rubbing or wear evaluation. A laser mark does not automatically outperform printed, foil or impressed logos.
What Is a Crazy Horse Leather Finish?
Crazy Horse is a trade description often associated with a waxy, distressed appearance. Some finishes lighten with bending or scratching and can change when rubbed. Confirm the actual leather, finish and acceptable appearance changes; the name is not a fixed thickness or performance grade.
How Do You Clean a Studded Leather Belt?
Follow care guidance validated for both the leather and hardware finish. A soft dry cloth may suit routine dust removal, but cleaners or metal polishes should be used only when compatible and kept from other components as directed. Test an inconspicuous area where the supplier recommends it.
What Is the Standard Width for a Men’s Belt?
Choose width to fit the intended garment loops, buckle and design. Confirm the actual width and tolerance on the drawing and sample; there is no one standard width for all men’s dress or casual belts.
Can Leather Belts Be Customized with Pantone Colors?
A Pantone code can be used as a color target, but feasibility and matching depend on the base material, finish and viewing conditions. Approve a physical leather or PU sample and confirm costs or minimums for custom color work.
Embellishment choices connect the artwork with material behavior, attachment, process cost and production checks. An approved sample should show the complete belt and its decoration at the folds, edges and hardware, where incompatibilities may be easier to miss on a flat swatch.
For Hoplok custom belt development, send the artwork, material brief, quantity and target market to review the proposed embellishment and construction. Confirm the available production route, tooling, sample approval and testing scope for the project before placing the order.