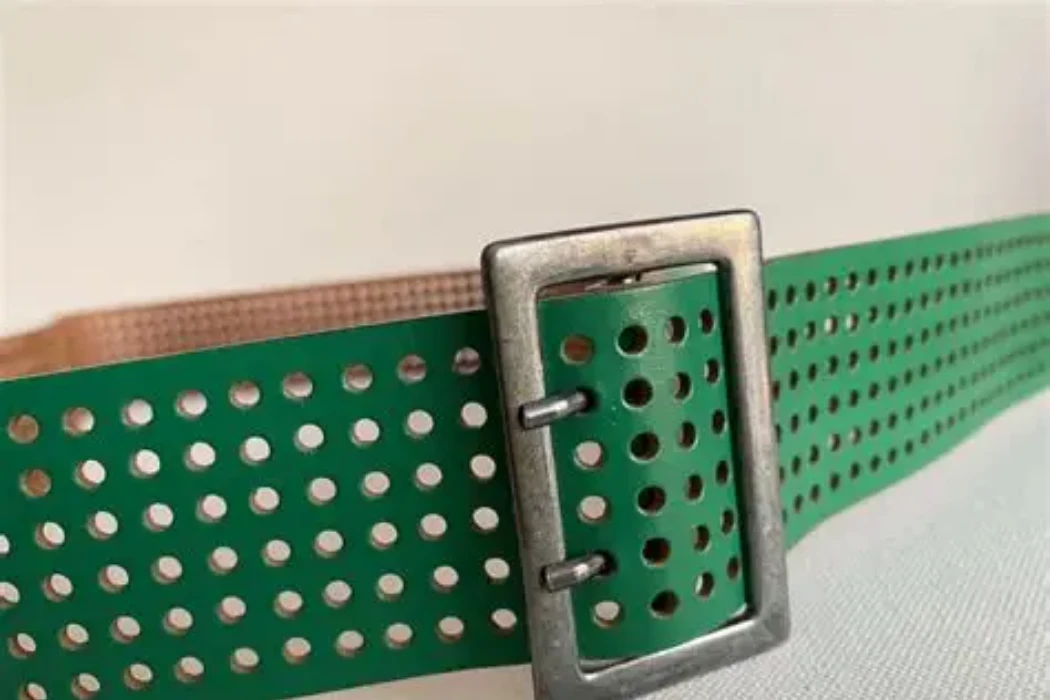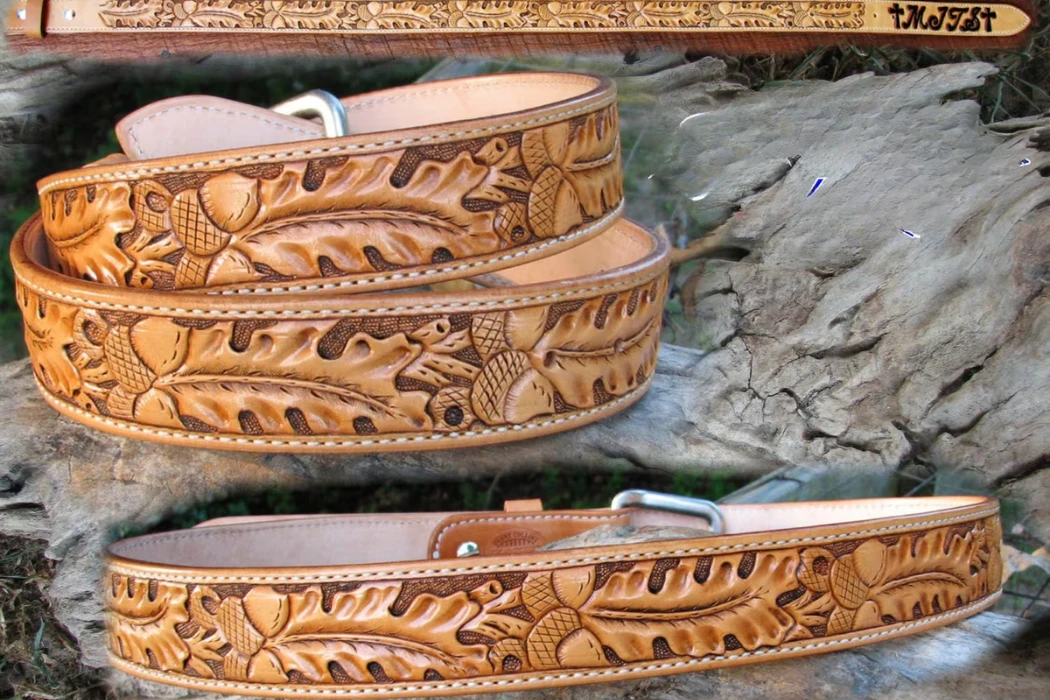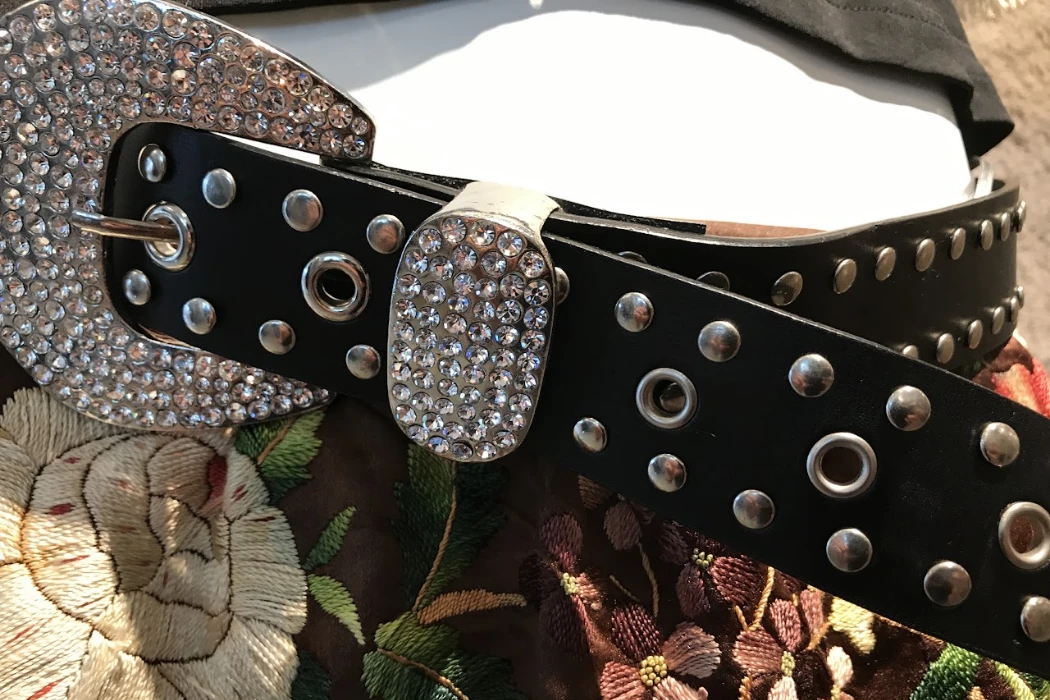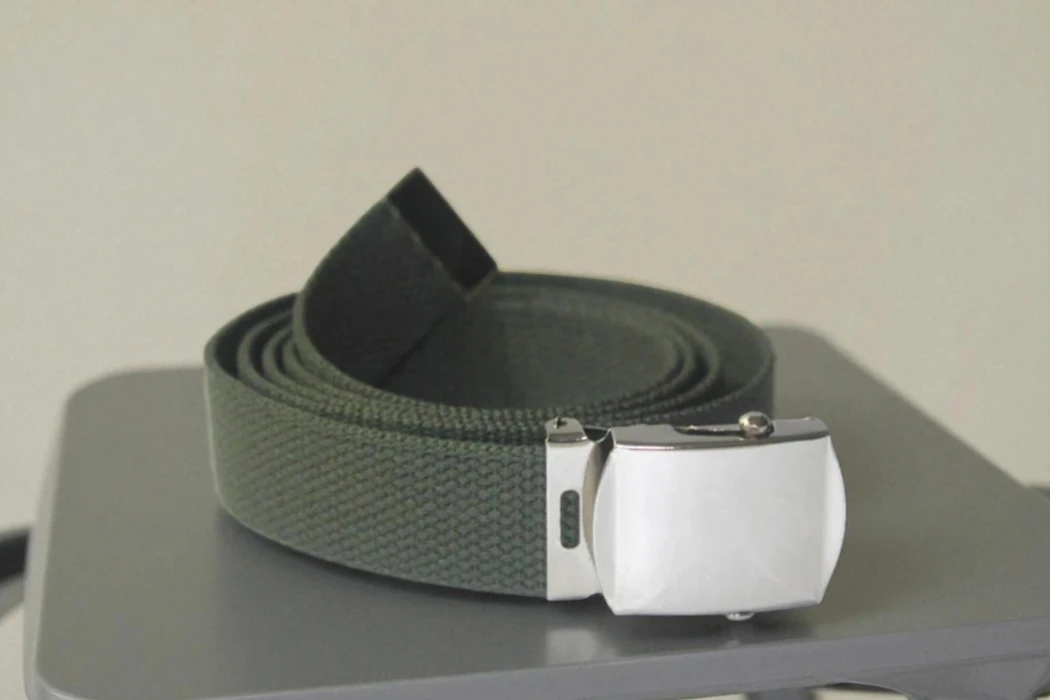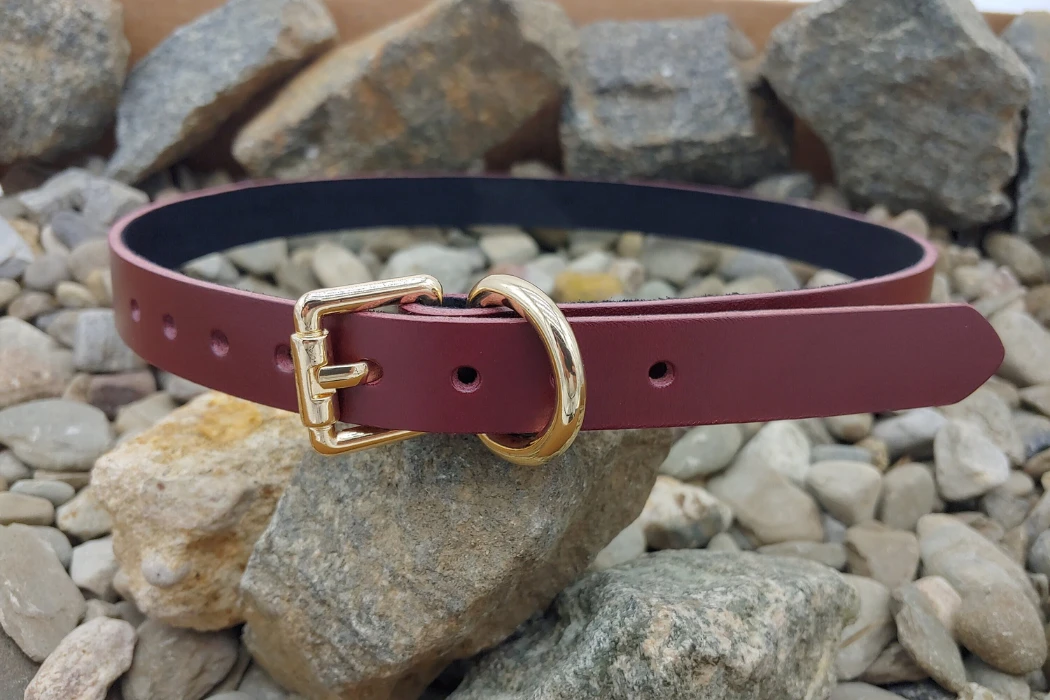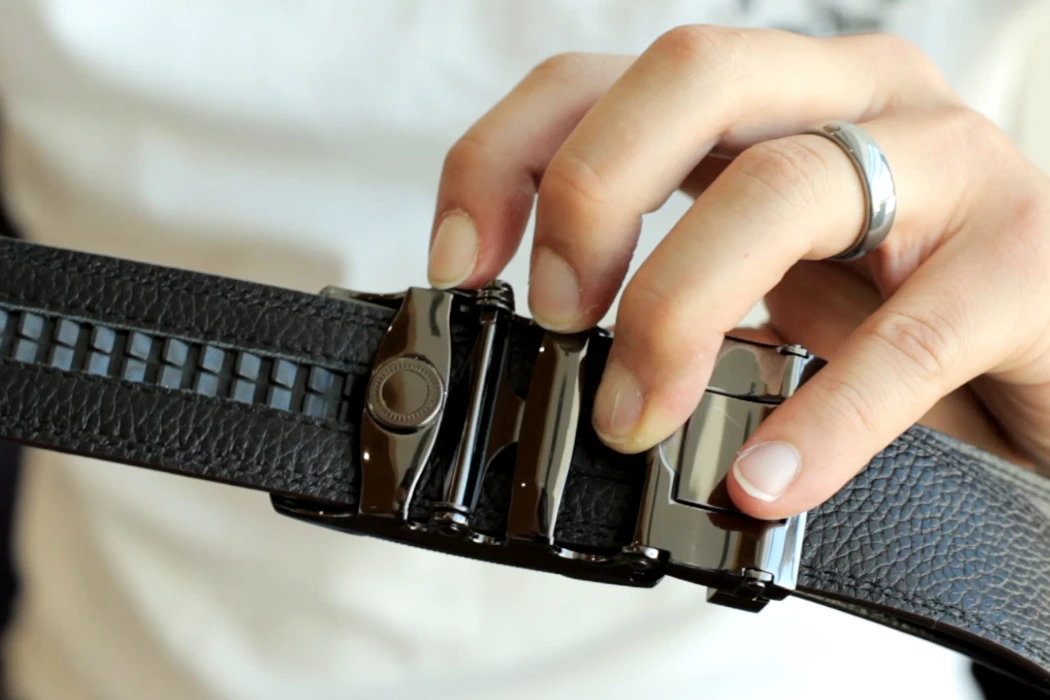
Belts and suspenders support trousers through different arrangements. A belt runs around the waistband and closes at the waist; suspenders connect the waistband to straps passing over the shoulders. For a clothing brand, the choice should follow the garment construction, intended fit and accessories range.
Neither is the universal winner for comfort, durability or formality. Compare completed samples in the intended trousers, and keep fashion-accessory claims separate from medical benefits or protective-equipment performance.
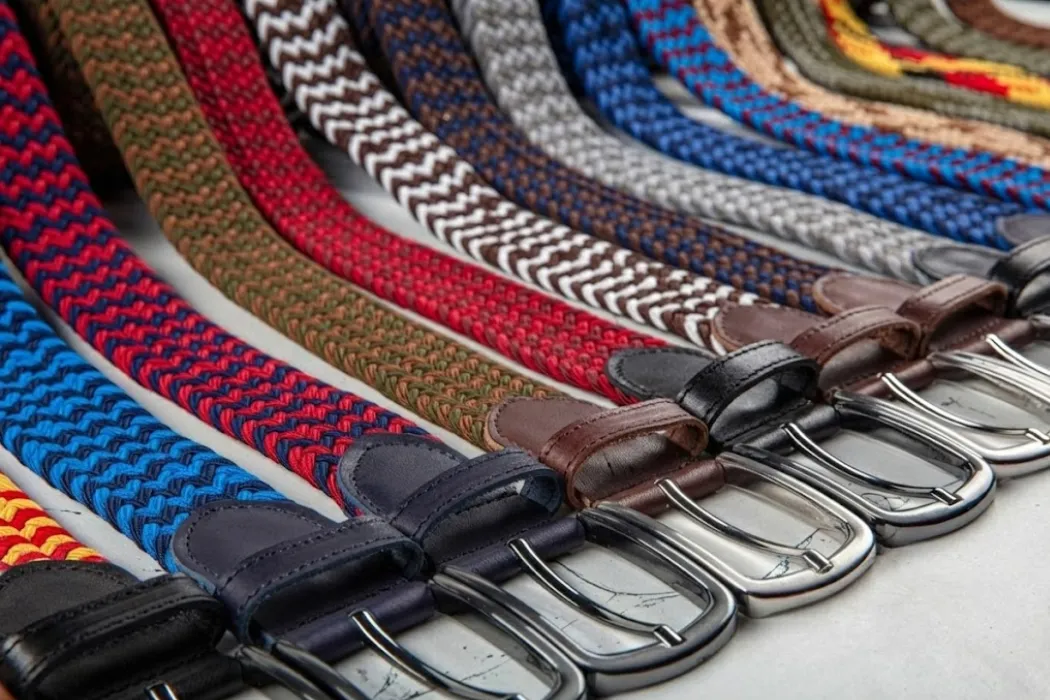
Braided belt example for comparison of garment fit and visible hardware.
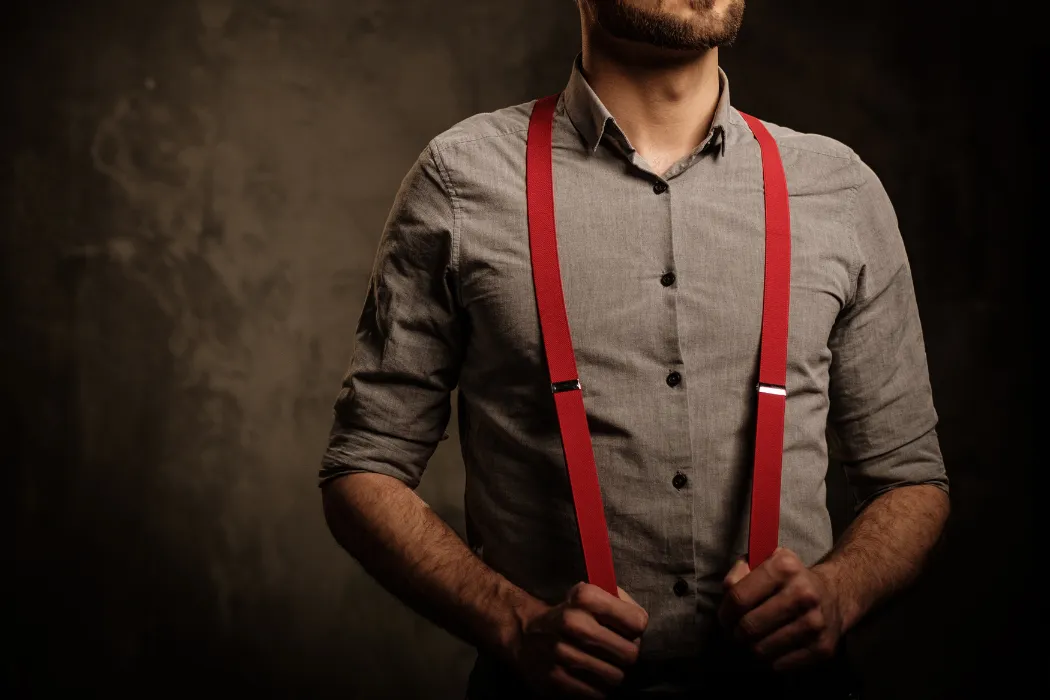
Suspender example showing the front straps. Approve the rear arrangement and attachments separately.
Start with the trousers, not the accessory
Record the waistband construction, rise, belt-loop dimensions and any existing suspender buttons. An accessory should work with those features without forcing the wearer to overtighten it or attach hardware to an unsuitable area.
| Buying question | Belt program | Suspender program |
|---|---|---|
| Garment interface | Loop clearance, waistband fit and buckle position | Button or clip attachment, waistband reinforcement and strap path |
| Adjustment | Hole arrangement or the chosen adjustable closure | Usable strap-length range and adjuster position |
| Appearance | Horizontal strap, buckle and visible tip | Front straps, joining arrangement and attachment ends |
| Fit assessment | Waist position, movement, slippage and local pressure | Shoulder position, waistband pull and hardware contact |
| Component checks | Strap, buckle, keeper, holes and folded attachment | Straps, junction, adjusters and clips or tabs |
A belt will not necessarily gather a correctly fitted waistband, and suspenders do not automatically keep every trouser drape unchanged. Judge the actual combination and the intended silhouette.
Compare fit across a representative size range
For belts, define the measurement datum and how the stated size relates to the buckle and fastening position. Do not apply a universal “trouser size plus two inches” rule to every collection: garment size labels and buckle constructions vary.
For suspenders, define the path from the garment attachment over the shoulder to the other attachment and the usable adjustment range. Include the ends and joining section in the specification. A one-size description should be supported by the approved fit range, not a height assumption alone.
Review standing, sitting, reaching and ordinary walking in the intended clothing. Note strap movement, buckle or junction pressure, waistband distortion and ease of adjustment. Record individual observations rather than claiming that all people with a particular body shape need one accessory.
Materials affect construction rather than deciding the winner
A belt can use a single leather strap, a layered leather construction, PU, textile or a combination. Its thickness, backing, edges and hardware all affect the finished result. “Genuine leather” alone does not disclose the inside of the strap or establish its quality.
Suspenders can combine woven cloth, elastic sections, leather ends and metal components. Examine where the parts meet. The joining patch, tabs and adjusters should be evaluated in the assembly, not assigned a fixed life from their material category.
Ask for appropriate evidence about color transfer, repeated movement, attachment integrity and material ageing. Avoid statements such as “leather lasts twenty years” or “elastic fails in three” without product-specific support.
For a belt buckle, confirm the usable strap opening, prong or closure compatibility, finish and attachment. A polished surface does not establish the base metal, and a metal name does not prove a corrosion result.
For suspender clips, assess grip and the condition of the actual waistband after the agreed use check. For button tabs, coordinate button dimensions, placement and attachment strength with the garment supplier. Neither arrangement should be presented as universally secure or harmless to every fabric.
Review whether the intended user can open, adjust and reconnect the accessory without confusion. Include the instruction diagram or size guide in sample approval rather than leaving it to the retail team after production.
Use styling as a collection decision
A discreet belt may suit a range built around a visible waistband, while suspenders can become a deliberate visual feature or sit under another garment. Evaluate the jacket, vest, shirt and trouser together. Hardware bulk, color contrast and strap proportion matter more than a rigid rule based solely on the accessory name.
If a garment has no belt loops, its design may call for a different adjustment system. If the collection deliberately combines accessories, test that arrangement rather than treating “never both” as a manufacturing requirement. The product brief should communicate the intended styling clearly.
Compare complete costs and customer care
Quote equivalent quantity and presentation requirements. Belt costs include materials, hardware, conversion, logo and packing. A suspender assembly adds its own webbing, adjusters, tabs or clips and joining work. Neither category has one dependable price or resale-value advantage.
Care instructions need to suit every component. A textile strap with leather tabs is a mixed-material product. A surface cleaner or conditioner should not be prescribed solely because one part is leather. Validate the care method on the actual finish, print and hardware.
Consider replaceable parts and how the customer would obtain and fit them. A repairable buckle or detachable end should have a defined compatible replacement rather than a general promise that any part will fit.
Prepare two comparable development briefs
- Provide the same garment, fit range and intended customer use.
- Specify each accessory’s dimensions, materials and closure.
- Document the intended appearance and visible hardware.
- Agree the relevant tests and appearance criteria for each construction.
- Compare samples in the same garments and record the resulting changes.
For Hoplok leather and PU belts, minimums are 300 leather pieces or 1,000 PU pieces; belt sampling is 2–3 weeks and bulk lead time is 60–90 days, subject to the order’s confirmed conditions. A suspender assembly or separate leather-component requirement needs its own scope, minimums and schedule confirmed.
Share the garment and accessory brief with Hoplok to discuss the appropriate manufacturing scope. See the custom belt page for the established belt program.