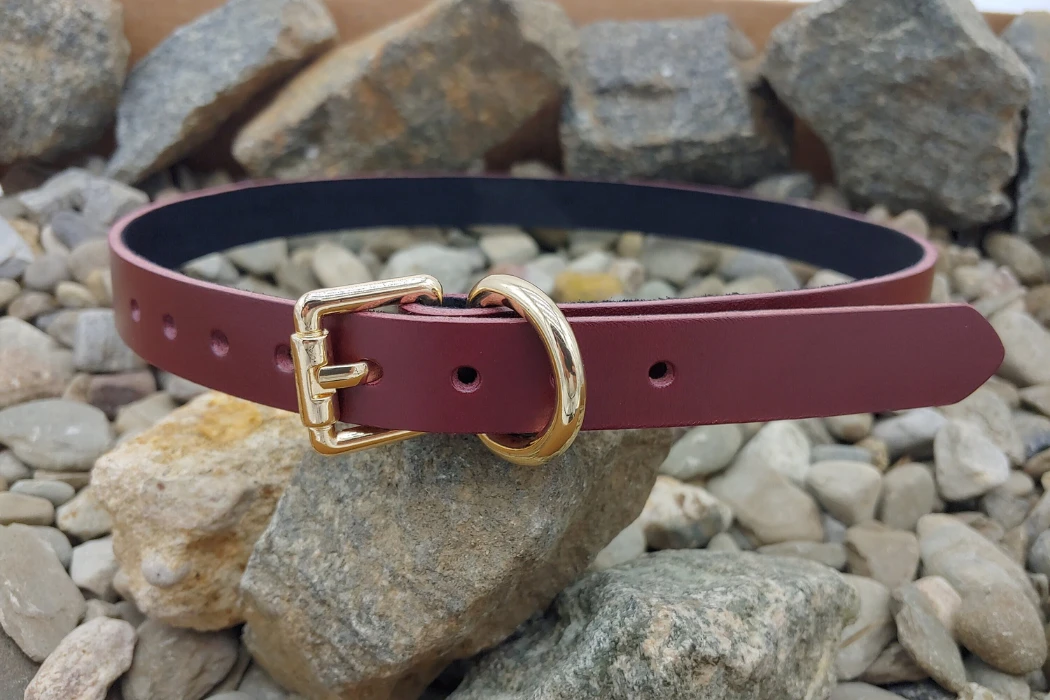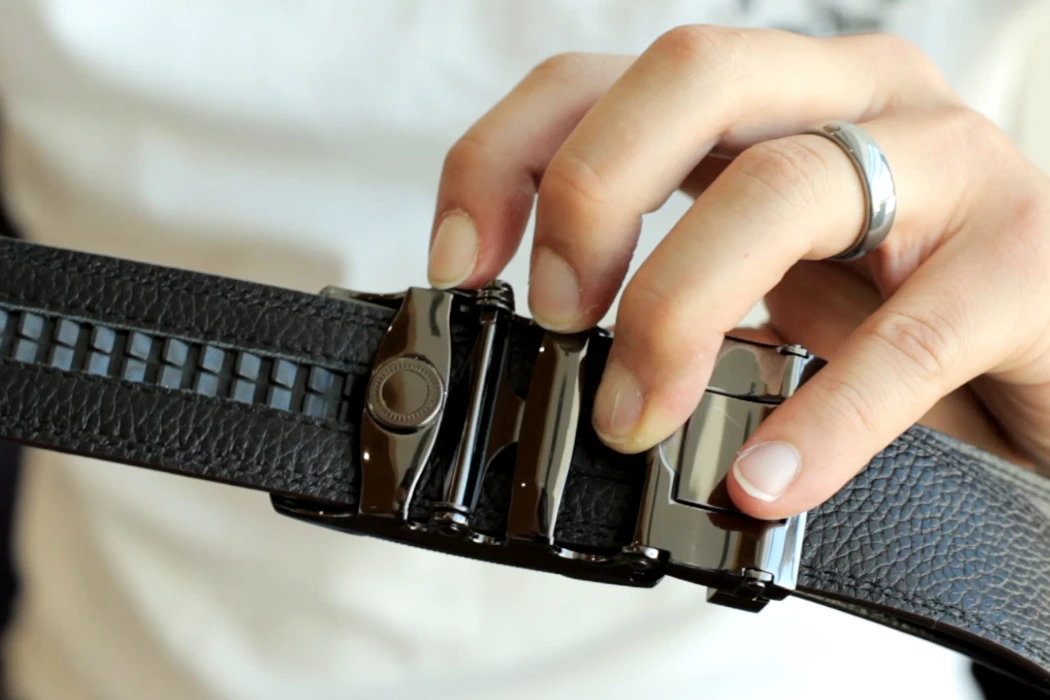
A leather belt tech pack connects the design to measurable production requirements. It should identify materials, construction, dimensions, tolerances, appearance references and approval status. Clear instructions reduce avoidable questions, while sampling establishes whether the proposed specification can be made consistently.
Use the approved tech pack and physical sample together as the production reference. Replace terms such as “stiff leather” with a defined material, thickness and agreed hand-feel reference. Identify which version forms part of the purchase agreement; the document is not automatically a legally binding contract simply because it contains dimensions.
The sections below cover the bill of materials, technical drawings, grading, assembly instructions, packaging and acceptance criteria for custom leather belts. Numerical examples illustrate how to write a specification; they are not universal industry limits or guaranteed Hoplok capabilities.

The Anatomy of a Bulletproof Tech Pack
Organize the pack so design, sourcing, production and inspection teams can locate the same approved information. Include style and revision identifiers, drawings, material references, a measurement chart, construction details and the approval record. Agree how conflicts between the drawing, sample and written specification will be resolved.
The Difference Between a Sketch and a Spec Sheet
A design sketch explains appearance; the production drawing identifies geometry, parts and assembly. State dimensions explicitly rather than relying on the displayed size of an image. The specification sheet records attributes not visible in a drawing, such as material construction, thread, reinforcement and finish.
Digital Formats Standards
Agree usable file formats with the factory. Vector files can help with artwork and patterns, PDF provides a review reference, and a spreadsheet can support BOM and grading tables. A PDF is not inherently uneditable. Control releases through revision identifiers and approval records, not file format alone.
The “Source of Truth” Concept
Use a revision log showing what changed, who approved it and when it became effective. Mark obsolete versions clearly and identify the sample corresponding to the production release. Any later substitution or dimensional change should update the affected documents and approvals before use.
Bill of Materials (BOM) – Specifying the Raw Ingredients
List every component, including hidden lining, filler, reinforcement, adhesive and thread. “Genuine leather” alone does not define grade, thickness or finish. Record an approved reference and whether substitution is permitted; do not assume that the term legally authorizes any specific lower-cost material.
Leather Specifications
Specify animal type and material construction, grain condition, tannage where relevant, thickness, finish, color and permitted variation. Origin alone does not establish quality. Define usable hide areas and cutting requirements where they affect the strap, then validate stretch and appearance on samples.
Thickness & Temper Data
State whether thickness applies to the leather layer or the finished belt assembly and where it will be measured. Agree the instrument, conditioning and tolerance. For temper, use an identified physical reference or a defined test; an unexplained “2/10” stiffness score has no shared meaning.
Hardware Definitions
Record the buckle drawing, base alloy, finish, internal width, bar and prong dimensions, and attachment method. Agree appearance and performance tests for the actual hardware. Brass, zinc alloy and stainless steel do not each carry a universal strength or corrosion ranking, and plating method alone does not guarantee finish quality.
Thread & Edge Paint
Specify thread material and size, stitch type, color and edge treatment. Approve the edge finish on the selected leather and construction; an “elastic” label alone does not guarantee resistance to cracking. Map chemical requirements to the product and destination instead of describing REACH or Proposition 65 as universal “lead- and phthalate-free” certificates.
| Component | Required Fields | Approval Reference |
|---|---|---|
| Strap | Material, thickness, finish and color | Supplier swatch and approved belt sample |
| Lining / reinforcement | Composition, thickness and placement | BOM code and cross-section |
| Buckle | Alloy, dimensions, finish and mechanism | Drawing and physical component |
| Thread | Material, size, stitch and color | Approved seam sample |
| Edge finish | System, appearance and test criteria | Approved finished edge |
Technical Flats – Drawing for Production
Use clear views with dimensions, reference points and assembly callouts. Drawings should show what needs to be cut, stitched, folded, bonded or attached. State the unit system and scale where used, while treating written dimensions as the controlling measurements.
The Three Essential Views
- Front: Strap shape, buckle orientation, holes and visible stitch lines.
- Back: Attachment, lining, logos and size markings.
- Cross-section or exploded detail: Layer order, reinforcement, filler and hardware assembly where relevant.
Add detail views where they resolve an actual production question; a simple belt does not require unnecessary drawing complexity.
Callouts & Annotation Rules
Use consistent units and label every measurement anchor. Keep cut and stitch lines visually distinct using a legend, and make leader lines unambiguous. Millimeters can be useful for small details, but the agreed unit system matters more than prescribing one universal drawing format.
Stitching Specifications
Define stitch type, thread, density, margin from the edge and treatment at starts, ends and corners. If using stitches per inch, make that unit explicit. Set the values from the intended construction and sample evaluation rather than assuming a fixed SPI or edge-distance band suits every belt.
Edge Finishing Protocols
Choose burnishing, painting, folded edges or a cut-edge treatment according to the actual leather and construction. Burnishability varies and should not be reduced to an absolute rule by tannage. For painted edges, approve the preparation, appearance and relevant adhesion and flexing checks; coat count alone does not establish durability.
Sizing, Grading, and Measurement Tolerances
Separate the nominal fastening measurement from total strap length. Draw the buckle or strap anchor and identify the hole used for the nominal size. For an illustrative 34-inch nominal measurement, the exact conversion is 86.36 cm; document the rounding and tolerance used for production.
The 5-Hole Rule & Center Hole Sizing
A five-hole design can use its center hole as the nominal fastening point, but it is not mandatory for every belt. Define hole count, center spacing, first and last fastening positions, tail length and keeper location. Confirm that the tip passes through the keeper across the intended adjustment range.
Grading Logic
Set an explicit grading increment and show which features move for each size. Keep hole spacing, tail length and buckle fold independent unless the design requires them to change. Two inches equals 5.08 cm; do not mix exact two-inch grading with an unexplained 5 cm increment. Calculate total cut length from the defined anchor and actual fold allowances.
Tolerance Limits
Agree separate tolerances for fastening length, total length, width, thickness and hole position. Identify conditioning and measurement methods, especially where tension changes the result. A dimension outside tolerance needs investigation; its value alone does not prove a particular machine error.
| Measurement | Drawing Definition | Production Entry |
|---|---|---|
| Nominal fastening size | Named anchor to selected hole | Target and tolerance by size |
| Total strap length | Defined strap end points | Cut/finished distinction |
| Hole spacing | Center to center | Target, count and tolerance |
| Width and thickness | Named measurement location | Separate targets and tolerances |
| Tail and fold | Reference points on drawing | Allowance confirmed on sample |
Bill of Process (BOP) – Assembly Instructions
Record assembly choices that affect function or appearance and cannot be inferred from the BOM. Use the BOP to connect the approved sample to repeatable operations, while allowing the factory to propose a validated process change through the approval procedure.
Cutting Direction
Define permitted hide areas and cutting orientation where needed to control appearance and stretch. Confirm the rule on the selected material; not every belt construction needs the same exclusion zones. Inspect finished straps against agreed straightness and extension criteria rather than predicting a fixed time until they deform.
Skiving Widths & Depths
Mark the skived area, remaining thickness and transition on the drawing. Check the buckle fold, keeper clearance and tip on the physical sample. Values depend on the material stack and hardware; avoid a universal fold thickness or tip-skiving formula.
Logo Placement & Debossing Pressure
Specify artwork, size, orientation and position from named reference points. Approve the impression depth, color and legibility on the actual leather. Heat, pressure and dwell time should be developed through trials with the relevant material and tooling, with foil adhesion checked where used.
Packaging, Labeling & Compliance
Treat packaging as part of the specification. Define individual protection, labels, pack ratios, cartons and the intended route. Validate the packing method with the product and destination requirements rather than assuming one bag thickness or desiccant dose prevents every transit problem.
Branding Elements
Approve hangtag and label artwork, material, attachment method and placement. Ensure tags do not damage the strap or interfere with the buckle. Test logo and foil durability to the agreed requirement where relevant; a blind stamp is not automatically permanent under every condition.
Retail Packaging Specs
Define the protective material, ventilation or sealing approach, moisture-control method and packing condition for the specific route. A desiccant quantity must be assessed with package size, barrier properties and expected exposure. Keep barcode labels off surfaces where adhesive could damage the product and approve a packed sample.
Regulatory Markings
Have the importer or relevant adviser confirm origin, composition and other applicable marking requirements for the destination. Describe leather and non-leather components accurately. There is no general “REACH compliance mark” for a fashion belt; required packaging or product labels must be assessed separately.
Quality Control (QC) – Defining “Pass” vs. “Fail”
Define defects, measurement methods, inspection stages and decision responsibilities before bulk production. Connect each requirement to a drawing, sample, report or acceptance criterion. The absence of one defect from a checklist does not automatically override the product specification or applicable legal obligations.
Physical Testing Standards
Select relevant strap and buckle-attachment strength, rub-fastness, finish adhesion, flexing and buckle-function tests. Agree method, conditioning, load or cycles and acceptance criteria. Standards such as ISO leather test methods describe procedures; they do not automatically set one pass threshold for every finished fashion belt. No load-bearing or safety-belt use is implied.
Aesthetic Defect Zones
Define visible and less-visible zones with marked photographs and approved examples of acceptable natural variation. Apply structural and safety requirements across the whole belt, including hidden areas. Specify how scratches, scars, finish differences and workmanship are judged without assuming a universal scar-size allowance.
| Defect Group | Examples to Define | Decision Basis |
|---|---|---|
| Critical | Sharp points or other specified safety defects | Agreed critical-defect rule and applicable requirements |
| Functional | Buckle operation, attachment or out-of-tolerance dimensions | Approved specification and sampling plan |
| Appearance | Finish, stitching and permitted natural variation | Zone photographs and acceptance plan |
ISO 2859-1 uses AQL-indexed sampling plans with sample sizes and acceptance/rejection numbers. An AQL of 2.5 is not a rule that allows exactly 2.5% defective items in every sample. Specify the plan, inspection level, lot size and defect classification, then use the applicable acceptance numbers.
Frequently Asked Questions
Q1: What software is best for creating leather tech packs?
Use tools the design and factory teams can exchange reliably. Vector artwork, a review PDF and a spreadsheet BOM/measurement chart can work well. Confirm formats, units and revision controls before development.
Q2: What is the standard thickness for a casual leather belt?
There is no single required thickness. Choose the material and finished stack for the desired feel, hardware and performance, then agree thickness and tolerance on the approved sample.
Q3: How do I calculate the belt size for the tech pack?
Define the measurement anchor and nominal fastening position. Show total strap length separately, including how buckle and fold allowances are treated. Use the same convention in the drawing, size label and catalog.
Q4: Do I need to send a physical reference sample to the factory?
A physical reference helps communicate feel, finish and construction. Identify which features it illustrates and which differ from the requested design. Use your approved production sample as the final reference rather than assuming an inspiration sample defines every detail.
Q5: What is the difference between BOM and BOP?
The BOM identifies components and material specifications. The BOP identifies required assembly and processing details. Link both to the same style and revision so procurement and production use consistent instructions.
Q6: What is the standard tolerance for leather belt length?
Agree the tolerance with the factory for the chosen construction and measurement method. State the nominal fastening-length tolerance separately from total length, width and hole position.
Conclusion: From PDF to Production
A useful tech pack makes the production decision reviewable: specified components, clear measurements, defined assembly and an agreed acceptance process. For Hoplok custom belt development, submit the drawings, BOM, quantities and test requirements for feasibility and sampling review. Confirm material availability and sample results before releasing the production version.