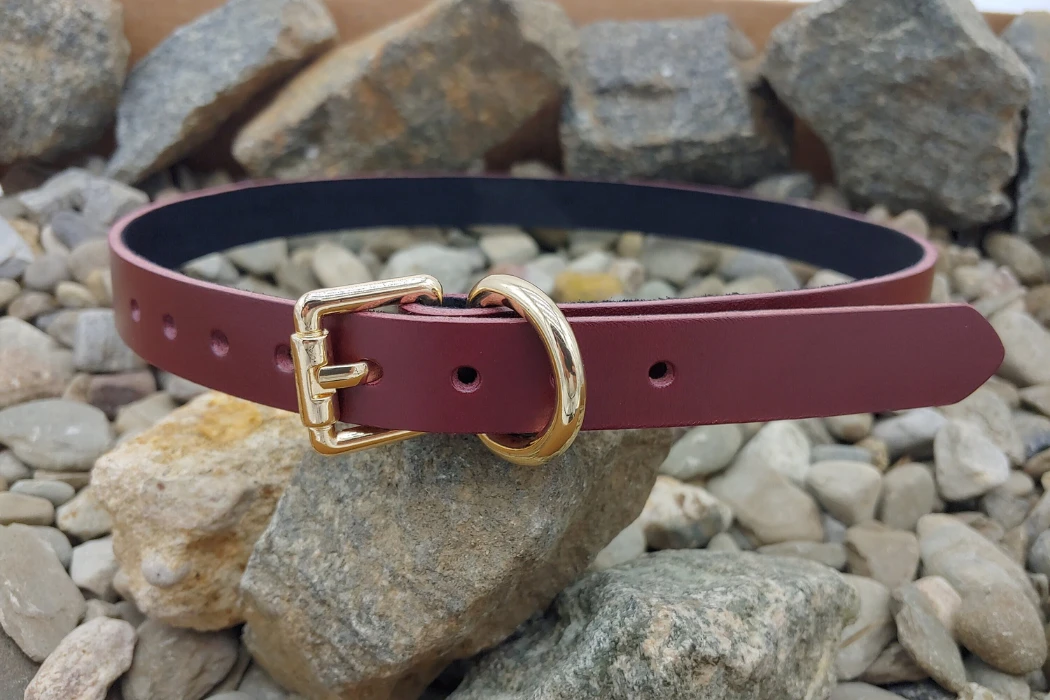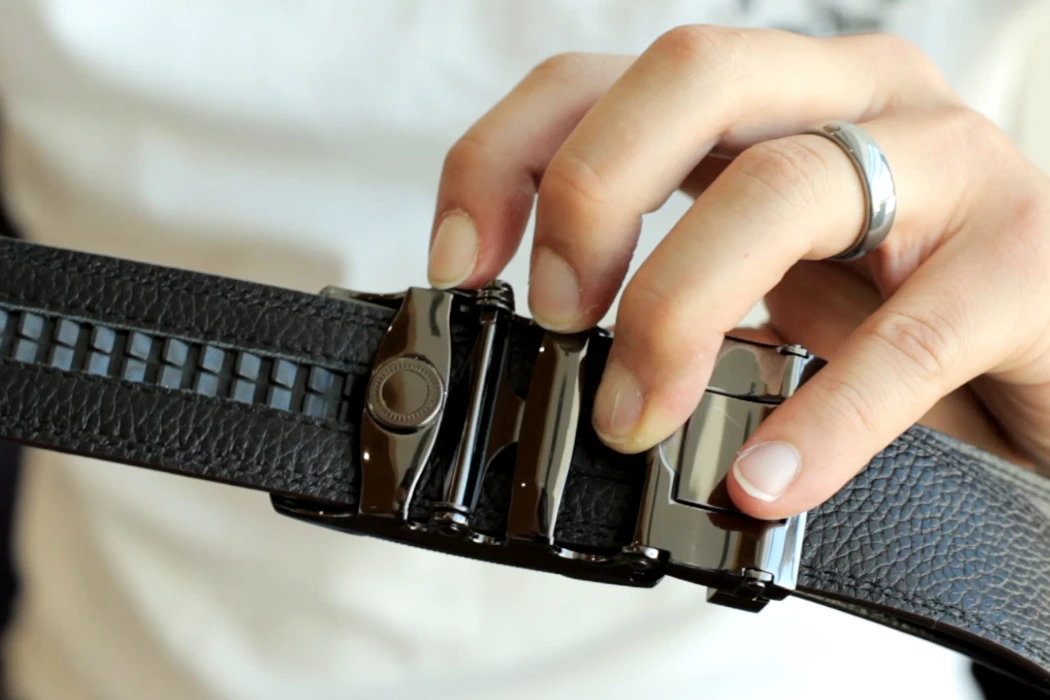
Leather splitting and skiving control thickness in different ways. Splitting can reduce the thickness across a hide, panel or strap; skiving removes material locally, such as at a buckle fold or turned edge. Used appropriately, they help a belt assemble cleanly without unnecessary bulk.
A tapered belt narrows in width along part of its length. It may also change in thickness, but these are separate design decisions. A flat single-piece belt can be tapered, just as a raised or lined belt can have a constant width.
For buyers, the useful specification is a drawing showing the finished widths, thickness zones, folds and layer construction. The following guide explains how to discuss those details with a manufacturer and what to check in the sample.
What Is Leather Splitting in Belt Manufacturing?
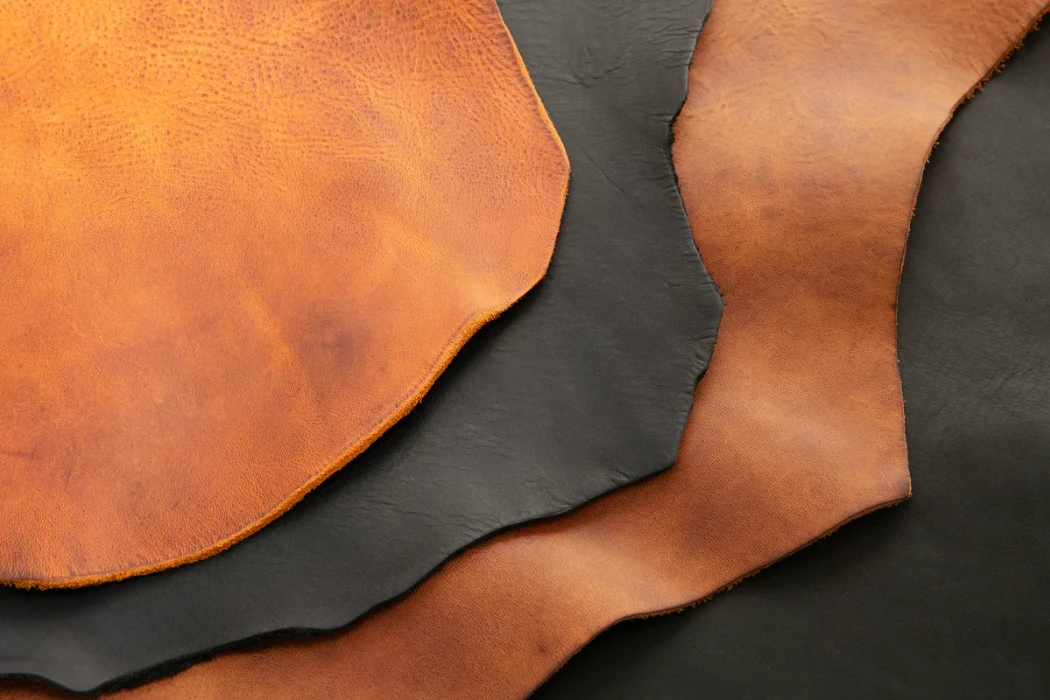
Splitting divides or reduces a material through its thickness. Tannery splitting and the later adjustment of leather-goods components are related processes, but they do not necessarily use the same equipment or material stage. A belt factory may work with already-tanned leather rather than raw hides.
The Core Purpose of Leather Splitting
A band-knife splitting machine can bring an uneven piece closer to a specified thickness or reduce it for a particular construction. Fortuna’s splitting-machine description distinguishes whole-piece thickness reduction from local edge skiving and notes that profiling options also exist.
Set the target from the belt design, not a universal daily-belt thickness. Buckle clearance, temper, layers and the desired appearance all matter. Splitting does not guarantee perfect uniformity or prevent uneven stretch; the selected material and subsequent checks still matter.
Where a hide is separated into grain and lower layers, their later use depends on processing and quality. Splitting alone does not make the upper layer full-grain if its grain surface is subsequently corrected, nor does it automatically turn every lower layer into finished suede.
Understanding Grain Direction and Cutting
Leather varies across the hide. Plan strap placement and orientation with attention to the material’s structure, visible variation and intended performance. That cutting-layout decision should not be confused with a universal rule for feeding every splitting machine along the backbone.
Machine setup must follow the equipment and material requirements. An endless band knife is not usefully specified by a generic rotational-speed claim. Blade condition, feed, pressure and support should be established through the machine instructions and trials on the actual material.
Do not assume that every machine sprays water or oil onto leather, or add a lubricant without process approval. Uncontrolled residues could affect later finishing or bonding. The result to verify is a clean, consistent piece suitable for the next operation.
Inspecting Leather for Thickness Consistency
Measure defined locations using a suitable leather thickness gauge and a consistent method. Soft materials can compress under measuring pressure, so the instrument and procedure belong in the specification. Record the agreed tolerance instead of adopting an arbitrary figure.
Inspect for grooves, uneven reduction, cut-through areas and distortion. The splitting operation normally works through thickness; it does not expose a new natural grain surface beneath the original one. Investigate defects without assuming every mark is a hidden scar uncovered by the blade.
Check the first pieces after setup or a material change and define ongoing checks appropriate to the run. When results move outside the agreed range, hold the affected work and correct the cause before continuing.
How Does Precision Skiving Work for Leather Belts?
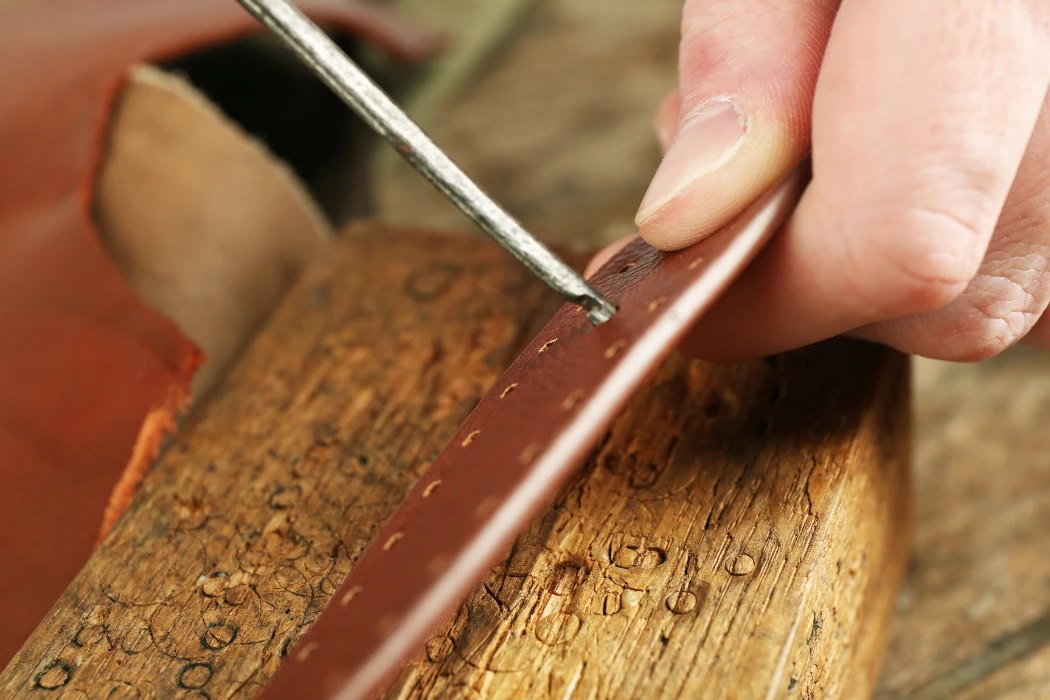
Skiving thins selected areas rather than the whole component. Bell-knife machines are commonly used for local edge and folding preparation, while other tools and equipment may suit particular operations. The skive profile should be specified for the actual joint.
The Mechanics of the Skiving Machine
A bell knife works with the feeding and support arrangement to remove a controlled amount of material. Presser-foot and guide choices help establish the shape of the skive. The Fortuna machine brochure describes different local skiving forms and material applications.
Blade setting, feed, pressure and sharpening practice depend on the machine and material. There is no universal angle, knife speed or remaining thickness for all belts. Record a suitable setup after trials, then verify the cut rather than treating a machine setting as proof of finished quality.
Thinning the Edges for Clean Assembly
A buckle fold brings layers together and increases local bulk. Skiving can reduce that bulk while retaining enough material for the chosen fastening. Check the fold around the actual buckle bar and with the intended stitching, screws, snaps or rivets.
The side and depth of material removal depend on the construction. Do not routinely remove the visible grain at a glue joint or assume skiving improves adhesion by a fixed percentage. Bond preparation and adhesive selection must suit the actual surfaces.
A turned edge, an overlap and a belt tip may need different preparations. Approve a cross-section or sample detail so the factory knows where the thinning should start, end and transition.
Why Tapered Belt Ends May Need Skiving
Narrowing the width does not automatically require thinning the tip. The decision depends on the buckle, keeper, leather temper and visual proportions. A sufficiently flexible single-piece strap may work without a complex thickness gradient.
If thinning is needed, define its location and remaining thickness on the drawing. Check that the transition is smooth and that holes and attachments still have adequate material. There is no fixed taper length or material-removal percentage that applies to every design.
| Feature | Leather splitting | Precision skiving |
|---|---|---|
| Typical purpose | Reduce thickness across a piece | Reduce thickness locally |
| Common equipment | Band-knife splitting machine | Bell-knife skiving machine or suitable local tool |
| Area controlled | The selected hide, panel or component | Specified folds, edges or overlap zones |
| Specification | Target thickness and measurement method | Profile, position, transition and remaining thickness |
When Do Tapered Belts Use Raised or Three-Dimensional Profiles?
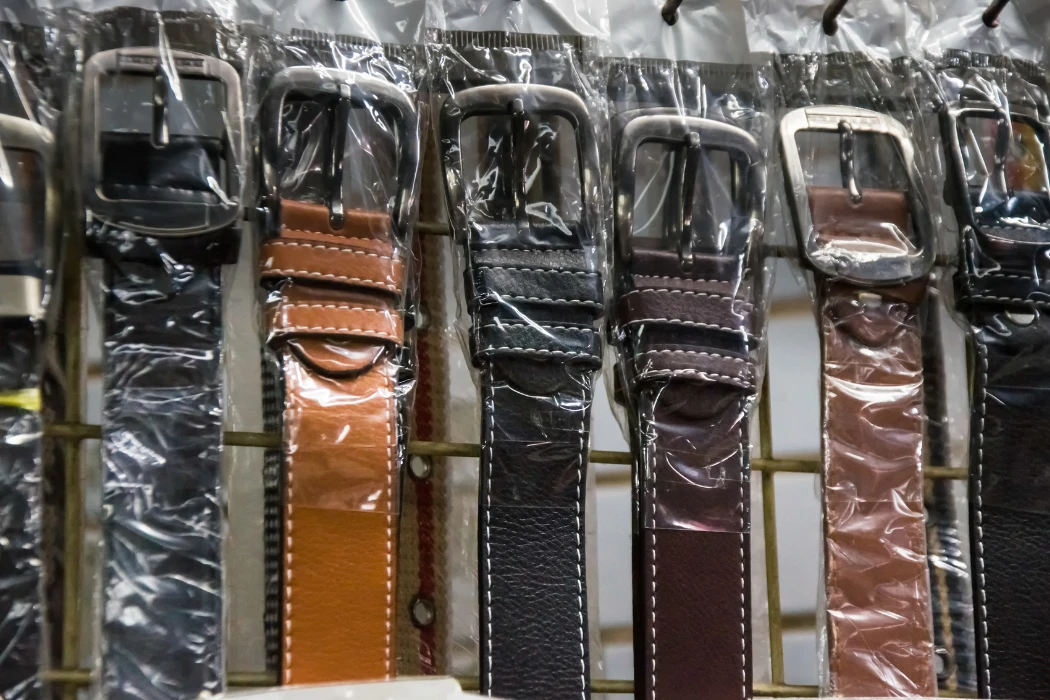
A raised centre is an optional construction choice. It can create a rounded appearance, while a flat belt offers a different design character. Neither shape is automatically more luxurious, stronger or longer lasting.
Creating Domed and Raised Belt Structures
Some raised belts use a core or filler beneath the face leather. The face and lining may need local thinning so they join cleanly around the core. The core material, shape and thickness should be declared rather than hidden behind a general “premium leather” description.
Review the assembled cross-section and flex the sample as it will be used. Check for ridges, unsupported areas and abrupt changes near the tip or buckle. A raised centre does not guarantee resistance to creasing or a fixed increase in service life.
Managing Layers of Linings and Backings
A multilayer belt can combine face leather, lining, adhesive and reinforcement, but premium belts do not all use the same stack. Specify each layer and its function. A single-piece design can also be appropriate.
Control bulk where layers meet, particularly at folds and tips. Bonding pressure, temperature and cure conditions depend on the chosen system; heated rollers are not a universal requirement. Approve the complete construction and check for separation after relevant testing.
Ensuring Even Stitching on Tapered Profiles
A controlled thickness transition helps the sewing operation remain consistent. Match the thread, needle and machine setup to the material stack. Skiving that is too deep near a stitch line can leave insufficient material around the holes.
Inspect stitch formation, edge distance and seam path around the taper. Do not impose one sewing speed or thickness tolerance on every design. Establish an approved seam sample and a measurement plan that the factory and inspector can repeat.
How Does Quality Control Monitor Skived Belt Edges?
Quality control should connect dimensional checks with the function of the finished joint. A thin edge can look neat and still be unsuitable for its attachment. Review the material, cut profile and assembled result together.
Monitoring Cutting Accuracy and Waste
Measure the remaining thickness at specified locations and compare the profile with the drawing. Watch for cut-through spots, abrupt steps and variation between pieces. Investigate whether a problem comes from material variation, setup, blade condition or handling.
Track rejects and usable output using a defined counting method. Planned material removal is different from a rejected component. A universal scrap percentage says little without the design, input material and calculation basis.
Checking Edge Finishing and Texture
Inspect the prepared surface visually and through safe sample handling. Roughness or blade marks can affect the next operation, but not every fibrous surface automatically rejects adhesive or edge paint. Judge suitability against the actual finishing process.
Keep inspection separate from contact with moving machinery or blades. Check the finished edge after the chosen treatment for continuity, adhesion and flex behaviour. A smooth appearance alone does not establish durability.
Testing Belt Durability and Attachment Performance
Skiving changes the amount and distribution of material, so validate critical folds and attachments on representative samples. A test on a loose tip is not necessarily a test of the buckle joint. Define specimen, direction, conditioning and acceptance criteria before testing.
Use suitable flexing or attachment tests to investigate the intended failure mode. A fixed load described in kilograms, or a day under a crease press, is not a universal apparel-belt standard. Report force and test conditions accurately, without converting results into promised years.
The leather belt testing guide explains how to organise material and finished-product checks.
| Inspection | Method or reference | Acceptance basis |
|---|---|---|
| Thickness and profile | Suitable gauge and specified measurement points | Approved drawing and material-specific tolerance |
| Prepared surface | Visual comparison and safe sample handling | Suitability for the next finishing or bonding operation |
| Attachment performance | Agreed test on the representative assembly | Defined force, setup and failure criteria |
| Flex behaviour | Relevant method on the selected construction | Agreed conditions and acceptable visible changes |
Which Materials Respond Best to Skiving and Splitting?
Response depends on thickness, temper, structure, finish and backing. Leather and selected synthetic materials can be processed with suitable equipment, but settings must be established for the actual material. No broad material name guarantees the cleanest cut.
Skiving Full-Grain and Top-Grain Cow Leather
Full-grain leather retains the grain surface, while broader top-grain descriptions need clarification about correction and finish. These labels do not prescribe density, feed speed or a percentage of strength retained after skiving.
Trial the selected leather and inspect both the cut and the finished joint. Firmer and softer leathers may require different support and setup. Avoid removing too much material merely to achieve a thin-looking edge.
Handling Suede and Nubuck Variations
Suede and nubuck are not interchangeable structures: nubuck has a buffed grain surface, while suede has a napped surface commonly associated with split or flesh-side processing. Softness and cutting behaviour vary within both categories.
Protect the intended surface and check for marking, stretching or tearing during trials. Feeding pressure, support and blade maintenance should follow the material and equipment, not a fixed time interval or blanket percentage reduction.
Processing Split Leather and PU Alternatives
Coated split leather, PU-coated textiles and bonded leather have different structures. Review the face layer, substrate and any reinforcement before choosing a thinning process. Local removal can expose a backing or reduce a coating system’s integrity.
There is no universal PU melting temperature or knife-speed setting for every coated material. Use the supplier’s information and controlled trials. Manage scraps and dust according to the equipment and material requirements, without claiming an unverified extraction efficiency.
How thick should a leather belt be?
Thickness should suit the width, buckle, layers, temper and intended appearance. Specify the finished construction and agreed tolerances. A dress belt and a firm casual belt may need different solutions; neither has one mandatory thickness.
Why do leather belt edges crack?
Possible causes include unsuitable finish, excessive thinning, sharp folds, poor adhesion or repeated wear. Lack of skiving is not the only cause. Investigate the actual material and construction before changing the process.
What is the exact difference between a split and a skive?
Splitting generally reduces thickness across the selected piece. Skiving reduces it locally at edges, folds or overlaps. The component drawing should show which areas need each operation.
Can you skive full-grain leather?
Yes, where the selected leather and construction permit it. Use an appropriate setup and retain enough material for the joint. Full-grain status alone does not prove that every skived edge will remain strong.
How do you finish a skived leather edge?
The edge may be turned, bonded, stitched, painted or burnished as appropriate to the design. Not every edge needs every operation. Approve the process on the actual material and inspect the assembled result.
Does skiving weaken the leather belt?
Removing material changes local strength and flexibility. Appropriate thinning can improve assembly, while excessive thinning can cause failure. Validate the complete joint rather than relying on a universal skive length or retained-strength percentage.
Developing a Tapered Belt with a Clear Specification
Define width taper and thickness profile separately, declare the layer construction, and agree on the inspection and attachment checks. This makes the intended design repeatable without treating complex shaping as a requirement for every good belt.
For a Hoplok custom belt project, share the drawing, leather preference and buckle reference. Belt MOQ is 300 leather pieces or 1,000 PU pieces; samples typically take 2–3 weeks and bulk production 60–90 days. Confirm approvals and availability for the proposed order.