Retail ticketing connects a leather product to the retailer’s item data, price and receiving process. An incorrect identifier, unreadable symbol or missing ticket can require rework and may trigger contractual charges. Start with the current retailer manual and an approved item-data file instead of assuming one universal hangtag layout.
The physical attachment also matters. Adhesive, tight loops or a tagging needle can damage some leather, suede, coatings or linings. Approve the tag, fastener and attachment point on the actual product while checking that its barcode identifies the correct style, color and size.
This guide explains product identifiers, barcode dimensions, ticket layout, attachment and data checks for leather goods. Retailer-specific requirements should be confirmed before printing; a sample scan alone cannot guarantee acceptance of every item or shipment.
What Are the Core UPC Barcode Requirements for Leather Bags and Belts?

Confirm the identifier and symbol required by the retail channel. UPC-A encodes a 12-digit GTIN and is widely used in North American retail, while other channels may use EAN-13 or an agreed GS1 2D symbol. The printing, size, placement and item-data setup must all support the retailer’s application.
Decoding the 12-Digit UPC-A Standard
The GTIN identifies the trade item; the barcode is a machine-readable representation. For GS1 identifiers, obtain the appropriate license through the relevant GS1 member organization and assign numbers under its rules. Do not invent or reuse another company’s number.
- Prefix: A licensed UPC Company Prefix and item reference together form the non-check-digit portion of a GTIN-12. Prefix length varies. GS1 US also offers individually licensed GTINs, so a separate company-prefix license is not the only route for every brand.
- Item reference: Assign the identifier to the relevant trade item, including size and color variants as required. Keep that mapping in the approved item-data file.
- Check digit: The final digit is calculated from the preceding digits to help detect certain number-entry errors. It does not verify that the item description, price or ownership is correct.
Share accurate item data with the retailer before shipment. A valid number can still scan as an unknown item if the retailer’s system has not been set up correctly.
Sizing and Placement on Leather Goods
Size the symbol for the scanning application and printing process. Do not independently stretch bars, reduce height or crop margins to fit a small tag.
- UPC-A reference dimensions: GS1 Ireland lists a nominal X-dimension of 0.330 mm and total width of 37.29 mm, including quiet zones. This is about 1.468 inches; 1.175 inches is approximately the width at 80% scale, not the nominal width.
- Reduced size: The same GS1 reference lists a minimum overall size of 29.83 × 20.73 mm, corresponding to 80% scale. Confirm the current application requirements, required height and print quality with the retailer; minimum-size artwork is not a guarantee that a particular printer will produce a compliant symbol.
- Quiet zones: UPC-A needs clear light margins on both sides. At nominal X = 0.330 mm, each margin is 2.97 mm, or 9X. Their required width scales with the X-dimension; do not use one fixed inch margin for every barcode size or symbology.
Approve the tag position and scanning orientation on the actual product and packaging. It should remain accessible without an attachment forcing the symbol into a fold or tight curve.
Avoiding Common Scanning Failures
Barcodes often fail on the retail floor because of bad printing methods or poor design choices. You need to focus on visibility and print durability.
- Contrast: Black bars on a white background are a straightforward choice. Other combinations need evaluation against GS1 print requirements; color appearance to the eye alone does not establish scanner contrast.
- Reflective surfaces: Avoid uncontrolled glare or metallic areas in the barcode field. Validate the selected substrate and any coating through barcode verification rather than relying on appearance.
- Shape: Keep the symbol in a suitable scanning area and avoid folds, tight curvature or overlap. Check the tag after attachment and packing, not just as flat artwork.
- Printing: Choose a process, ribbon or ink and substrate combination that produces the required symbol quality and survives the intended handling. Thermal transfer is one option, not a universal smudge-proof requirement.
Check both the decoded data and print quality. Barcode verification against the applicable standard is more informative than a successful scan on one device; neither replaces the retailer’s approved data and placement requirements.
| Feature | UPC-A | EAN-13 |
|---|---|---|
| Total Digits | 12 Digits | 13 Digits |
| Identifier encoded | GTIN-12 | GTIN-13 |
| Quiet-zone rule | UPC-A requirements at the selected X-dimension | EAN-13 requirements; left and right margins differ |
| Channel confirmation | Confirm retailer and POS requirements | Confirm retailer and POS requirements |
The retailer or brand defines the ticket layout. Required fields may include brand, style, color, size, price and product identifier, but positions, fonts and dimensions vary. Obtain a current approved template and verify a printed proof before bulk ticket production.
Essential Information on a Retail Ticket
Use a controlled ticket-data file and a signed-off artwork proof. Check which fields the retailer supplies and which the vendor must maintain.
- Brand: Use the approved logo and clear space if branding is required. Its position and proportion come from the template, not a universal top-20% rule.
- Product fields: Match style, color and size text to the item master. Use the prescribed font and readable size where the retailer specifies them.
- Price: Confirm whether a price is required, who supplies it, the currency and market, and how changes are controlled.
- Barcode: Reserve sufficient space for the correct symbol, quiet zones and human-readable digits. Do not compress it to preserve a decorative layout.
Review the text, barcode data and SKU together. A readable ticket with the wrong variant or price still needs correction.
Ticket Dimensions and Attachment Holes
Select tag dimensions from the retailer template, display requirements, required information and attachment method. There is no one industry-standard ticket size for every leather accessory.
- Size: Confirm finished dimensions and tolerance, including any fold. Allow the barcode and text to fit at their required size.
- Hole position: Specify it for the fastener and tag balance, leaving enough material to resist tearing. Check that it does not intrude into the barcode field.
- Hole diameter: Match the approved fastener and production method. A fixed eighth-inch hole is not suitable for every ticket.
- Stock: Specify paper or board type, thickness or mass, finish and durability needs. A “100 lb” paper description requires its basis-size convention to be meaningful.
Evaluate a finished and attached sample after representative packing and handling. Dimensions alone cannot prevent every torn or lost tag.
Materials That Match Brand Identity
Choose ticket material that supports the intended presentation, printing and display conditions.
- Surface: Choose a paper and coating that support print quality and the intended touch. Matte stock does not automatically prevent smearing.
- Gloss: Evaluate reflectance and print quality with the selected finish. A glossy tag is not categorically unreadable, but glare can make some configurations unsuitable.
- Hole strength: Check tearing at the attachment point. If reinforcement is used, assess whether an eyelet or hard component could contact and mark the product.
- Exposure: Confirm print legibility after the relevant handling, storage and display conditions. No unspecified ink can promise unchanged readability for a fixed display period.
Review tag appearance and print performance together on the approved sample.
Where Should You Attach Tags to Prevent Leather Damage?
Prefer an approved existing attachment point or a packaging-based ticket where practical. Piercing leather can leave a permanent mark, and adhesive may affect the finish. Check the actual product and retailer instructions before selecting a method; even a hardware attachment can rub or scratch if poorly positioned.
Safe Attachment Points for Handbags
Evaluate possible attachment points on the actual bag. Hardware shape, coatings and moving parts can affect the result.
- Zipper pull: Use only if the tag and loop do not obstruct operation, overload the pull or rub adjacent surfaces.
- D-ring: Check clearance and loop length on the fitted sample. Avoid trapping the ticket between the strap and body.
- Painted edges: Avoid tight fasteners or abrasive contact with finished edges. Inspect for pressure marks or coating damage after packing; there is no universal edge-paint thickness.
- Detachable strap hardware: May offer a suitable location where the retailer accepts it. Confirm the tag remains with the correct product during handling.
Photograph the approved attachment and include it in the packing instructions. Validate that normal tag movement does not damage the bag.
Tagging Belts Without Piercing the Leather
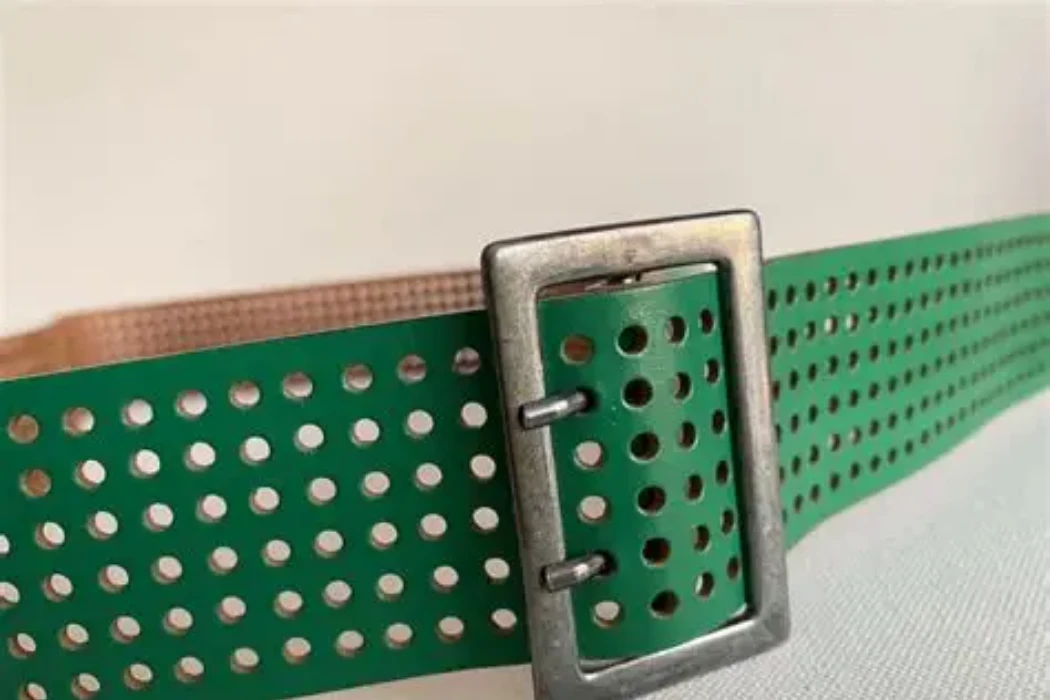
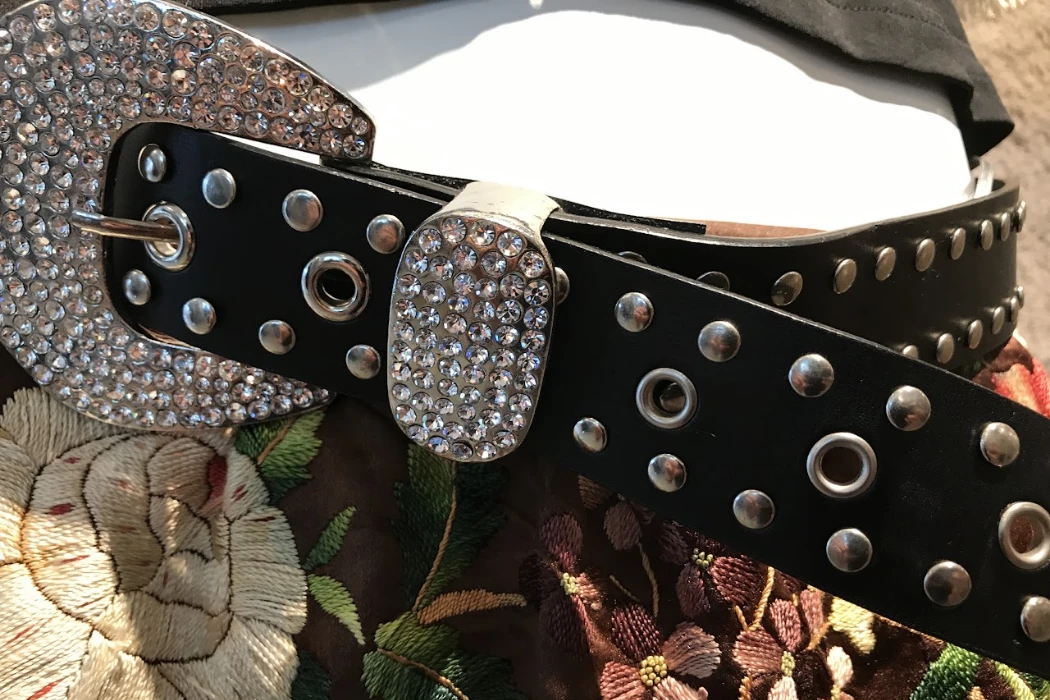
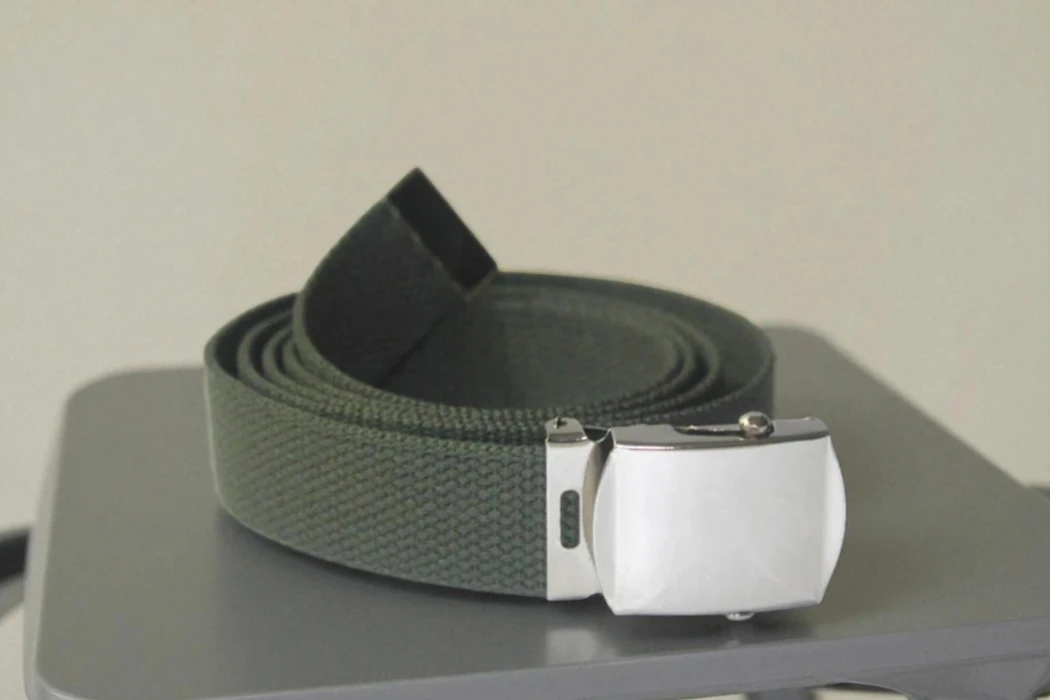
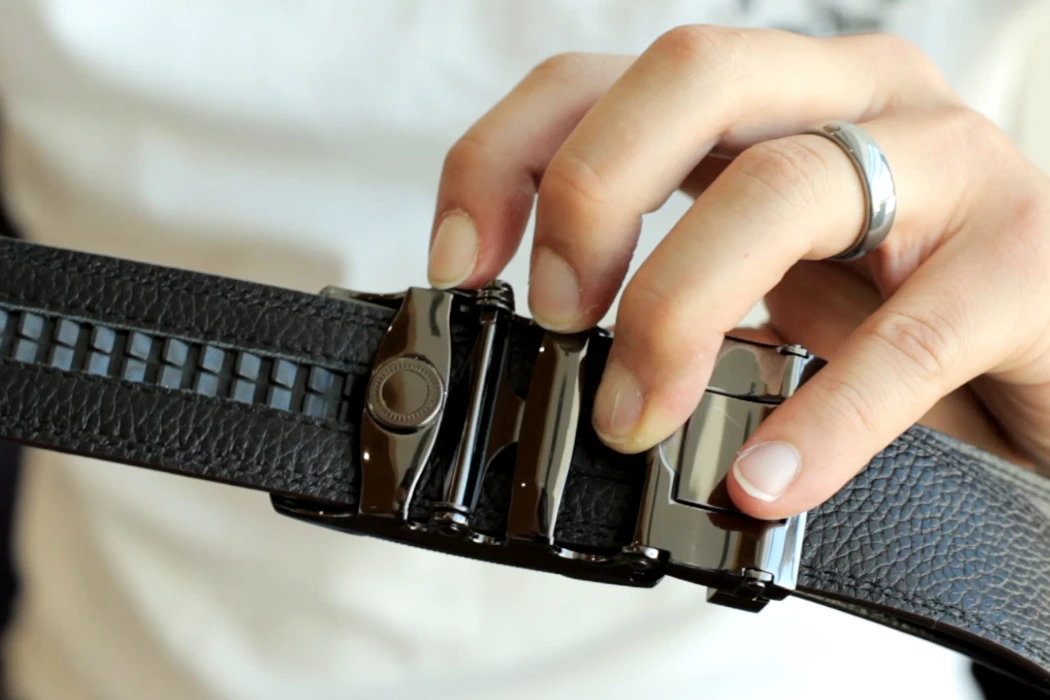
For belts, the buckle, keeper or an approved paper wrap may provide an attachment option. Check the actual design and retailer instructions.
- Buckle: Select a soft loop of suitable length and check that the ticket lies and moves as intended. No fixed three-inch fastener suits every buckle.
- Leather strap: Avoid a tagging needle through the leather unless an explicit approved design calls for it. A puncture can leave a visible mark; its structural effect depends on location and construction.
- Keeper: Use only where the loop has suitable clearance, the attachment does not distort it and the retailer accepts that position.
- Joker or wrap tag: A paper wrap can attach to itself around the strap. Confirm that its adhesive does not contact the leather and that the wrap does not create pressure marks.
Check the tagged belt after representative storage and handling. A soft or removable attachment still needs validation on the actual finish.
Fastener Types and Contact Checks
Evaluate the complete fastener and attachment point together, including contact during packing and removal.
- Plastic tag fasteners: Distinguish a loop fastener from a needle-applied tack. Select the correct type and length for the approved attachment; do not improvise a puncture through leather.
- String and seal: A soft string may suit some items, but the lock or seal can still rub. Check the complete fastener, contact points and movement.
- Metal pins: Avoid unapproved piercing and exposed sharp points. Any proposed attachment must be evaluated for both product damage and safe handling.
- Small wallets: Consider a retailer-approved packaging ticket or suitable existing label attachment. Do not assume the fabric lining can safely accept a micro-tack; it can snag, tear or be difficult to remove.
Use a controlled attachment sample for packing staff and inspect the contact areas after the tag is removed.
| Leather Product Type | Candidate attachment | Approval check | Damage to avoid |
|---|---|---|---|
| Leather Handbag | Suitable existing hardware, if approved | Loop clearance, movement and packing contact | Unapproved adhesive or piercing on leather |
| Genuine Leather Belt | Suitable buckle or self-adhering paper wrap | No adhesive on leather; check pressure and movement | Unapproved needle puncture through strap |
| Suede Wallet | Approved packaging or suitable existing label | Removal, snagging and contact check | Unapproved piercing or adhesive on suede |
Do RFID Tags Replace Traditional UPC Barcodes?
RFID and printed barcodes serve different reading methods and may be used together. Whether both are required depends on the retailer’s current program and product category. A printed symbol does not by itself replace the item data or systems needed to process a sale.
How RFID Speeds Up Inventory Counting
RFID uses radio communication to identify tags. Its usefulness depends on the installed system and the actual merchandise arrangement.
- Multiple reads: RFID can identify multiple tagged items without the same line-of-sight requirement as a printed barcode. Actual throughput depends on equipment, tags, product arrangement and workflow.
- Carton checks: Test the tag and reader setup with the real leather goods, metal hardware and packaging. Do not assume every tag inside a sealed carton will always be read.
- Accuracy: Measure the result in the actual process and investigate missed or duplicate reads. RFID does not eliminate all human or data errors or create a universal inventory-accuracy percentage.
- Identity: A serialized identifier can distinguish individual items if encoded and managed correctly. Traceability depends on the participating systems and recorded events; the tag alone does not track a product continuously.
A trial should compare read performance and labor with the current process. Use observed results rather than promising a fixed number of items per hour or labor savings.
Combining EPC (Electronic Product Code) with UPC
Where serialized trade-item identification is required, the EPC must correspond to the approved GTIN and serial-number rules. Validate encoded data separately from the printed symbol.
- Encoding: SGTIN combines trade-item identification with a serial number under GS1’s encoding rules. It is not simply an arbitrary UPC string copied into any chip.
- Scheme: EPC schemes and memory requirements vary. GS1’s EPC guidance explains that selecting a 96-bit encoding constrains permitted serial values; not every tag or identifier uses exactly 96 bits.
- Inlay: Select an inlay and tag construction qualified for the retailer’s application and the product environment. Size and placement depend on that selection.
- Printed symbol: Keep the requested barcode and human-readable data readable on the ticket. Confirm that they match the item and encoded identifier.
Test reading and data reconciliation in the intended workflow. A combined ticket does not guarantee operation during every system or network failure.
Cost Differences Between RFID and Standard Ticketing
Adding wireless microchip technology to a paper ticket naturally changes the manufacturing budget.
- Printed ticket quote: Include artwork, substrate, print, finishing, attachment and the order quantity.
- RFID quote: Add the selected inlay, encoding, verification and any program-specific qualification or service charges.
- Equipment or service: Compare in-house printing and encoding with an approved ticket supplier. Brands do not always need to purchase their own encoder.
- Retailer mandate: Obtain the current category-specific requirements, implementation date and supplier instructions. Do not assume all accessories retailers impose the same RFID rule or charge.
Use the current vendor agreement to assess the consequences of non-compliance. Tag prices, setup costs and penalties are quotation- or contract-specific.
Why Do Department Stores Have Strict Vendor Ticketing Rules?

Retailers use ticketing and packing requirements to support receiving, inventory and presentation. Incorrect data or attachments can disrupt these processes. The required correction and any charge depend on the retailer agreement, not an industry-wide penalty schedule.
Shipping Data and Floor-Ready Merchandise
The brand or its logistics provider may need to submit shipment data through the retailer’s specified system. Confirm responsibilities before production and packing.
- Advance shipping information: Some retailer programs use an EDI 856 advance ship notice; others have different interfaces. The account owner should confirm the format, timing and submission responsibility.
- Carton contents: Reconcile the packing list, item identifiers, quantities and any required carton identifier with the physical shipment.
- Receiving: A correct carton label can support the retailer’s receiving process, but system setup and validated shipment data remain necessary.
- Floor-ready: Means prepared to the retailer’s ticketing, packing and presentation requirements. It is not a universal promise that every carton can be displayed within five minutes.
Agree who supplies item data, prints labels, verifies carton contents and submits any electronic messages. Hoplok’s physical ticketing scope should be confirmed for the order; it does not include an assumed EDI or customer-ERP integration service.
Preventing Chargebacks in Big Retail
Where the contract permits chargebacks, review the applicable schedule and dispute process. Prevention starts with an approved manual and clear ownership of the data.
- Terms: Confirm which party is responsible for the ticket or shipment-data error and how the agreement handles rework or charges.
- Missing tickets: Use the retailer’s current rule and fee schedule; there is no universal per-unit amount.
- Unreadable symbols: Retain print-verification and item-data evidence to investigate the problem and correct the process.
- Placement: Follow the approved product and carton-label diagrams. Confirm any retailer-specific charge in the agreement.
Keep version-controlled instructions and approval records. These reduce avoidable disputes but do not guarantee the absence of charges.
Coordinating Ticketing with Factory Packaging
Plan the retailer ticket and packing requirements before bulk packing, allowing time for data approval and sample checks.
- Sequence: Define when to attach tickets and how the product will be protected. Packaging material and thickness come from the approved order specification.
- Accessibility: Check the barcode in the final packed state if it must be scanned through packaging. Film glare, folds and overlap can affect readability.
- Verification plan: Agree data, print and attachment checks and their sample sizes. A fixed ten-percent scan rate is not appropriate for every order or retailer requirement.
- Cartons: Reconcile the required carton labels and packing data with the actual contents, using the retailer’s identification rules.
Clear packing instructions and reconciled item data reduce avoidable sorting and relabeling.
| Error Type | Description | Check before shipment |
|---|---|---|
| Missing Ticket | No retail tag attached to the leather good. | Approved ticket present on the correct item |
| Unscannable Barcode | Symbol unreadable because of print, size, damage or placement problems. | Decoded data and print-verification result |
| Incorrect Placement | Tag attached to the wrong strap or covering a logo. | Attachment and carton diagram followed |
| Mismatched shipment data | Physical contents differ from required shipping records | Reconcile identifiers, quantities and responsible-party submission |
Frequently Asked Questions About Retail Ticketing
How do I get a valid UPC for my leather products?
Obtain the appropriate license through your GS1 member organization and follow its allocation rules. GS1 US offers company prefixes and individual GTIN licenses. Confirm the route and identifier needed for the retailer and your product range.
What is the best way to tag a genuine leather wallet?
Use an approved packaging ticket or a suitable existing attachment point, and validate removal and product contact. Do not automatically pierce the lining with a micro-tack; it may damage delicate fabric or be hard to remove.
Can I print barcodes directly on the leather?
A textured or finished leather surface may make direct printing difficult to verify and may alter the product. Use the retailer-approved method and verify the actual printed symbol. A separate suitable ticket is often easier to control.
What is the minimum size for a scannable UPC barcode?
For the UPC-A reference cited above, 80% scale is about 29.83 mm wide including quiet zones, or 1.175 inches. Confirm the complete current symbol specification and retailer application; further shrinking or cropping is not a reliable way to fit a small tag.
Do I need a different UPC for each belt size and color?
Distinct size and color trade-item variants generally need separate GTINs under GS1 allocation rules. Keep the variant-to-identifier mapping consistent between the item file, ticket and shipment records.
How much do chargebacks cost for missing tickets?
They depend on the retailer’s current agreement and the error involved. Check that schedule instead of budgeting from a generic per-unit range.
What happens if a barcode sticker peels off a leather bag?
Follow the retailer’s correction procedure and investigate whether the attachment, substrate, storage or handling caused the loss. Rework, rejection or a charge may apply under the agreement; none is a universal automatic outcome.
GS1’s Ambition 2027 aims for retail POS systems to read defined GS1 2D barcodes alongside existing linear symbols by the end of 2027. This is not a universal date to remove UPCs. Confirm the retailer’s readiness and requirements; an ordinary marketing QR code is not automatically a retail product-identification symbol.
Preparing a Reviewable Ticketing Specification
Prepare the retailer manual, approved item-data file, barcode artwork, tag and attachment sample, and packing instructions together. For custom bags or belt programs, ask Hoplok to confirm physical ticketing and packing scope for the order. The brand or its appointed provider remains responsible for retailer account setup, licensed identifiers and any required electronic submissions unless separately agreed with the appropriate service provider.