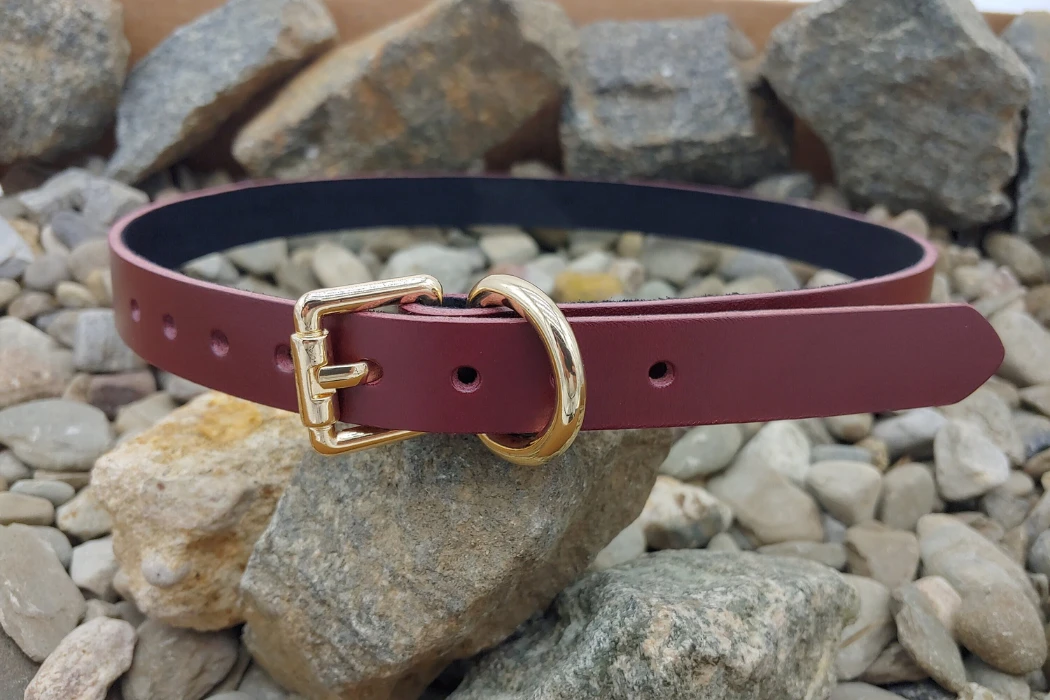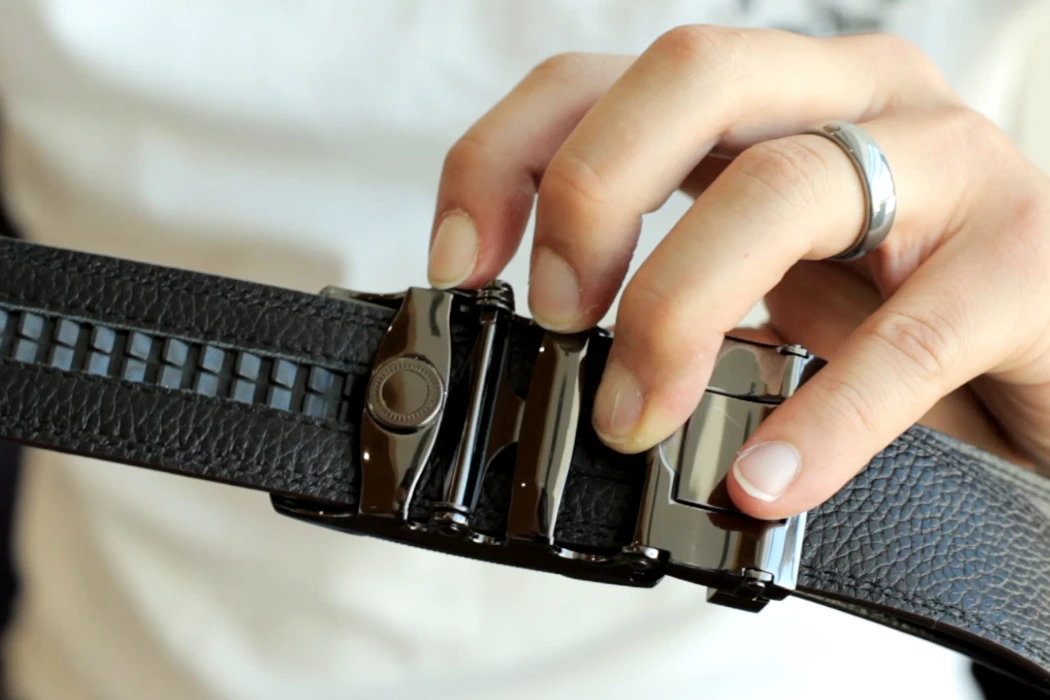
To measure a women’s belt size, first decide where the belt will sit: at the natural waist, through the intended trouser loops or lower on the hips. Measure over the clothing it will be worn with, then compare that measurement with the brand’s stated belt measurement and usable adjustment range. A trouser size plus a fixed number is not a reliable rule for every brand or style.
For a brand developing a range, the task is to turn that fitting method into a consistent size chart, technical drawing and approved sample. The label alone—S, M or a centimetre value—does not explain the belt’s actual fit.
Method 1: measure the intended wearing position
- Put on the type of garment the belt is intended to accompany.
- Place a flexible measuring tape along the belt’s intended path. Keep it level for a straight belt position and follow the actual loops where relevant.
- Keep the tape comfortable rather than pulling it tightly into the body. Record the measurement and whether it was taken at the waist, through loops or at the hips.
- Compare with the seller’s measurement definition and fitting range. If the chart does not identify its datum, ask before selecting a size.
A belt worn over a dress may require a different fit from one worn over a coat, even for the same person. Do not apply a universal waist-to-hip addition. The product page should show the intended wearing position and say when measurements include clothing.
Method 2: measure a belt that already fits
Choose a belt that fits at the same position and with comparable clothing. Lay it without stretching and measure from the reference point specified by the new brand to the hole actually used. Record the buckle type as well: a measurement taken from the fold where the buckle attaches is not interchangeable with one taken from another point on the buckle.
Do not measure the total tip-to-tip length and assume it is the labelled size. The tail beyond the working hole and the buckle can add length without increasing the intended body fit. The belt sizing specification guide explains how to put the datum and adjustment positions on a drawing.
Build a size chart around usable adjustment
| Chart field | What to publish or control | Why it matters |
|---|---|---|
| Label | Your numerical or alpha size | Allows customers to identify the option |
| Wearing position | Waist, trouser loops or hips | Prevents measurement at the wrong location |
| Measurement datum | Clearly illustrated buckle/fold reference | Makes supplier and customer measurements comparable |
| Adjustment range | Distance to first and last usable settings | Shows actual available fit rather than total length |
| Belt width | Width at relevant sections | Checks compatibility with loops and intended styling |
| Tail allowance | Appearance at tighter and looser settings | Avoids an impractical excess tail or insufficient keeper engagement |
Use the same unit throughout the chart or provide a checked conversion. If a metric measurement is converted to inches, rounding the display should not silently change the production specification. Alpha labels such as XS and L are brand choices; they are not a universal women’s sizing standard.
Wide, shaped and hole-free belts need different checks
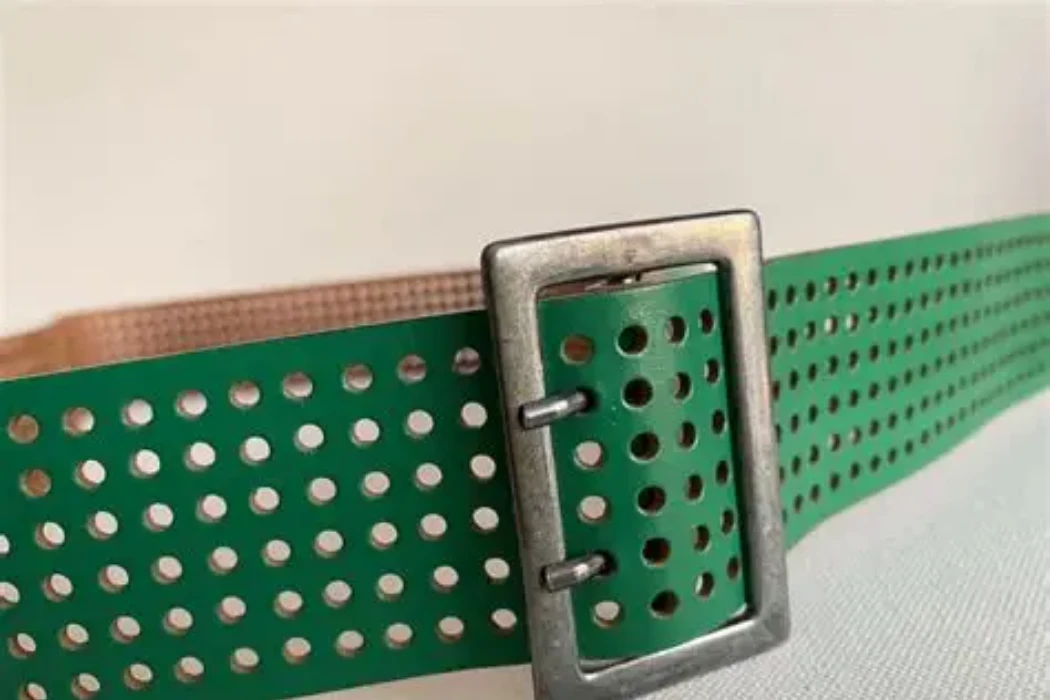
A wide or curved waist belt may have different paths along its upper and lower edges. A single straight length does not fully describe how it sits on the body. Review a prototype on the intended fit form or wearer at the designated position, including comfort, edge gaping and the appearance of the fastening.
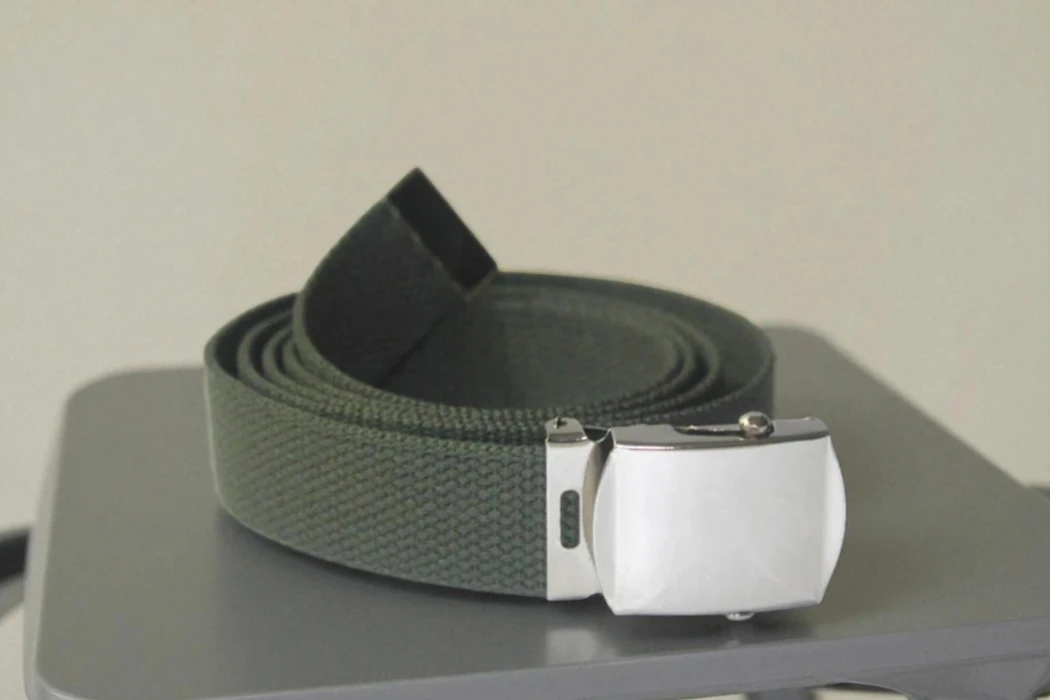
A braided belt is not automatically adjustable at every possible point. Confirm where its buckle can engage without damaging the construction. For sliding or clamp fastenings, establish the usable range and tail handling for that mechanism. These are fashion-belt fit checks; they do not establish support or load-bearing performance.
Check the smallest and largest sizes before release
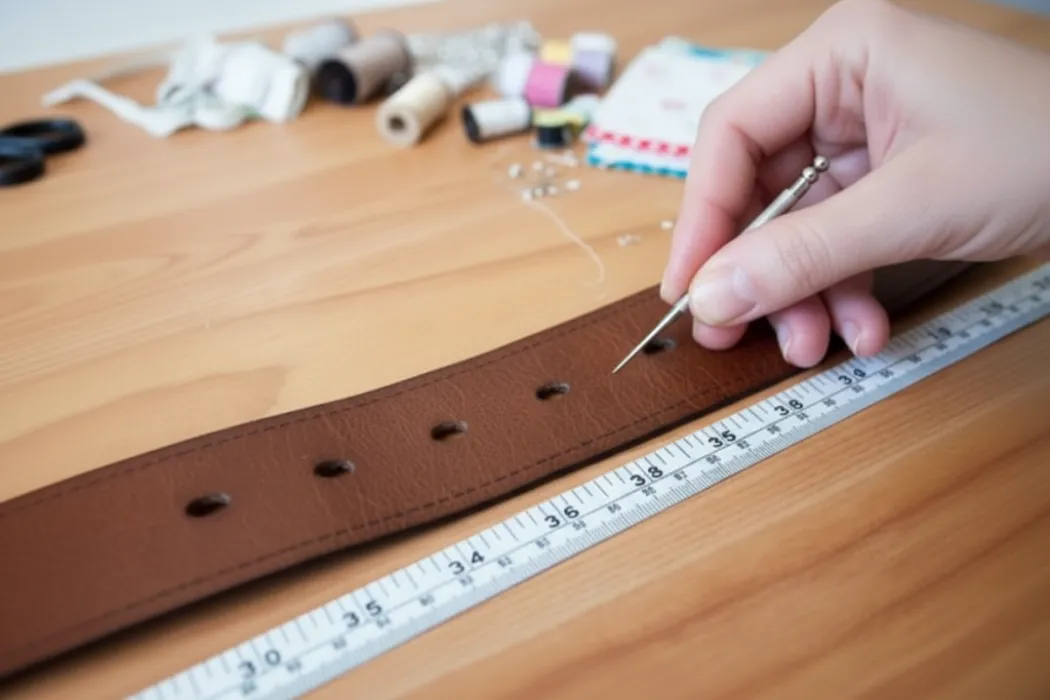
Approve more than the appearance of the middle sample. Check the range ends against the same datum, hole spacing, tail allowance and buckle assembly. Confirm that the intended adjustment positions can be used without the tip becoming awkward or failing to reach the keeper. For a shaped belt, assess whether simply extending the straight portion preserves the intended fit.
Record the approved dimensions and tolerances in the technical pack. Agree those tolerances for the design rather than adopting a generic percentage. A good fitting sample cannot compensate for an ambiguous measurement drawing.
Use return reasons to improve the next chart
Ask whether a returned belt was too short at every setting, had an excessive tail, would not pass through loops or was measured at the wrong wearing position. Those problems call for different corrections. Changing the S/M/L labels alone may leave the underlying chart error untouched.
Show a simple measurement illustration next to the product’s size chart and repeat the same definition in customer support. Avoid telling customers to punch extra holes as the standard solution: alterations can affect finish, spacing and the return arrangement.
For women’s belt development, send the wearing position, size range, buckle and proposed chart to Hoplok. Confirmed MOQ is 300 pieces for leather and 1,000 for PU; belt samples take 2–3 weeks and bulk production 60–90 days.
Frequently asked questions
Should I always add two inches to my trouser size?
No. Trouser labels, wearing position and belt measurement definitions vary. Use the intended position and the specific brand chart.
Are small and medium the same across belt brands?
No. Compare the usable measurement range and wearing position rather than relying only on an alpha label.
Can a wide waist belt use the same chart as a narrow trouser belt?
Not without checking the intended fit. Width, curvature and wearing position can change how the belt sits.