The best way to shorten a leather belt is to cut from the buckle end, not the tail. This method preserves the factory-finished tip shape and hole spacing. For belts with removable Chicago screws or clamps, simply detach the hardware, cut the excess strap length using a sharp utility knife, punch a new hole using the scrap as a template, and reassemble. If the buckle is stitched on, shortening requires cutting from the tip, which demands advanced edge re-finishing to prevent delamination.
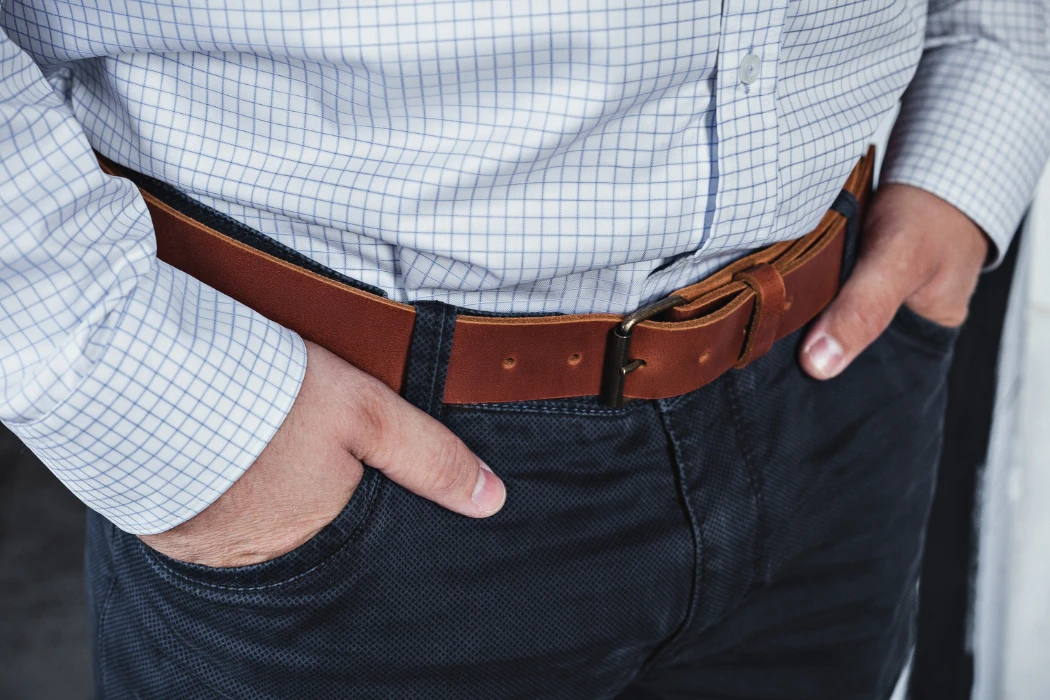
We’ve all faced the “tail flap” problem: buying a belt that fits the waist but leaves an awkward, 8-inch tail flapping loose after the buckle. This often happens because standard sizing (S, M, L) rarely accounts for individual body variations. A poorly fitted belt not only looks sloppy but can also cause premature wear as the excess leather rubs against belt loops or chairs.
This guide provides a professional, step-by-step protocol for resizing a belt without ruining it. We will move beyond simple scissors—which crush leather fibers—and detail the “factory-grade” tools and techniques needed to create a clean cut, a perfectly centered hole, and a sealed edge that won’t absorb moisture or fray over time.
Can Your Belt Be Shortened? (Anatomy Check)
Not all belts are designed to be shortened easily. Before you cut, you must identify the buckle attachment method. Belts secured with Chicago Screws or Clamps are “Easy Fixes” that can be resized in minutes. Belts with Rivets require “Destructive Removal” and new hardware. Belts with Stitched-on buckles are the “Expert Fix,” often requiring a professional cobbler or a compromise by cutting the tail end instead.
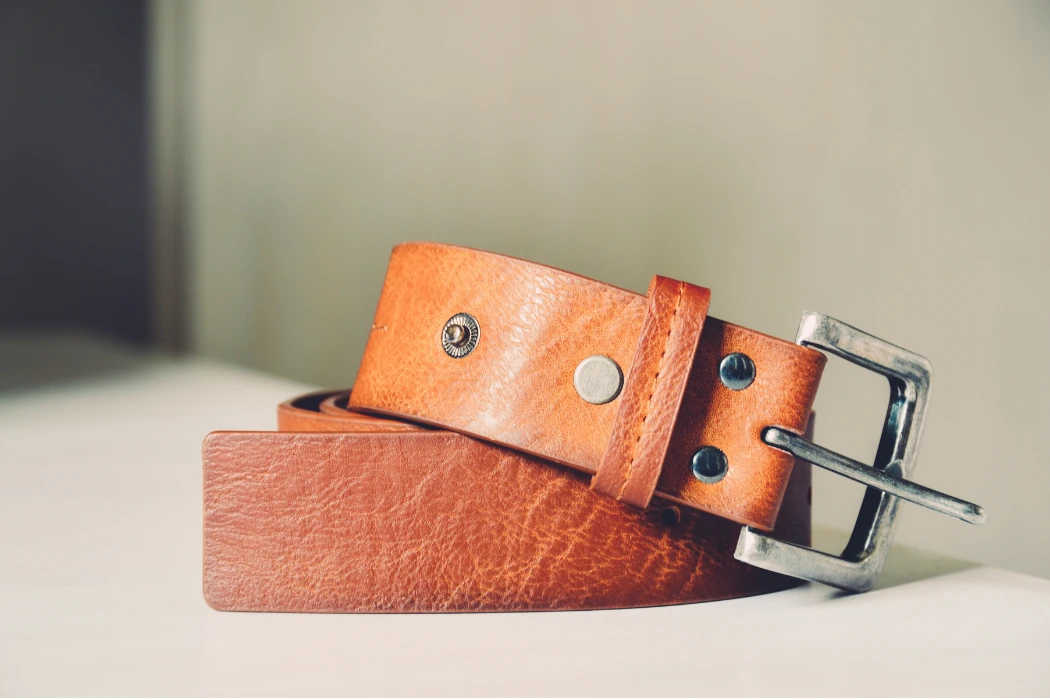
The Easy Fix: Screw and Clamp Buckles
This is the ideal scenario. Many high-quality casual belts use Chicago Screws—threaded posts with a flat head that screw into a backing barrel. To shorten these, you simply unscrew the post with a flathead screwdriver, remove the buckle, cut the strap, punch a new hole, and screw it back together. It is non-destructive and repeatable.
Similarly, Clamp Buckles (often found on reversible or plaque belts) use a metal jaw with teeth to grip the leather. You simply pry open the clamp, pull out the strap, cut it straight across (no hole punching needed), and clamp it back down. These are the most user-friendly designs.
The Hard Fix: Riveted Buckles (Destructive Removal)
Rivets are permanent fasteners. They are hammered or pressed into place and cannot be unscrewed. To shorten this belt from the buckle end, you must physically break the rivets using a pair of pliers or wire cutters. Warning: Once the rivets are removed, they are destroyed. You cannot reuse them. You must have a set of new “Rapid Rivets” (and a setting tool) or a set of matching Chicago Screws ready to reassemble the belt after cutting.
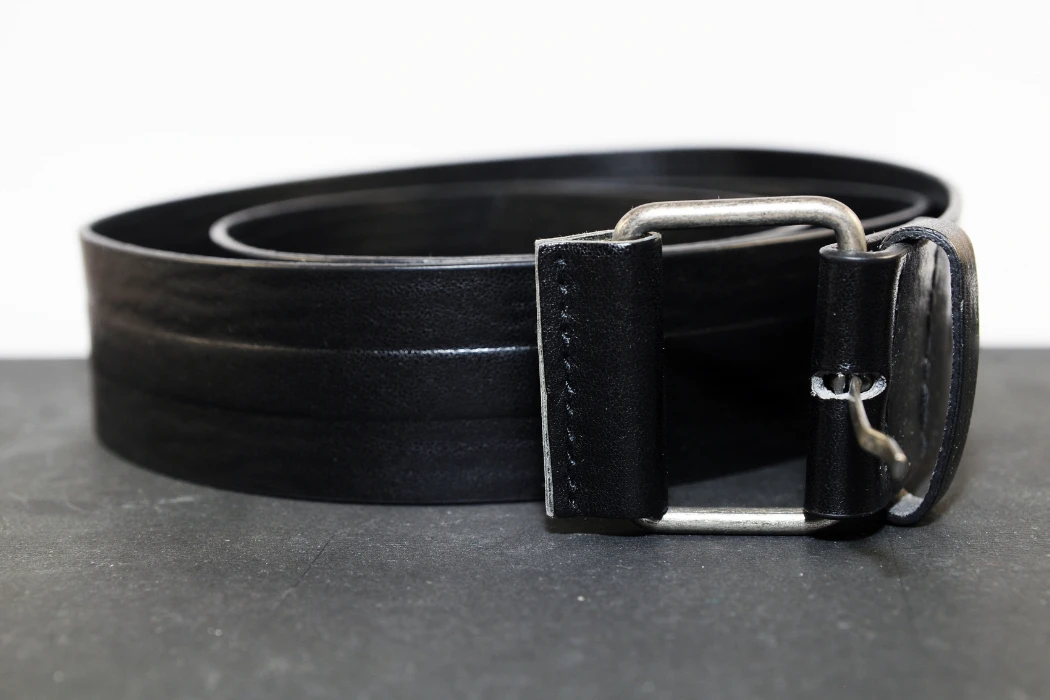
The Expert Fix: Stitched-On Buckles (Requires Re-Sewing)
This is the most difficult construction to alter. The leather is folded over the buckle bar and permanently stitched down. To shorten from the buckle end, you would need to cut the stitches, trim the leather, and then re-sew through two layers of 8-10 oz leather. This is virtually impossible to do cleanly without a heavy-duty industrial sewing machine or advanced saddle-stitching skills. For stitched belts, most non-professionals are forced to use Method 2 (Cutting the Tip), which is easier but alters the belt’s factory finish.
Manufacturer’s Insight (Hoplok): Designing for Adjustability. We actively advise our B2B clients to use Solid Brass Chicago Screws instead of rivets or stitching for their casual belt lines. While it costs approximately $0.40 more per unit in BOM costs, it creates a “Cut-to-Fit” product feature. This allows customers to buy a larger size and adjust it perfectly at home, reducing e-commerce returns related to sizing issues by an estimated 15-20%.
What Tools Are Essential for Shorten a Leather Belt
To shorten a leather belt professionally, you must use tools that slice, not crush. Never use household scissors. Scissors apply shearing force that crushes the leather’s fiber structure, leaving a pinched, deformed edge that cannot be properly burnished. The essential toolkit includes a fresh Utility Knife (or rotary cutter) for clean cuts, a Rotary Leather Punch for precise holes, and a Carpenter’s Square to ensure a 90-degree angle. Attempting this with improvised tools like a drill or a kitchen knife will result in a ruined strap.
Cutting Tools: Why Utility Knives Beat Scissors
The difference is physics. Scissors work by compressing material between two blades until it separates. On thick 3.5mm – 4.0mm belt leather, this compression distorts the edge profile, making it look “chewed.”
A Utility Knife (Box Cutter) with a brand-new blade works by slicing. It severs the fibers cleanly without displacement. For the best results, use a Rotary Cutter (commonly used for fabric). Its rolling blade applies downward pressure, preventing the leather from dragging or stretching during the cut.
Hole Punching: The Rotary Punch vs. Drive Punch
Creating a new hole for the buckle screw requires removing a clean plug of leather. You cannot simply push a nail through, as the leather will close back up.
- Rotary Punch: This is the most common tool. It has a wheel with multiple tube sizes. It is convenient but can struggle with very thick 10 oz leather, requiring significant hand strength.
- Round Drive Punch: This is the professional’s choice. It is a single steel tube that you strike with a mallet. It creates a perfectly vertical, clean hole through any thickness of leather without distorting the surrounding area.
Measuring & Marking: Precision Matters
The most common mistake is cutting the strap at a slight angle. Even a 2-degree slant will cause the buckle to sit crookedly against your waist. Do not trust your eye.
You must use a Square (L-Ruler). Align one side of the square with the long edge of the belt strap, and draw your cut line against the perpendicular side. This guarantees a perfect 90-degree cut that aligns with the buckle hardware.
DIY vs. Professional Tool Checklist
Use this table to ensure you are using the right tool for the task.
| Task | DIY Tool (Risky) | Professional Tool (Recommended) | Risk of DIY Method |
|---|---|---|---|
| Cutting | Scissors / Kitchen Knife | Utility Knife / Rotary Cutter | Crushed, uneven edges that fray. |
| Hole Punching | Power Drill / Nail | Drive Punch / Rotary Punch | Torn fibers; hole closes up or tears. |
| Measuring | Freehand / Tape Measure | Carpenter’s Square | Crooked buckle fit. |
| Edge Sealing | Water / Marker | Sandpaper & Gum Tragacanth | Edge absorbs sweat and peels. |
How Do You Shorten a Belt from the Buckle End? (The Best Way)
Shortening a belt from the buckle end is the “Gold Standard” of alteration because it preserves the manufacturer’s finished tip and adjustment holes. The process involves five precise steps: 1. Measure your ideal size based on the center hole; 2. Disassemble the hardware carefully; 3. Cut the excess strap using a square for a 90-degree angle; 4. Use the scrap as a template to punch perfectly aligned new holes; and 5. Reassemble with a drop of threadlocker. This method results in a customized fit that is indistinguishable from a factory-made belt.
Step 1: The “Center Hole” Measurement Strategy
Most belts have 5 adjustment holes spaced 1 inch (25.4mm) apart. The goal of resizing is not just to make the belt fit “now,” but to make it fit the Center Hole (Hole #3) perfectly. This leaves you with 2 inches of adjustment in either direction, accommodating natural weight fluctuations or different clothing thicknesses (e.g., jeans vs. dress pants).
The Technique: Put the belt on and tighten it until it feels comfortable. Note which hole the prong enters. Take the belt off and lay it flat. Measure the distance from the end of the buckle to that “perfect hole.” Let’s say this is 34 inches. Now, measure 34 inches from the center hole (Hole #3) back towards the buckle. Mark this spot on the strap. The distance between the buckle and your mark is the exact amount of excess leather you need to remove.
Step 2: Disassembling the Hardware Safely
Before cutting, you must remove the hardware. For a belt with Chicago Screws, use a flathead screwdriver that fits the slot perfectly to avoid slipping and scratching the brass finish. Place the screws and the buckle in a small bowl immediately—losing a screw stops the project cold. If the belt has a leather “keeper loop” that is floating, remove it. If the loop is stitched in place near the buckle, you may need to carefully cut the threads to release it, although many designs allow the loop to slide off once the screws are out.
Step 3: The Clean Cut (Using a Square)
Do not eyeball this cut. If the cut end is angled even slightly (e.g., 85 degrees instead of 90 degrees), the buckle will sit crookedly against your waist, creating uneven tension that can warp the leather over time.
Place your leather strap on a cutting mat. Take a metal Carpenter’s Square or L-ruler and align one side firmly against the long edge of the belt. Press down hard to prevent slipping. Using a fresh blade in your utility knife, make a firm, single-pass cut against the ruler’s edge. You should hear a clean “snap” as the blade severs the fibers.
Step 4: Using the “Scrap” as a Template for New Holes
This is the secret to a factory-perfect finish. You do not need to measure where the screw hole goes. You have a perfect template in your hand: the piece you just cut off.
Take the scrap piece (the excess leather with the old screw hole) and place it directly on top of the newly cut end of your belt. Align the square-cut edges perfectly flush with each other. Take your Round Drive Punch, insert it through the existing hole in the scrap piece, and hammer it through the new belt strap below. This guarantees that the new hole is exactly centered and exactly the right distance from the edge, ensuring your buckle will fit precisely as it did before.
Step 5: Reassembly and Securing the Screws
Slide the buckle back onto the strap. Insert the post of the Chicago Screw through the hole. If you have a keeper loop, ensure it is sandwiched in the correct position (usually between the fold). Screw the back onto the post.
Pro Tip: Chicago screws can loosen over time due to the vibration and movement of walking. To prevent losing a screw, apply a tiny drop of Blue Loctite (Threadlocker) or clear nail polish to the threads before tightening. This creates a semi-permanent bond that keeps the hardware secure for years but can still be broken with a screwdriver if you need to adjust it again later.
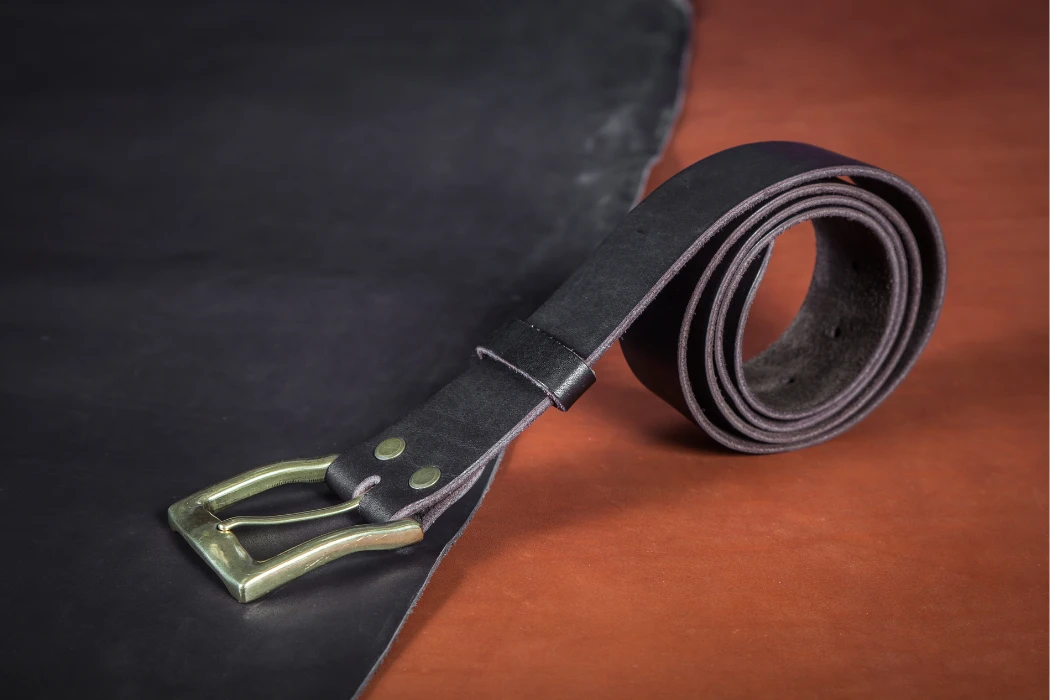
What If You Must Shorten from the Tip? (The Last Resort)
If your belt buckle is permanently stitched-on or riveted without access to replacement hardware, your only option is to shorten from the tip (tail) end. This method is considered a “last resort” because it removes the factory-finished tip, requiring you to recreate the precise “English Point” or tapered shape by hand. To do this successfully, you must use a rigid circular template (like a coin), make multiple shallow cuts instead of one deep slice, and meticulously re-seal the raw edge to prevent the leather layers from delaminating.
Why This Method Destroys the “Factory Finish”
Cutting the tip introduces significant aesthetic and structural risks. Most dress belts feature edge stitching that runs all the way around the tip. When you cut the leather, you sever this thread. Without the “back-tack” knot used in the factory, the stitching can begin to unravel, allowing the top grain and lining layers to separate. Furthermore, the new cut reveals the raw, greyish-blue core of the leather, which will clash with the finished edges unless you sand, dye, and burnish it perfectly to match.
Step 1: Tracing the Tip Shape (The Coin Trick)
Freehand cutting a symmetrical curve is nearly impossible. You need a template.
The Coin Trick: For a standard 1.5-inch (38mm) wide belt, a large coin (like a US Quarter or a Euro coin) often matches the corner radius perfectly. Place the coin at the very corners of your new cut line and trace the curve with a scratch awl or silver marking pen. For a more pointed “English Point,” you may need to use a larger circular object, like the rim of a drinking glass, to trace a gentler arc that meets in the middle.
Step 2: Cutting Curves (The Hardest Part)
A utility knife is designed for straight lines. Forcing it through a thick 4mm curve often results in a jagged, polygonal edge.
The Technique: Do not try to cut the curve in one continuous motion. Instead, make a series of 5-10 small, straight cuts tangent to the curve, removing small chips of leather until you have a rough rounded shape. Once the bulk is removed, use 200-grit sandpaper to smooth out the small angles into a perfect, continuous arc. This “sculpting” method yields a far more professional result than a single jagged cut.
Step 3: Spacing and Punching the New Adjustment Holes
Once the tip is shaped, you must punch new holes. Factory standard spacing is exactly 1 inch (25.4mm) from center to center.
Alignment: Use a ruler to draw a faint line down the exact center of the strap.
Positioning: The first hole should typically sit 3.5 to 4 inches from the very end of the tip. Mark this spot, then mark 2 holes before it and 2 holes after it, maintaining the 1-inch gap. Use your Drive Punch to create clean holes, ensuring they match the size of the original holes (usually 4mm or 5mm).
Why is Re-Finishing the Raw Edge Critical?
Cutting a leather belt exposes the internal fiber structure, creating a “raw edge.” If left untreated, this edge acts like a wick, absorbing sweat, moisture, and oil, which leads to swelling and delamination (layer separation) within 3-6 months. To prevent this structural failure, you must re-seal the edge. For Vegetable-Tanned leather, this means burnishing (polishing with friction). For Chrome-Tanned or filled belts, this requires applying Edge Paint to create a waterproof seal.
Step 1: Beveling (Rounding the Sharp Corners)
A fresh cut with a utility knife creates a sharp, 90-degree corner. This sharp edge is uncomfortable against the skin and is prone to “mushrooming” (flattening out) under pressure.
Use an Edge Beveler (Size #2 or #3) to shave off a thin sliver of leather from both the top and bottom corners of your new cut. This creates a rounded, aerodynamic profile that slides easily through belt loops. If you don’t have a beveler, you can carefully round the edge with 200-grit sandpaper, though the finish will be less precise.
Step 2: Sanding (From 200 to 600 Grit)
Before you can seal the edge, it must be perfectly smooth. Any jagged fibers left from the cutting process will prevent a good seal.
Start with 220-grit sandpaper to remove the bulk and shape the curve. Once smooth, move to 400-grit or 600-grit to polish the fibers. You want the edge to feel like smooth wood, not fuzzy suede. This preparation is 80% of the work; you cannot put a good finish on a bad surface.
Step 3: Sealing (Burnishing Veg-Tan vs. Painting Chrome-Tan)
The sealing method depends entirely on your leather type.
- For Solid Veg-Tan (Burnishing): This is the traditional method. Apply a small amount of water or Gum Tragacanth to the edge. Rub it vigorously with a wood slicker or a piece of heavy canvas cloth. The friction generates heat, melting the natural collagens and waxes in the leather to form a hard, glossy, waterproof seal.
- For Chrome-Tan / Genuine Leather (Edge Paint): These leathers do not burnish; they just get fuzzy. You must apply a specialized rubberized Edge Paint (like Vernice or Giardini). Apply a thin layer, let it dry for 20 minutes, sand it lightly with 600-grit paper, and apply a second layer. This creates a flexible plastic cap over the raw fibers.
Manufacturer’s Insight (Hoplok): Why Factory Edges Last Longer. At our facility, we don’t just paint; we heat-fuse. Our automated edge-inking machines apply paint at a precise viscosity, and then pass the belt through a heating tunnel or use heated irons to bond the paint to the leather at 300°F. This thermal bonding process ensures the edge paint flexes with the belt without cracking, a level of durability that is difficult to replicate with room-temperature DIY painting.
How Do You Troubleshoot Common Shortening Mistakes?
Even with the best tools, mistakes happen. The most catastrophic error is overcutting—removing too much leather, rendering the belt uselessly short. Other common issues include off-center holes, which cause the buckle to hang crookedly, and ragged cuts from dull blades. While you cannot put leather back, most mechanical or aesthetic errors can be salvaged with sandpaper, patience, and a drop of threadlocker.
Mistake 1: The “Measure Once” Disaster (Overcutting)
This is the only mistake that cannot be fixed. It usually happens when a user measures the belt length based on the entire strap rather than from the fold to the center hole.
The Golden Rule: Always cut 1 inch less than you think you need to. Assemble the belt and try it on. It is easy to disassemble it and trim another inch off. It is impossible to stretch it back. If you cut it too short, the only solution is to give the belt to someone with a smaller waist or repurpose it into a leather key fob.
Mistake 2: Off-Center Hole Punching
If your screw hole is not perfectly centered on the strap width, the buckle will sit at a noticeable angle (canted) on your waist. This creates uneven tension and can warp the leather over time.
The Fix: If the hole is only slightly off (e.g., 1-2mm), you can use a small round file or your punch to elongate the hole into a short oval slot towards the center. This allows the screw post to slide into the centered position. While not perfect, the buckle head usually hides this internal adjustment.
Mistake 3: Ragged or Angled Cuts
If you used a dull knife or (heaven forbid) scissors, the end of your belt might look chewed, fuzzy, or angled. An angled cut is problematic because the leather will not sit flush against the buckle bar.
The Fix: Do not try to recut it; you will likely just make it shorter. Instead, place a sheet of 100-grit sandpaper on a flat table. Hold the belt strap perfectly vertical (90 degrees to the table) and rub the cut end firmly against the sandpaper. This “block sanding” technique will grind the edge down until it is perfectly flat and square, removing the ragged fibers without losing significant length.
Mistake 4: Loose Screws After Reassembly
A common complaint weeks after shortening is a lost Chicago screw. The natural flexing of the leather and the vibration of walking can slowly unscrew the post.
The Fix: This is a mechanical failure, not a leather failure. Always use a thread-locking fluid. If you don’t have Blue Loctite, a dab of clear nail polish or even superglue (carefully applied to the threads only) will create enough friction to keep the screw secure for years.
Common Mistakes & Solutions
Use this troubleshooting matrix to save a project gone wrong.
| Mistake | Consequence | The Fix |
|---|---|---|
| Overcutting | Belt is too tight/unwearable. | None. (Gift it or repurpose). |
| Off-Center Hole | Buckle sits crookedly. | Elongate hole into a slot with a file. |
| Ragged Cut | Fuzzy edge, poor seal. | Block Sanding (100-grit) to square it. |
| Loose Screw | Buckle falls off. | Apply Blue Loctite or Nail Polish. |
Frequently Asked Questions
1. Can I use scissors to cut a leather belt?
Ideally, no. Standard household scissors work by shearing (crushing two blades together). On thick 3.5mm+ leather, this crushing action distorts the edge profile, creating a pinched, beveled shape rather than a flat, square face. This makes it impossible to burnish correctly. Always use a fresh utility knife or rotary cutter for a clean, 90-degree slice.
2. How do I punch a hole without a leather punch?
If you lack a drive punch, do not use a nail or knife tip, as these tear the fibers and create a weak point that will rip. The best alternative is a Power Drill. Use a 3/16″ (4.7mm) wood drill bit. Place the belt on a scrap block of wood and drill straight through at high speed. This removes the material cleanly rather than pushing it aside.
3. Will cutting a belt ruin it?
It will not ruin the fit, but if you skip the edge finishing step, it will ruin the lifespan. A raw, unsealed cut allows moisture and sweat to wick into the center of the leather. Over 6-12 months, this can cause the layers of a bonded or lined belt to delaminate (separate) and rot. Sealing the cut is mandatory for longevity.
4. Can I shorten a stitched belt?
Yes, but it requires extra care. When you cut a belt with perimeter stitching, you sever the thread. To prevent the entire stitch line from unraveling, you must take a needle and thread to create a “back-tack” (locking stitch) at the new cut end, or apply a tiny drop of superglue to the cut thread ends to fuse them in place.
5. How much does a cobbler charge to shorten a belt?
If you are uncomfortable cutting an expensive belt, a professional cobbler typically charges between $15 and $25 for this service. They have the heavy-duty skiving machines and edge paints to replicate the factory finish perfectly, which may be worth the investment for a luxury item.
6. What is a “cut-to-fit” belt?
A “cut-to-fit” belt is a specific design sold with a clamp-style buckle and a strap that is intentionally too long (often 44+ inches). It is designed to be customizable. The user simply flips a lever on the back of the buckle, pulls out the strap, cuts it to their waist size with scissors (since the cut end is hidden inside the clamp), and reattaches it. It requires no hole punching.
Conclusion: The Perfect Fit is a Custom Fit
Shortening a leather belt is a simple procedure, but the difference between a “hack job” and a “professional modification” lies in the details. Using a square ensures the buckle sits straight. Using a drive punch ensures the leather doesn’t tear. And most importantly, re-sealing the edge ensures the belt lasts for years rather than absorbing sweat and peeling apart in months.
For the consumer, mastering this skill means you never have to settle for a “good enough” fit. You can turn any off-the-rack belt into a bespoke accessory.
For brand managers, the lesson is in the hardware. Using permanent rivets saves pennies in manufacturing but creates frustration for the customer. Designing belts with Chicago Screws or Clamp Buckles builds adjustability directly into the product, significantly reducing returns due to sizing errors.
Hoplok Leather offers comprehensive manufacturing solutions for adjustable belts. We can supply “Cut-to-Fit” inventory with pre-assembled clamp buckles or heritage straps with solid brass Chicago screws for easy resizing. We also provide pre-finished strap edges that resist delamination even after cutting. Contact Hoplok Leather today to develop a smarter, more adjustable belt collection for your brand.