Yes, you can fully customize leather belt straps with different buckles and designs. Customization generally falls into three distinct tiers: 1. Modular Interchangeability, utilizing snaps or Chicago screws to swap buckles in seconds; 2. Surface Customization, adding personalized patterns via foil stamping, laser engraving, or hand tooling; and 3. Bespoke Manufacturing, creating a strap from scratch with specific leather grades and thread colors. For brands, providing interchangeable components is a critical strategy to lower inventory risk while significantly increasing customer satisfaction.
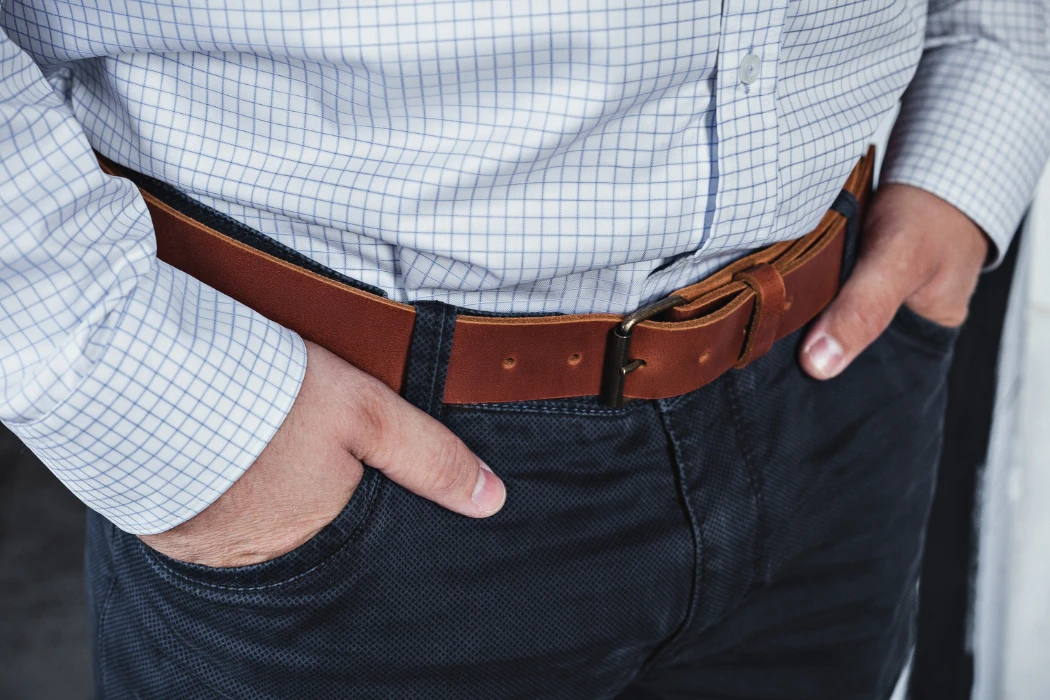
Why should you buy a completely brand-new belt just because you want to change the buckle style? That is the old way of thinking. True luxury is about owning a perfect chassis—the leather strap—and having the freedom to swap the “engine”—the buckle—at will. Whether you are a consumer looking to refresh a vintage strap or a brand manager looking to implement a modular system, the ability to customize is the ultimate value add.
This guide will take you from simple DIY interchangeability techniques to complex industrial-grade embossing processes. We will teach you how to identify the right hardware, choose the best leather for tooling, and create a unique piece of waist art that reflects your personal style or brand identity.
How Do Interchangeable Belt Systems Work? (The Mechanics)
The core of any interchangeable belt system lies in its attachment mechanism. While traditional retail belts often stitch the buckle permanently in place, a modular system relies on mechanical fasteners to let you swap parts. The two most popular options are Snaps, which allow you to pop a buckle off in seconds, and Chicago Screws, which are threaded solid brass posts that offer a secure, luxury finish. If you want speed, go with snaps; if you want a bond that lasts 20+ years without rattling, Chicago screws are the superior engineering choice.
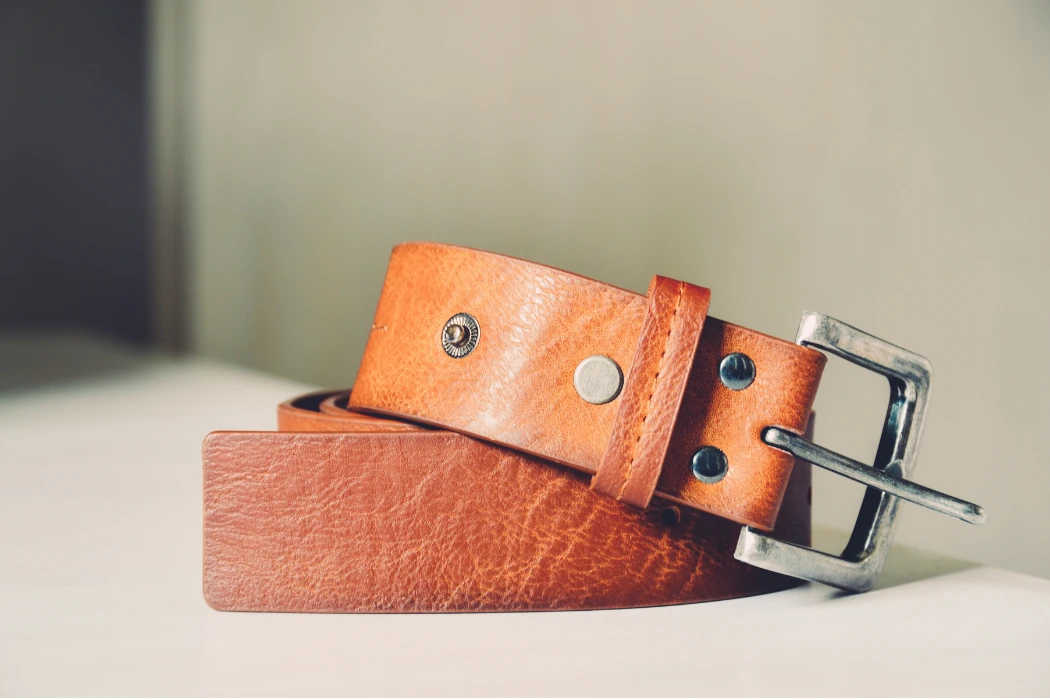
The “Snap” System: Speed vs. Longevity
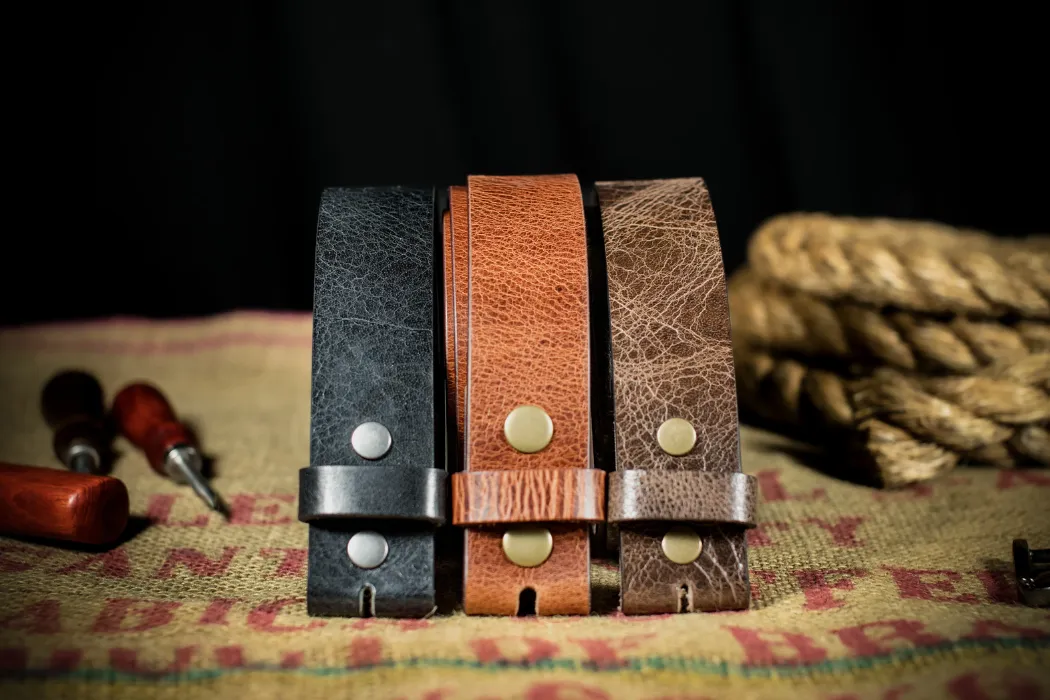
You will see the snap system on about 90% of Western and casual interchangeable belts. It uses heavy-duty metal snaps (usually two or three) to hold the folded leather flap that secures the buckle.
- The Benefit: Speed. You can change a buckle in under 10 seconds without any tools. This is perfect for customers who want to swap between a daily buckle and a “statement” rodeo buckle regularly.
- The Trade-off: Over time, snaps can loosen. After 1,000+ cycles of opening and closing, the spring inside the snap gets tired, potentially leading to a buckle that pops off unexpectedly.
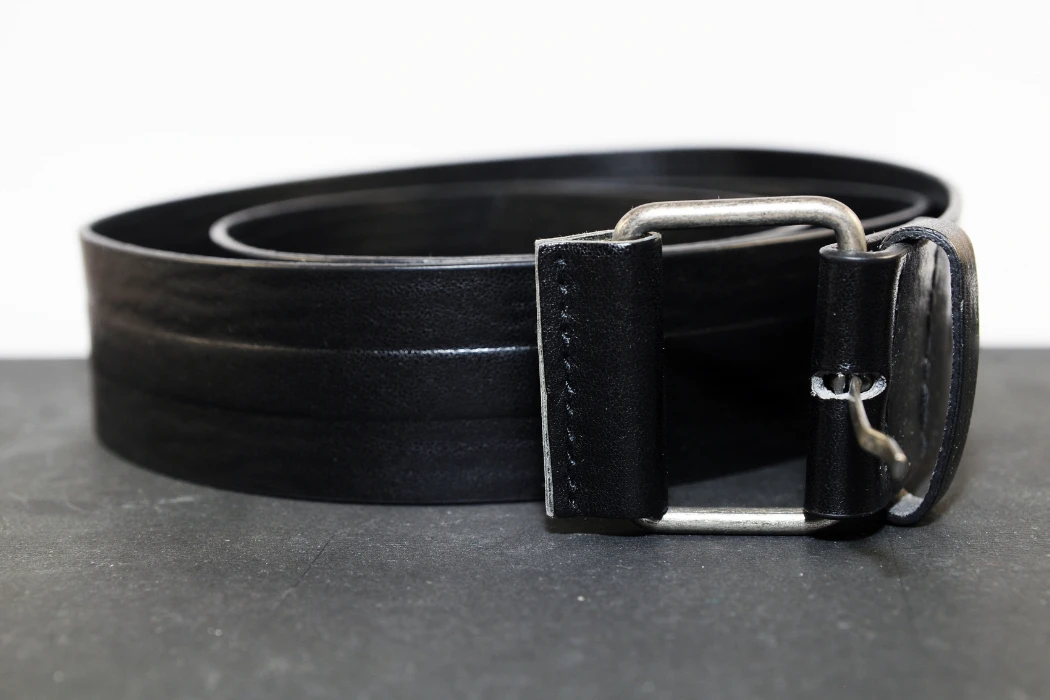
The “Chicago Screw” System: The Gold Standard
This is the choice for heritage and luxury goods. A Chicago screw consists of two parts: a threaded barrel (post) and a screw. You use a flathead screwdriver to tighten them through the holes in the belt flap.
- The Look: It looks incredibly clean and high-end. Unlike a snap, which looks like a piece of hardware, a flat brass screw head blends seamlessly into a leather strap.
- The Strength: It creates a mechanical bond that is as strong as stitching. It will never “pop” open.
- The Feel: It eliminates the “rattle” you sometimes get with snaps, making the belt feel like one solid unit.
The “Clamp” System (Cut-to-Fit)
You mostly find this mechanism on Reversible belts or automatic “Ratchet” belts. The buckle itself has a hinged metal jaw with teeth on the back.
- How it works: You insert the raw, cut end of the leather strap into the buckle, and clamp the jaw down. The teeth bite into the leather to hold it.
- The Advantage: It allows for “One Size Fits All” inventory. A brand can sell a 44-inch strap, and the customer simply cuts it to their size at home with scissors before clamping on the buckle.
Manufacturer’s Insight: Why We Recommend Screws for B2B
Hoplok Injection: When we consult for brands, we almost always recommend Solid Brass Chicago Screws with a pre-applied patch of Loctite (thread locker). Why? It solves the two biggest complaints: it prevents the screw from vibrating loose over time (a common issue), yet it still allows the customer to break the seal with a screwdriver to swap the buckle later. This small detail costs pennies but adds massive perceived value and reduces hardware failure returns by over 15%.
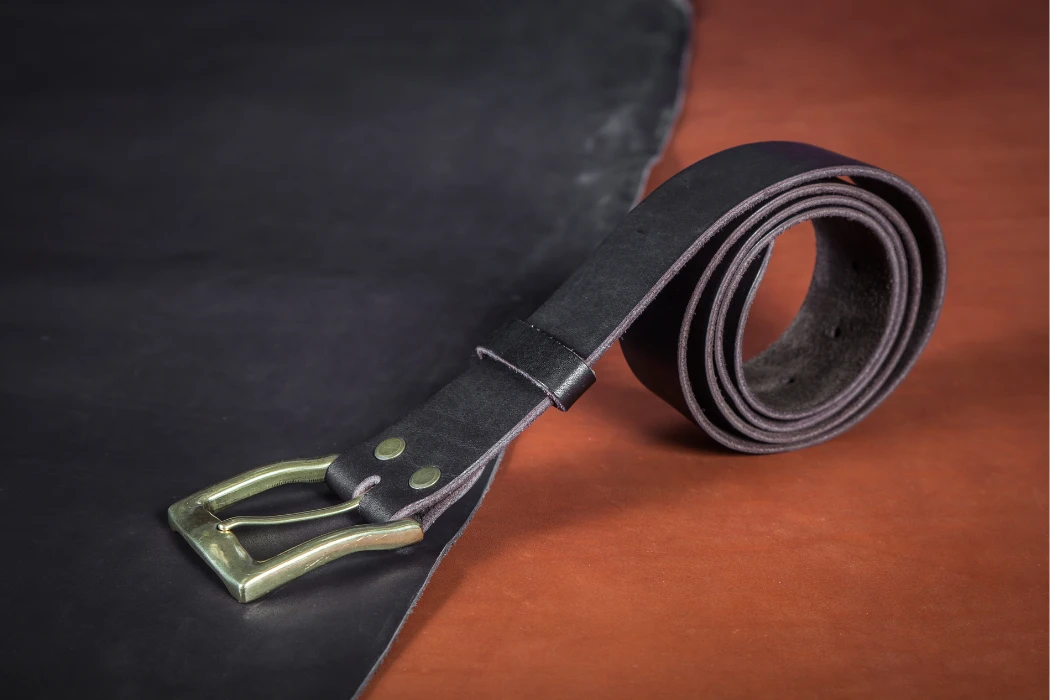
Can I Buy Just the Leather Strap Without the Buckle?
Yes, you can absolutely buy “Replacement Straps” without buying a new buckle. This is a massive, often overlooked market sector. It is the perfect solution if you have a high-end designer buckle (like an Hermès “H” or a vintage Gucci logo) where the original leather has worn out, or if you simply want to upgrade a cheap department store strap to full-grain quality while keeping the hardware. However, you must match two critical specifications to ensure a fit: 1. Width (which must match the buckle’s internal gap exactly) and 2. Thickness (which must fit into the buckle’s prong throat).
Matching the Width: 32mm vs. 38mm vs. 40mm
Strap width is not “one size fits all.” You must measure the inside width of your buckle bar. Even a 2mm discrepancy can ruin the look or function.
- 30mm – 32mm (1.25 inches): This is the global standard for Formal Dress Belts and many designer logo buckles (like the classic Hermès Quentin kit). A strap wider than 32mm will physically not fit through the buckle; a strap narrower than 30mm will slide around and look sloppy.
- 38mm (1.5 inches): This is the universal standard for Casual and Jeans Belts. If you are customizing a strap for denim, this is the size you want.
- 40mm+ (1.75 inches): This is for heavy-duty workwear or statement fashion belts. You need wide belt loops on your pants to accommodate this size.
Matching the Thickness: The “Prong Gap” Issue
This is the most common mistake DIYers make. You might buy a beautiful, thick 4.0mm full-grain strap for durability, only to find it won’t fit your elegant dress buckle. Why? Because the “throat” or gap between the buckle’s bar and the prong tip is only designed for 3.0mm leather.
If the leather is too thick, the prong will not close, or it will constantly scrape the leather surface every time you put it on. Conversely, if you put a thin 2.5mm dress strap on a heavy western buckle designed for 4.5mm leather, the buckle will feel loose and rattle. You must match the leather weight to the hardware style.
Strap Replacement Sizing Guide
Use this table to verify your measurements before ordering a custom strap.
| Buckle Type | Standard Width | Max Leather Thickness | Recommended Leather |
|---|---|---|---|
| Designer (e.g., Hermès Style) | 32mm (1.25″) or 42mm | 3.0mm – 3.2mm | Reversible Togo / Box Calf |
| Casual Jeans Buckle | 38mm – 40mm (1.5″) | 3.5mm – 4.0mm | Full-Grain / Bridle Leather |
| Western Plate Buckle | 38mm – 45mm (1.75″) | 4.5mm+ | Tooled Veg-Tan / Bullhide |
| Dress Frame Buckle | 30mm (1.18″) | 2.5mm – 3.0mm | Top-Grain / Lizard (Lined) |
How Can I Customize the Design of the Leather Strap?
Beyond simply swapping hardware, you can completely transform the look of the strap itself through surface customization. The most common professional methods include Hand Tooling (Carving), which creates deep 3D relief on vegetable-tanned leather; Laser Engraving, ideal for burning intricate logos or patterns with extreme precision; and Hot Foil Stamping, the standard for adding personalized monograms. For DIY enthusiasts, Leather Dyeing and Studding offer accessible ways to change color and texture without heavy machinery. Your choice of method depends entirely on the leather type you start with.
Hand Tooling: The Western Art Form
This is the traditional method used to create “Sheridan style” floral patterns seen on western belts. It is a subtractive art form that physically removes and compresses material.
- The Requirement: You can only tool Vegetable-Tanned Leather. It must be dampened with water (“cased”) to soften the fibers. Chrome-tanned leather (like soft garment leather) will not hold a tooling impression; it will just sponge back up.
- The Process: You use a swivel knife to cut the outline of your design about 1.0mm – 1.5mm deep into the damp leather. Then, you use metal stamps (bevelers, shaders) and a mallet to hammer down the background, making the design pop out in 3D relief.
- The Time: This is slow. A fully tooled belt takes a skilled artisan 4-8 hours to complete by hand.
Laser Engraving: Modern Precision
If you want to add a complex logo, a QR code, or a photo-realistic image to a belt, laser engraving is your best option. It uses a focused beam of light to vaporize the top layer of the leather.
- Precision: A laser can etch lines as thin as 0.1mm, far finer than any hand tool.
- The Burn: Because it burns the leather, the engraved area will always be black or dark brown (the color of charred carbon). It works best on lighter-colored leathers where this contrast pops.
- Smell Warning: Laser engraving leather produces a strong smell of burnt hair that can linger for days if you don’t air the product out.
Hot Stamping & Monogramming
This is the classic way to add initials or a “gold” logo. It uses heat and pressure to transfer a thin layer of foil onto the surface.
- The Setup: You load brass letters into a heating machine set to roughly 265°F – 300°F (130°C – 150°C).
- The Press: You pull the lever, pressing the hot type into the leather through a sheet of gold or silver foil. The heat activates the adhesive on the foil, bonding it permanently to the leather.
- Blind Embossing: If you skip the foil and just use heat and pressure, it’s called “Blind Embossing.” This leaves a dark, sunken impression that looks very sophisticated and subtle.
Manufacturer’s Insight: Industrial Customization
While hand tooling is beautiful, it doesn’t scale for a brand order of 5,000 belts. This is where industrial technology steps in.
Hoplok Injection: For our B2B clients who want a custom pattern (like a repeating logo or a geometric weave texture) across thousands of belts, we don’t use hand tools. We use Industrial Roller Embossing. We feed the leather strap through massive heated steel rollers engraved with the custom pattern. This machine applies tons of pressure and heat (approx. 200°F), instantly molding the texture into the leather as it passes through. We can produce 5,000 feet of custom-textured strapping in a single day, costing a fraction of hand-tooling while delivering perfect uniformity.
What Are the Best Leather Types for Custom Projects?
Not all leather is suitable for customization. If you plan to tool, carve, or stamp your belt, Vegetable-Tanned Leather (Veg-Tan) is your only viable option because it can absorb water and permanently retain a molded shape. If you simply want custom colors or textures without relief work, Chrome-Tanned or Pebbled leather offers superior softness and color stability, but these types cannot be carved. Choosing the wrong leather type is the number one reason DIY customization projects fail.
Veg-Tan: The Blank Canvas for Artists
If you want to act like a true artisan, you need “Natural Veg-Tan.” This leather hasn’t been sealed with synthetic topcoats, meaning its pores are wide open.
- Absorbency: You can dye it any color you want. It drinks up dye like a sponge, allowing for deep, rich, permanent color.
- Plasticity: When you wet this leather (a process called “casing”), the fibers become soft and moldable like clay. You can stamp a deep impression into it, and when it dries, that impression hardens and stays forever. This is the only leather that works for Western-style floral carving.
Bridle Leather: The Pre-Finished Option
Maybe you don’t want to do the artwork; you just want a high-quality strap to hold your custom buckle. In that case, Bridle Leather is your best friend. It is Veg-Tan leather that has already been stuffed with oils and waxes and finished with a beautiful sheen.
- Pros: It is ready to wear immediately. You don’t need to dye or seal it. It is incredibly durable and weather-resistant.
- Cons: Because it is so full of wax, it resists water. This makes it very difficult to tool or stamp because the fibers won’t soften enough to take a crisp impression. Use this for “Buckle Swap” projects, not “Carving” projects.
Leather Suitability for Customization
Use this table to match your customization technique to the right material.
| Customization Technique | Veg-Tan Leather | Chrome-Tan (Soft) | Patent Leather |
|---|---|---|---|
| Tooling / Carving | Excellent (Holds detail) | Impossible (Spongy) | Impossible (Cracks) |
| Laser Engraving | High Contrast (Burns dark) | Good (Low contrast) | Dangerous (Toxic fumes) |
| Hot Stamping | Permanent Deep Impression | Temporary (Fades back) | Surface Damage/Melting |
| Painting / Dyeing | Absorbs Deeply | Sits on Surface (Peels) | Peels Off Immediately |
DIY vs. Professional Customization: Which Should You Choose?
Choosing between DIY customization and hiring a professional depends entirely on your skill level and your expectations for durability. DIY is fantastic for simple tasks like swapping hardware or surface dyeing, offering a low-cost entry point but carrying a higher risk of aesthetic errors. However, for structural modifications (like re-stitching a buckle fold or skiving a thick strap) or complex tooling, a professional artisan or manufacturer is the superior choice. They possess industrial-grade equipment—like bell skivers and heated burnishing wheels—that ensures the finished edges are sealed and the product won’t delaminate after a few months.
The DIY Route: Kits and Hand Tools
If you are a hobbyist looking to customize a single belt for personal use, the DIY route is rewarding and accessible.
- The Tools: You can buy a basic leatherworking starter kit for $50 – $100. This will typically include a mallet, a few stamping tools, a hole punch, and a burnishing stick.
- The Limitation: The biggest weakness of DIY is the edge finish. Hand-burnishing a belt edge with a wood slicker takes hours of elbow grease to get right. Ideally, you achieve a smooth edge, but often, DIY edges remain slightly fuzzy or rough, which allows moisture to wick into the leather, shortening its lifespan.
- Best For: Adding initials, changing buckles with snaps, or applying a vintage dye effect.
The Professional Route: Artisans and Factories
When quality cannot be compromised, or when you need volume (e.g., 50+ belts for a corporate gift), you need a pro.
- The Equipment Advantage: Factories use machines that you can’t fit in a garage. A Bell Skiving Machine thins the leather with 0.1mm precision for a perfect fold. A Heated Edge Painting Machine applies sealant at 300°F, fusing it to the leather fiber so it never peels.
- Structural Integrity: A professional uses heavy-duty bonded nylon thread and a high-torque sewing machine. This creates a “lockstitch” that is far tighter and more secure than what you can achieve with a hand needle.
- Best For: Resizing high-end belts, creating custom branded merchandise, or manufacturing complex Western-style straps.
DIY vs. Professional Cost & Quality
Use this breakdown to see if the effort is worth the savings for your specific project.
| Customization Project | DIY Cost (Est.) | Risk Factor | Professional Advantage |
|---|---|---|---|
| Swapping a Buckle | $5 – $10 (Screwdriver) | Low (Lost screws) | Access to solid brass hardware. |
| Shortening a Strap | $20 (Knife/Punch) | Medium (Ragged edge) | Factory-sealed edge (won’t peel). |
| Full Custom Tooling | $100+ (Tools/Stamps) | High (Ruined leather) | Perfect, deep 3D relief. |
| Custom Logo Emboss | $150 (Heat Press) | Medium (Uneven heat) | High-Frequency Welding (Permanent). |
How Should Brands Implement a “Modular Belt” Strategy?
For B2B brands, implementing a “modular belt” strategy—selling straps and buckles as separate SKUs—is a powerful way to boost Average Order Value (AOV) while slashing inventory risk. Instead of guessing which strap-and-buckle combinations will sell, you stock universal straps and a diverse range of buckles. The critical success factor is standardizing the connection mechanism, such as a 3-snap system or Chicago screws, ensuring 100% compatibility across your entire line. This empowers the customer to build their own bundle, often leading to multi-buckle purchases.
The “Mix and Match” Sales Model
This strategy shifts the power to the consumer, turning a simple purchase into a customization experience. It works particularly well for e-commerce.
- Inventory Efficiency: In a traditional model, if you have 5 straps and 5 buckles, you need to stock 25 different finished belt SKUs. In a modular model, you only stock 10 SKUs (5 straps + 5 buckles). This reduces dead stock significantly.
- Upselling: You can market “Buckle Bar” bundles. A customer buying a $60 leather strap is highly likely to add a second or third buckle for just $20 more to change their look, increasing your cart size.
Standardizing the Connection Point
To make this work, your engineering must be precise. You cannot have one strap use snaps and another use screws. Uniformity is key.
- The Universal Snap Pattern: If using snaps, specify a standard pattern (e.g., two heavy-duty snaps spaced exactly 1.5 inches apart) for every strap in your collection.
- The Universal Width: Commit to a core width, typically 38mm (1.5 inches) for casual wear. This ensures that every buckle you release in the future will fit every strap a customer has ever bought from you.
Hoplok Injection: Creating a Custom Buckle Ecosystem. Hoplok can help brands develop exclusive molds to produce solid brass buckles featuring your brand logo, ensuring they are perfectly weighted and sized to fit our standard interchangeable straps. We engineer the tolerance of the “prong throw” so that whether your customer buys a strap today or next year, your custom buckle will always fit securely without wobbling.
Frequently Asked Questions
1. Can I put a Hermes buckle on a different belt?
Yes, but you must match the specs perfectly. Hermès buckles (like the “H” buckle) typically require a strap that is exactly 32mm (1.25 inches) wide. Most standard casual belts are 38mm (1.5 inches) and will physically not fit. Additionally, the leather must be skived thin enough (usually under 3.2mm) to slide smoothly through the buckle mechanism. You can buy “replacement straps” specifically engineered to fit these designer buckles.
2. What size belt blank do I need?
To make a custom belt, you need a “belt blank” (strap) that is significantly longer than your waist size to allow for construction. The rule of thumb is Waist Size + 8 to 10 inches. This accounts for the fold-over at the buckle end (approx. 3 inches) and the tail (approx. 6 inches). If you have a 34-inch waist, buy a strap that is at least 44 inches long to be safe.
3. How do I attach a buckle to a belt blank?
You need to create a secure loop. First, skive (thin) the end of the leather to reduce bulk. Fold the leather back by about 2.5 inches. Punch an oval slot in the fold for the buckle prong. Then, punch two aligned holes through both layers of the folded leather. Finally, secure the layers together using Chicago Screws (for adjustability) or Rivets (for a permanent hold).
4. Can you tool chrome tanned leather?
No, you cannot tool chrome-tanned leather. Chrome tanning makes the leather fibers soft, spongy, and resilient. If you hit it with a stamp or carving tool, the impression will simply “bounce back” and disappear within minutes. For tooling, carving, or stamping, you must use Vegetable-Tanned Leather, which absorbs water to become moldable and holds a permanent shape when dry.
5. Where can I get a custom belt buckle made?
For a single unique piece, you can hire a jewelry caster or metalsmith on platforms like Etsy. However, for a brand looking to manufacture 500+ custom logo buckles, you need a B2B manufacturing partner. Hoplok offers custom mold-making and casting services in solid brass, stainless steel, or zinc alloy, ensuring your buckle is exclusive to your brand and fits your straps perfectly.
6. Is it cheaper to make your own belt?
For a single belt, no; for ten belts, yes. The upfront cost of the necessary tools (knife, punch, stamps) and a full side of high-quality leather might cost $150 – $200. However, once you own the tools, the material cost to produce one high-quality full-grain belt is often under $15. Making your own belts is a long-term investment in skill and value.
Conclusion: The Ultimate Expression of Personal Style
Customizing a leather belt is about more than just getting the right fit; it is the ultimate expression of personal style and ownership. Whether you are simply swapping a worn-out buckle for a solid brass upgrade using Chicago screws, or commissioning a fully hand-tooled Western strap, modular design turns a static accessory into a dynamic tool for self-expression. It bridges the gap between mass production and bespoke artistry.
For fashion brands, offering customization options is the key to elevating a product line from a “commodity” to an “experience.” By shifting to a modular sales model, you empower your customers to become the designers. This not only increases engagement but also boosts customer lifetime value, as they return to buy new straps or buckles to refresh their look.
Hoplok Leather possesses the comprehensive manufacturing infrastructure to support this modular revolution. We offer a full turnkey service, supplying everything from premium vegetable-tanned strap blanks ready for tooling, to custom-molded logo buckles engineered for perfect interchangeability. We can help you build a belt collection that is as unique as your brand. Contact Hoplok Leather today to start designing your interchangeable belt system and give your customers the freedom to customize.