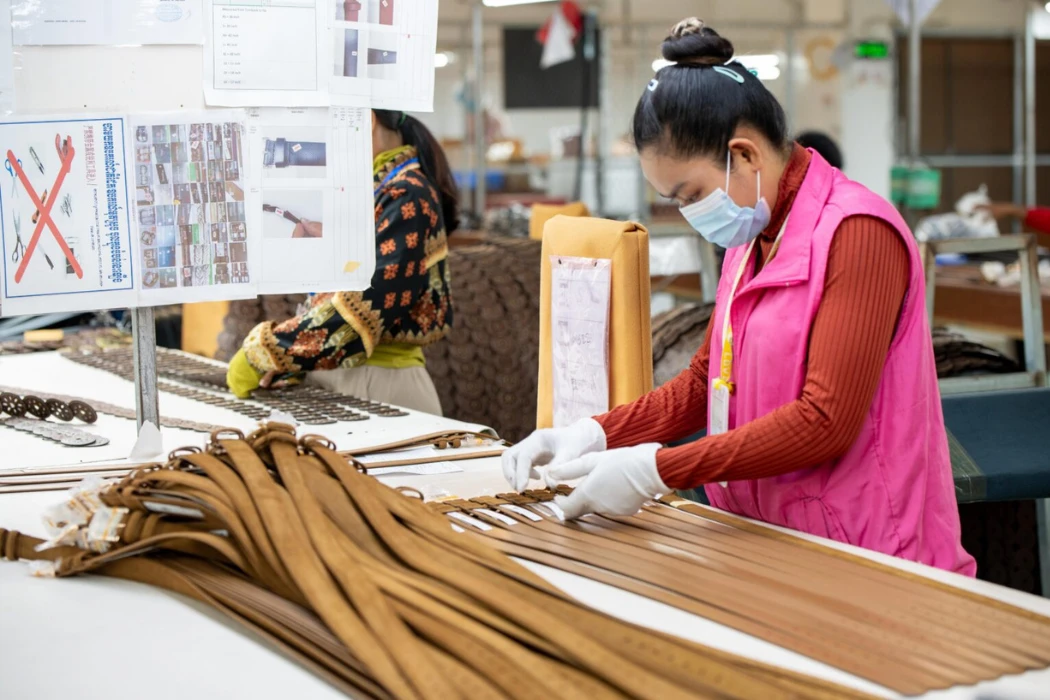
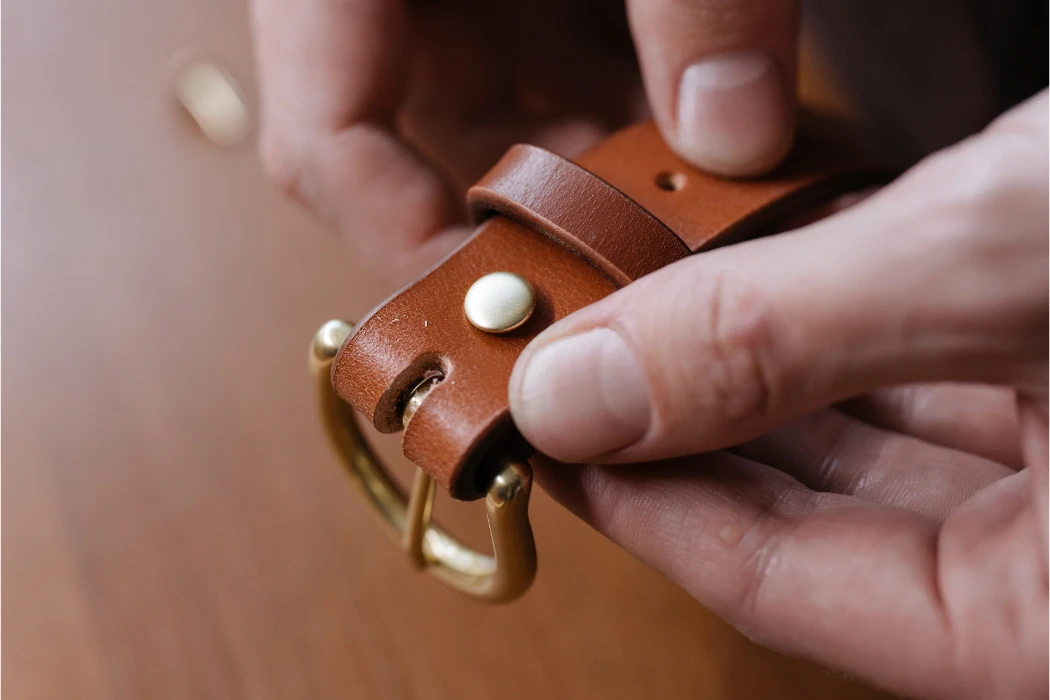
Crafting perfect edges on unpainted raw leather belts requires high skill. When a facility cuts thick vegetable-tanned leather, the edges remain sharp, rough, and vulnerable to damage. Transforming this raw cut into a premium product increases durability and value, which is especially critical when producing custom leather belts for high-end markets.
Edge beveling and edge creasing solve these raw edge problems. Edge beveling uses a cutting tool to remove sharp corners, creating a smooth, rounded shape that stops the leather from mushrooming outward. Edge creasing applies a heated metal tool to press a decorative line parallel to the edge, compressing the fibers to tightly seal the surface. Manufacturers rely heavily on these natural methods for exotic leather belts manufacturing, because rare hides demand flawless protection without chemical paints.
Mastering these steps prevents belts from fraying over years of daily use. Understanding how to select exact beveler sizes and manage heat settings makes a massive difference in production quality. Let us explore the precise tools, step-by-step methods, and temperature benchmarks you need to execute perfect edge finishing.
What Are the Core Differences Between Edge Creasing and Beveling?
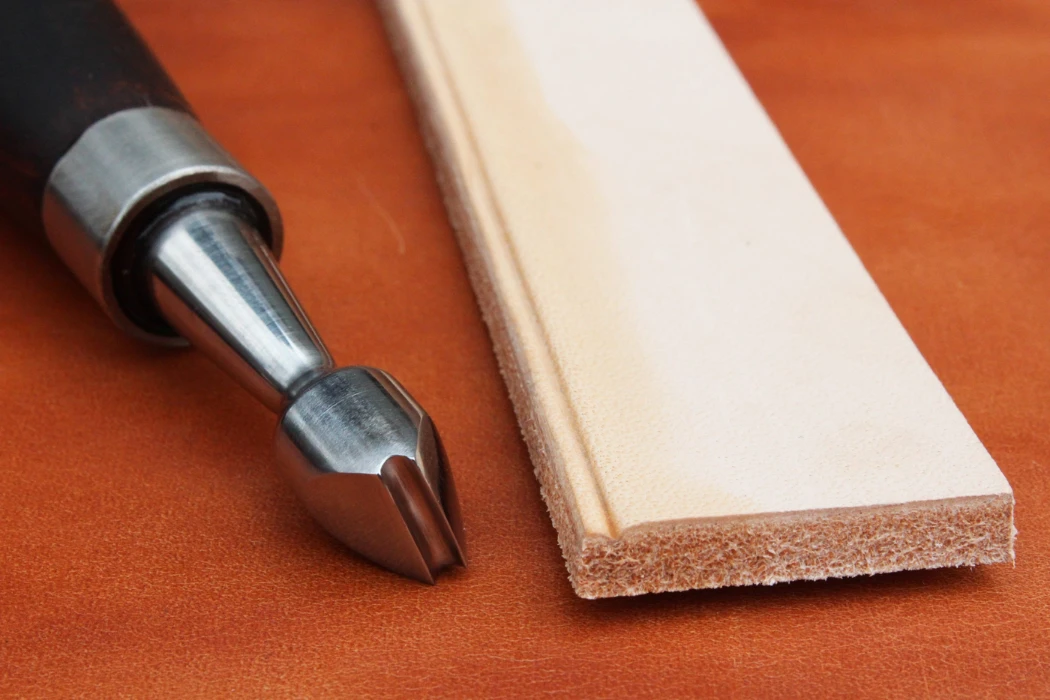
Edge beveling physically removes sharp corners from thick leather using a cutting tool, creating a rounded profile. Edge creasing uses a heated metal tip to press a permanent, decorative line into the leather right next to the edge. Beveling changes the structural shape of the belt, but creasing compresses the fibers to seal the edge and adds visual detail. You need both techniques to make a durable, professional product.
The structural purpose of rounding the edge
When thick leather belts bend around your waist, the sharp square edges fold under stress and mushroom outward over time. This ruins the clean look of the product.
- A skilled worker uses a beveling tool to slice off the top and bottom corners at a precise 45-degree angle.
- This physical cutting process strips away the weakest part of the raw leather edge where loose fibers easily fray and split.
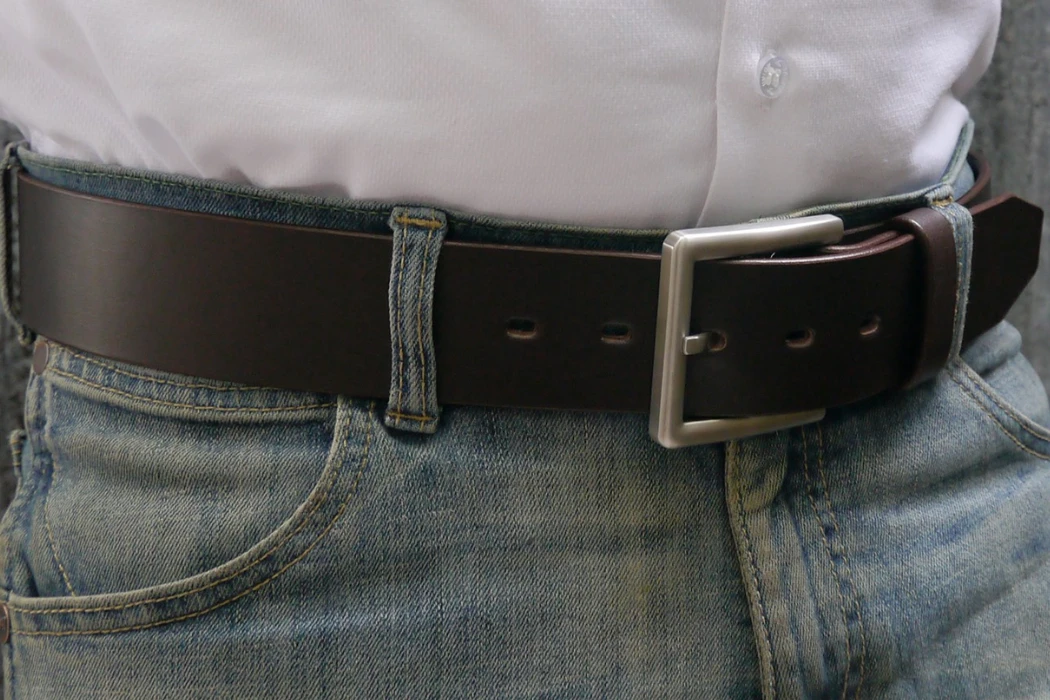
- Creating a smooth, rounded profile stops the raw edge from catching on denim belt loops, delicate clothing, or car seats.
- The beveling action removes tiny inconsistencies left behind by the heavy industrial cutting machines used to slice the hides.
- A well-beveled edge also prepares the leather perfectly for the next steps of sanding and burnishing.
Removing these sharp points makes the belt immediately comfortable for the wearer, so it significantly extends the structural lifespan of the leather goods.
The visual impact of a decorative crease line
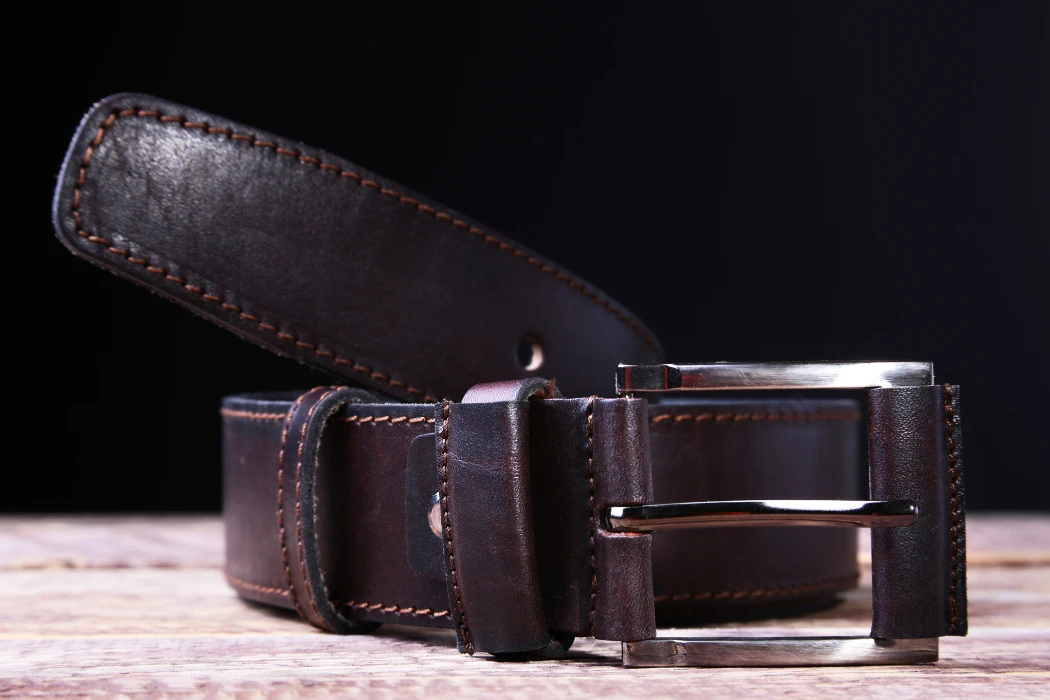
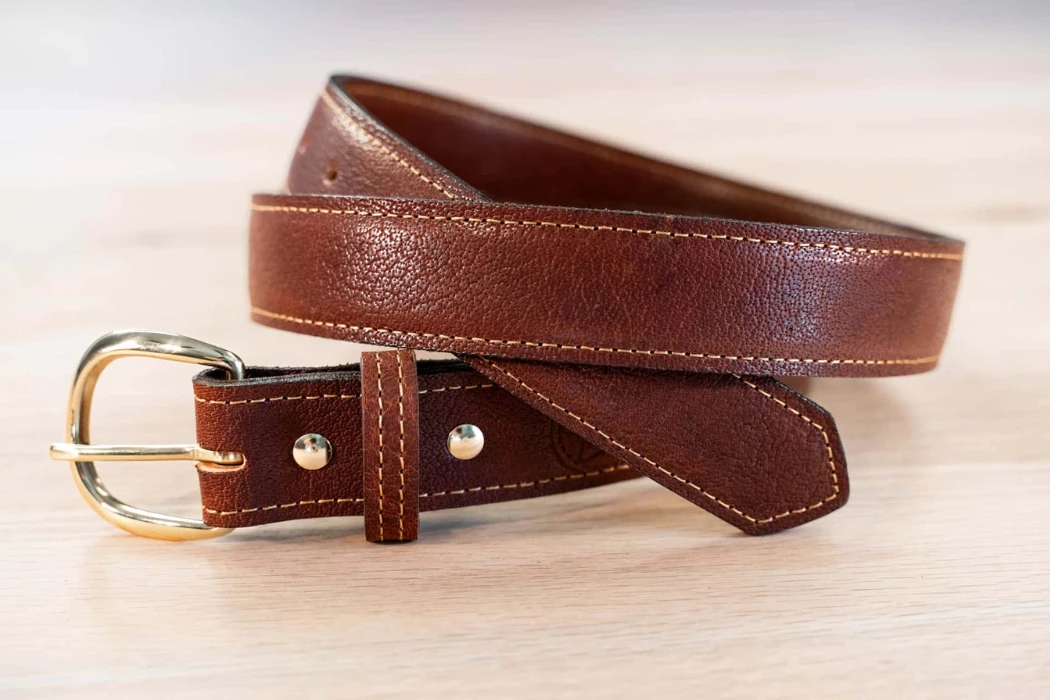
A hot crease line creates a clean, sophisticated framed look along the entire length of the belt strap. This detail separates premium goods from cheap alternatives.
- Heated electric creasing tools press a strict, continuous line exactly 1.5mm to 2.0mm away from the outer edge.
- The intense heat of the tool melts the natural oils and waxes inside vegetable-tanned leather, naturally darkening the crease line.
- This tightly compressed line acts like a physical barrier, so it stops dirt, sweat, and moisture from entering the raw edge structure.
- Creasing also hardens the extreme edge of the belt, making it highly resistant to daily wear and tear.
- Workers must keep a steady hand because any hesitation leaves a permanent burn mark or a wobbly line on the leather.
The precise combination of downward pressure and applied heat permanently seals the delicate leather fibers, proving the final product features high-end artisan craftsmanship.
Raw unpainted edges vs. edge-painted finishes
Leather manufacturers finish thick belts using either traditional natural raw techniques or modern liquid chemical paints. Each method serves a very different market.
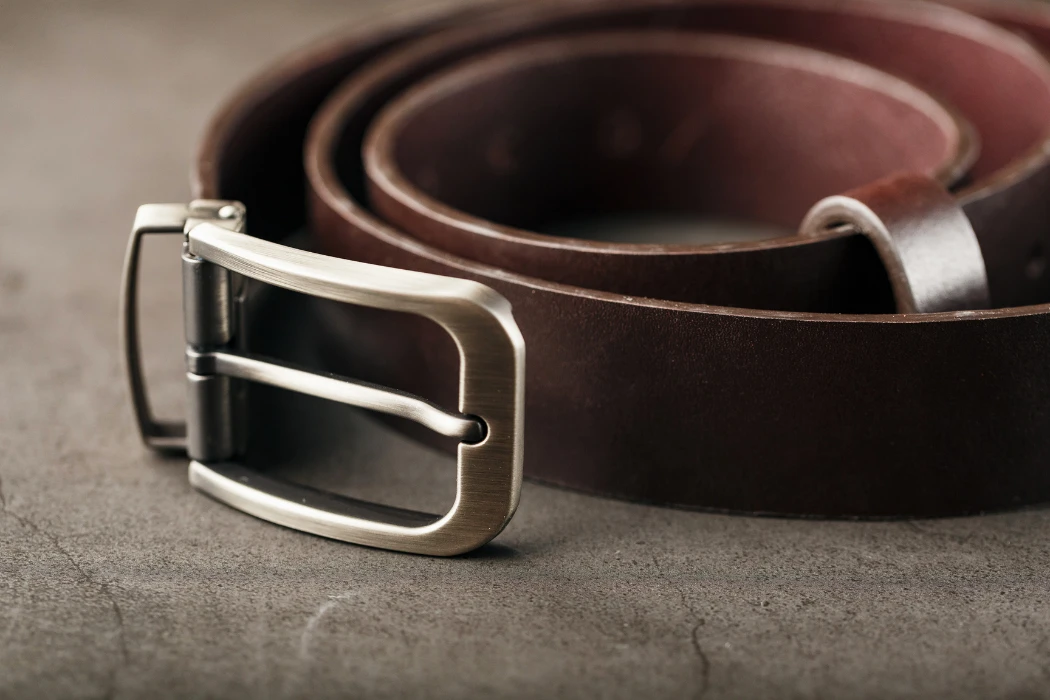
- Raw edges rely solely on sharp beveling, exact moisture control, heavy friction, and heat to achieve a smooth, glossy finish.
- Painted edges use multiple thick layers of rubbery acrylic paint to hide the internal leather fibers and layers completely.
- Raw unpainted belts require flawless premium leather, usually measuring 3.5mm to 4.5mm thick, because you simply cannot hide any natural surface imperfections.
- Chemical edge paint easily covers up cheap split leather, but paint eventually cracks and peels off after months of heavy bending.
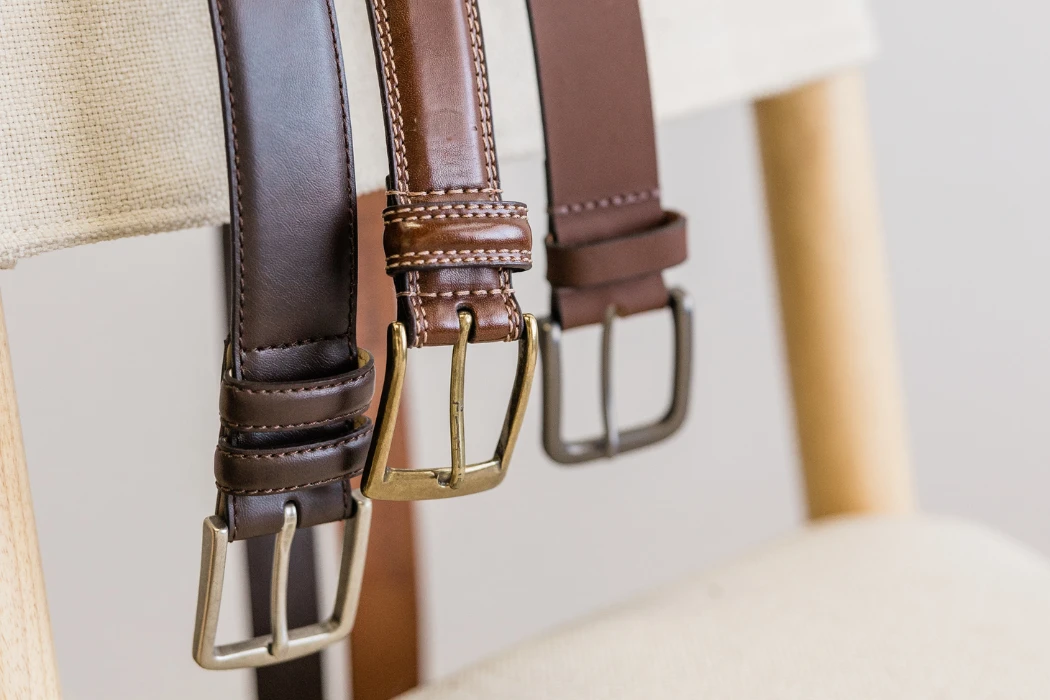
- Natural raw edges develop a beautiful patina over time, while painted edges remain static until they begin to degrade.
Raw edge finishing celebrates the authentic, natural look of the animal hide, but it demands absolute perfection in beveling and creasing to succeed commercially.
| Feature | Edge Beveling | Edge Creasing |
|---|---|---|
| Primary Tool | Sharp steel cutting tool (Edge Beveler) | Heated metal tip (Electric Creaser) |
| Main Purpose | Removes sharp corners for comfort | Compresses fibers to seal the edge |
| Physical Change | Changes the shape from square to round | Creates a compressed line 1.5mm to 2.0mm from edge |
| Visual Result | Smooth, domed profile | Darkened, framed decorative border |
How Do You Choose the Right Tools for Unpainted Belt Edges?
Selecting the right edge tools determines the final quality of your unpainted belt. You must match the physical size of the edge beveler exactly to the thickness of your leather. You also need to choose between traditional manual creasers and modern electric heated creasers based on your production volume. Finally, keeping these metal tools perfectly sharp and polished stops them from tearing the delicate leather fibers during the finishing process.
Matching beveler sizes to leather thickness
Using the wrong size edge beveler instantly ruins the profile of a thick leather belt.
- Edge bevelers come in numbered sizes, usually ranging from size #0 up to size #5.
- For standard heavy belts measuring 3.5mm to 4.0mm thick, craftsmen typically use a size #3 beveler.
- Thinner dress belts measuring 2.5mm to 3.0mm require a smaller size #2 tool so you do not cut away too much material.
- If you use a beveler that is too large, the tool digs deep into the center of the edge and destroys the flat side profile.
- If you use a beveler that is too small, it only scrapes the very top corner and fails to create a proper round dome.
Matching the exact tool size to the millimeter thickness of the hide guarantees a perfectly uniform, rounded edge every time.
Manual creasers vs. electrically heated creasers
Manufacturers create edge lines using either traditional cold hand tools or advanced electric heating stations.
- Manual creasers require the worker to heat the metal tip over an open alcohol flame, which makes temperature control highly unpredictable.
- Electric creasing machines feature digital temperature dials that hold the heat steady between 60°C and 80°C for vegetable-tanned leather.
- Electric tools allow the user to swap out different iron tips to change the distance of the crease, usually setting the line exactly 1.5mm or 2.0mm from the edge.
- Hand-heated tools work well for single custom projects, but electric stations provide the strict consistency required for large-scale production.
- Consistent electric heat melts the natural waxes inside the leather edge smoothly without burning the surface.
Upgrading to a digital electric creaser removes the guesswork from temperature control, so it creates flawless, repeatable decorative lines.
Keeping your edge tools sharp and polished
Dull cutting tools cause massive damage to raw leather because they pull and tear the fibers instead of slicing them cleanly.
- Workers must hone the cutting channel of an edge beveler daily using a piece of scrap leather coated with green polishing compound.
- Running the beveler backward over a polishing strop infused with 1-micron diamond paste keeps the cutting edge razor-sharp.
- A sharp tool glides through heavy 4.0mm cowhide with zero resistance and leaves a glossy, glass-like cut behind.
- Creasing irons also require regular polishing with fine 1000-grit sandpaper to remove burnt carbon buildup from the hot metal tip.
- A dirty or scratched creasing iron drags against the leather and creates ugly micro-scratches along the decorative border.
Dedicating time to tool maintenance directly improves the visual quality of the belt and dramatically speeds up the physical manufacturing process.
What Are the Step-by-Step Techniques for Perfect Edge Beveling?
Perfect edge beveling requires a smooth, continuous pushing motion along the entire leather strap. You must hold the tool at a strict angle to cut evenly. Keeping the blade locked against the sharp corner removes a precise strip of leather without digging too deep. This steady physical action transforms a raw, square cut into a comfortable, rounded edge ready for final burnishing.
Finding the correct grip and pushing angle
Holding the edge beveler correctly prevents the blade from slipping and ruining the belt surface.
- Grip the wooden handle firmly in your palm, placing your index finger near the metal shaft for maximum control.
- Lock the cutting channel exactly against the sharp 90-degree corner of the raw leather strap.
- Tilt the tool handle slightly so the blade meets the leather at a strict 45-degree angle.
- If you raise the handle too high, the blade digs into the flat surface and leaves a deep scratch.
- If you lower the handle too much, the tool simply slides off the edge without cutting any fibers.
Maintaining this exact angle from start to finish guarantees a uniform, rounded shape along the entire strap.
Maintaining consistent forward pressure
You must push the tool smoothly because starting and stopping creates ugly jagged marks on the edge.
- Use your entire arm to push the beveler forward, rather than just moving your wrist.
- Cut long, continuous strips measuring at least 30 centimeters to 50 centimeters at one time.
- Apply steady downward pressure so the blade stays locked perfectly inside the leather fiber track.
- Whenever you pause, gently lift the tool out of the cut to avoid creating a deep notch.
- A perfectly executed cut produces a single, unbroken string of scrap leather that looks like a long leather noodle.
Smooth, uninterrupted cutting actions separate master craftsmen from beginners and dramatically reduce the time needed for sanding.
Preparing the edge for sanding and burnishing
Beveling is only the first physical step because the freshly cut surface remains porous and rough.
- After beveling the top and bottom corners, lightly sand the entire curved profile with 400-grit sandpaper.
- Wipe away all leather dust using a slightly damp canvas cloth to expose the clean fibers.
- Apply a natural burnishing gum or pure beeswax to the raw edge to seal the open pores.
- Rub the edge vigorously with a wooden slicker spinning at 2000 RPM to create intense friction.
- This friction generates heat, melting the waxes and polishing the edge until it shines like glass.
Proper beveling creates the exact structural foundation you need to build a glossy, professional, raw edge finish.
| Leather Thickness (mm) | Recommended Beveler Size | Primary Belt Style |
|---|---|---|
| 2.0mm – 2.5mm | Size #1 | Thin Fashion Belts |
| 2.5mm – 3.0mm | Size #2 | Standard Dress Belts |
| 3.5mm – 4.0mm | Size #3 | Casual Jeans Belts |
| 4.0mm – 5.0mm+ | Size #4 | Heavy Duty / Tool Belts |
Why Is Moisture Control Critical Before Creasing?
Adding the exact right amount of water to raw leather before applying a hot creasing tool determines the depth and color of the final line. Dry leather burns and cracks under a hot iron. Soaking wet leather boils and turns into hard plastic. Controlling this moisture creates a safe internal barrier, so the tool smoothly compresses the fibers instead of destroying them.
The science of casing (wetting) raw leather
Craftsmen use a specific technique called casing to introduce moisture deep inside the heavy leather strap.
- Use a high-density sponge to apply a very light coat of clean water directly along the beveled edge.
- Wait exactly 5 to 10 minutes so the water penetrates deep into the cellular structure of the cowhide.
- The water temporarily softens the tough protein fibers, making them highly flexible and easy to compress.
- When the heated creaser operating at 70°C hits this damp surface, the trapped water turns to steam instantly.
- This steam softens the internal natural waxes, allowing the metal tip to sink exactly 1.0mm deep into the strap.
Proper casing transforms stiff raw hide into a pliable material, so it accepts a deep, permanent decorative line effortlessly.
Preventing water stains on natural belts
Applying water to pure vegetable-tanned leather carries a high risk of leaving ugly, permanent dark spots.
- You must use pure distilled water because tap water contains heavy minerals that chemically react with natural tannins.
- Keep the sponge barely damp, ensuring it holds only about 10% of its maximum water capacity.
- Never let water drip or run down the flat top surface of the belt, because you will create a dark water ring.
- If a drop falls on the flat face, wipe the entire belt surface immediately with a dry cotton cloth to blend the mark.
- Always test your moisture level on a small scrap piece measuring 5 centimeters before touching the final product.
Managing your water application carefully protects the expensive natural face of the leather from irreversible chemical stains.
Timing the tool application for maximum depth
Hitting the leather with a hot iron at the exact right moment guarantees a dark, glossy, and crisp edge line.
- Do not apply the iron immediately after wetting the edge, because the surface water will boil and blister the leather.
- Wait until the wet edge returns to its original, natural color before you begin the physical creasing process.
- The surface must feel cool to the touch but completely dry, which indicates the moisture sits safely below the top layer.
- Press the tool firmly and move at a steady speed of 2 centimeters per second to achieve a uniform burn.
- If you wait longer than 15 minutes, the internal moisture evaporates completely, and the tool will simply burn the dry surface.
Striking the perfect balance between wet and dry creates the ideal internal environment for heat and pressure to work perfectly together.
How Do Temperature and Pressure Affect the Final Crease Line?
Heat and pressure work together to melt internal waxes and compress the leather fibers. If the iron is too cold, it leaves a weak, invisible line. If the iron is too hot, it burns the surface permanently. Applying steady downward pressure ensures the line depth remains even from end to end. Finding the perfect balance creates a beautiful, dark border that frames the belt perfectly.
Ideal heat settings for vegetable-tanned leather
Setting the correct temperature on your digital creaser prevents irreversible heat damage.
- Standard vegetable-tanned leather usually requires a precise setting between 60°C and 80°C.
- Chrome-tanned leathers melt easily, so they need much lower temperatures around 40°C to 50°C.
- If the edge smokes when the iron touches it, the temperature is at least 20°C too high.
- A perfectly heated tip slides across the damp leather smoothly without sticking or dragging.
- Workers must always test the heat setting on a scrap piece holding the exact same moisture level.
Dialing in the exact heat requirement ensures the natural oils darken beautifully without scorching the delicate surface.
Guiding the tool with steady hand pressure
Downward force determines how deep the decorative line sinks into the leather strap.
- Hold the creasing iron firmly and press down with about 2 kilograms of consistent pressure.
- Keep the flat guide-edge of the iron locked tightly against the outer profile of the belt.
- Move your entire arm slowly at a constant speed so the heat transfers evenly into the fibers.
- Pausing for even 1 second creates a deep, dark burn mark that ruins the entire strap.
- Light pressure creates a faint surface scratch, while heavy pressure cuts too deeply and weakens the edge.
Mastering this physical motion guarantees the crease looks perfectly uniform across a long 110-centimeter belt.
Troubleshooting and fixing uneven crease lines
Even experienced craftsmen make mistakes, but catching them early saves the expensive material.
- If the line appears wobbly, the worker likely lost contact with the outer guiding edge.
- You can sometimes fix a shallow line by re-wetting the leather and running the iron a second time.
- If the iron burns the leather black, you cannot fix the strap and must discard the piece entirely.
- A line that fades in and out indicates the operator changed their downward pressure mid-stroke.
- Sanding the edge heavily after creasing often erases the line, so you must always crease last.
Identifying these physical errors quickly helps workers adjust their technique and stops them from ruining a whole production batch.
People Also Ask (FAQ)
Can you crease unpainted leather without heat?
Yes, you can use a cold creaser on wet vegetable-tanned leather. However, cold creasing relies purely on extreme physical pressure. It takes much longer and never produces the rich, dark contrast that a heated electric iron creates.
What size edge beveler is best for a 3.5mm thick belt?
A size #3 edge beveler works perfectly for heavy leather measuring 3.5mm to 4.0mm. This specific size removes enough material to round the edge cleanly without biting too deeply into the flat face of the belt strap.
Why does my edge beveler skip or tear the raw leather?
Your tool is completely dull. A blunt edge beveler grabs the fibers and tears them instead of slicing through cleanly. You must polish the cutting channel with green compound and a leather strop immediately to restore the sharp edge.
How close to the edge should a crease line be placed?
Craftsmen usually place the decorative crease line exactly 1.5mm to 2.0mm away from the outer edge. This tight spacing frames the belt beautifully without interfering with the rounded beveled corner.
Do you bevel before or after burnishing a raw leather belt?
You must bevel the edge before you burnish it. Beveling removes the sharp square corners to create a round dome. Burnishing then takes that raw, round shape and polishes it using intense friction until it shines.
How hot should a creaser be for full-grain vegetable-tanned leather?
Full-grain vegetable-tanned leather responds best to temperatures between 60°C and 80°C. You must always test the heat on a scrap piece first, because different tanning methods react differently to intense thermal energy.
Achieving Professional Edge Finishing at Scale
Flawless edge finishing transforms raw, heavy leather into a luxurious and durable product. Mastering the strict balance between sharp bevelers, exact moisture control, and precise thermal creasing separates average belts from premium accessories. Achieving this perfection at scale requires deep technical expertise and advanced machinery. For global fashion brands seeking these exact high-end manufacturing standards, Hoplok Leather provides fully customized, turnkey production solutions. Their highly trained teams execute flawless raw edge finishing across high-volume orders, ensuring your brand delivers uncompromising quality to every customer.